
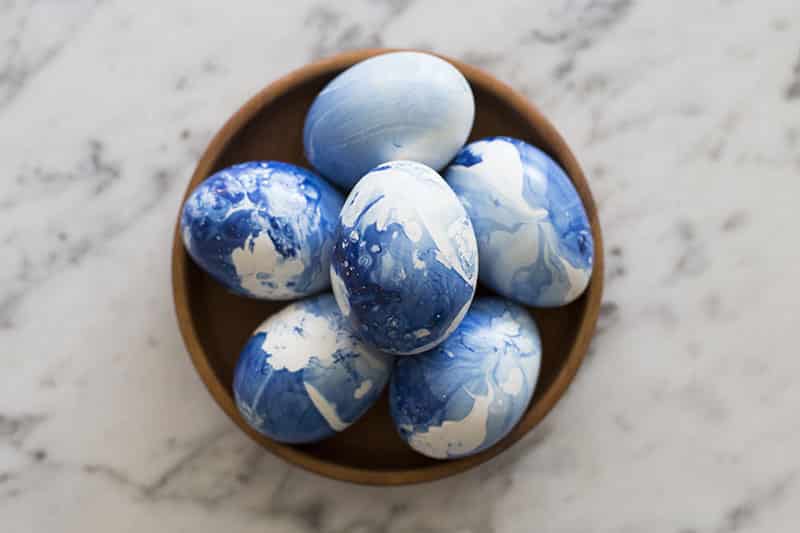
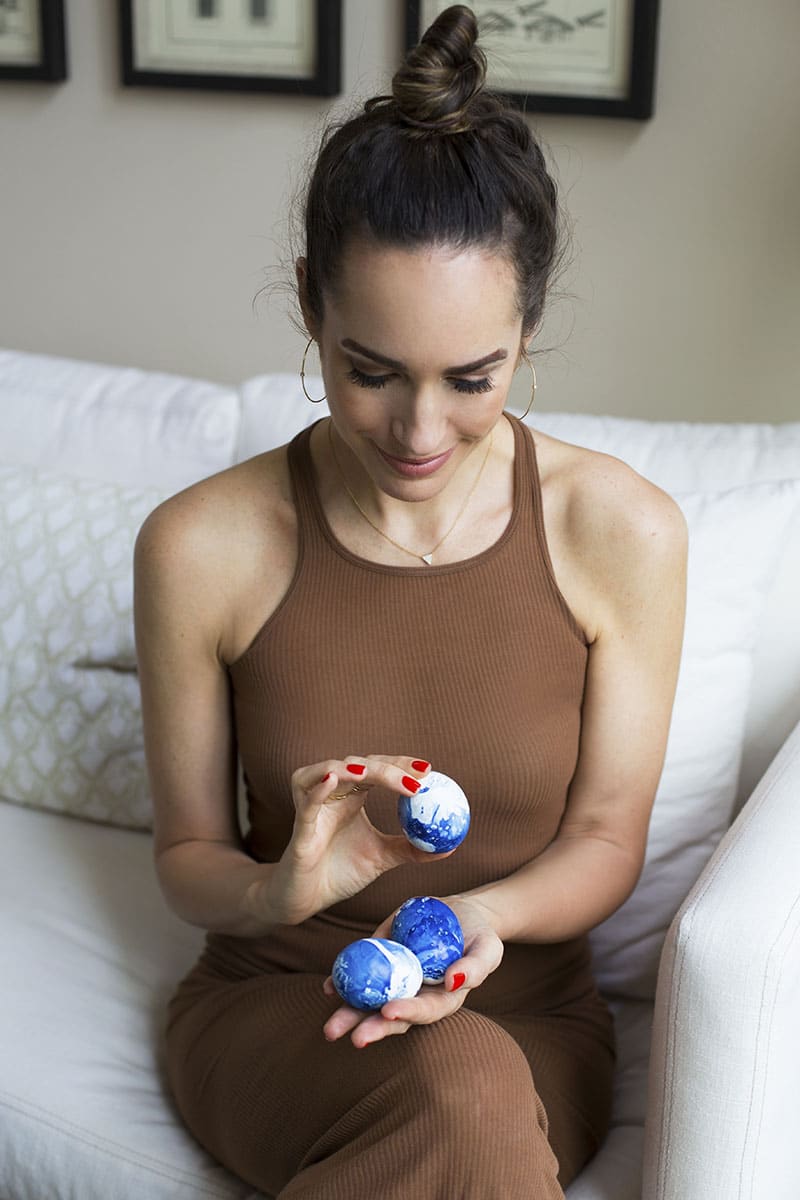
I love Easter because it marks the beginning of spring, we get to eat chocolate for breakfast and – when I’m back in England – I get to watch my nieces and nephews squeal their way around the garden on their Easter egg hunt. I love the bright and cheery mood of Easter weekend – florals, pastels, and lots of yummy food and drink everywhere. If you grew up making Easter eggs and will be making them with little ones this year (or even just for yourself!), these chic marbled eggs are a fun twist on your average food-colored ones. They’re actually decorated with nail polish, so it’s a perfect use for those old shades you never wear anymore! Read below for the easy, step-by-step process to make them yourself.
Supplies Needed:
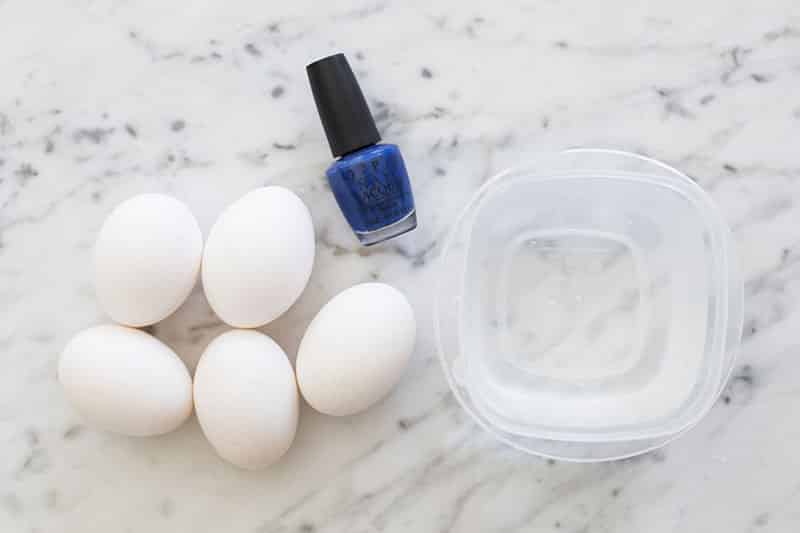
A dozen eggs (or as many as you like – I recommend having a couple extra to experiment your technique on, I admit I had to make mine twice til I was happy with the result!)
Nail polish in any color (I love this shade as it reminds me of vintage china)
An old tupperware filled 3/4 with room temp water (Too cold and the polish will sink)
Rubber gloves (Trust me, if you don’t use them your hands will be covered in polish for days – I learned the hard way!)
Steps:
1) Hard boil or drain your eggs (here’s a video tutorial on how to drain eggs – I find that hard boiling is easier and faster, but drain them if you want to display them for longer than a few days. If you drain them, please use a straw to blow out the eggs – avoid salmonella by not putting your mouth directly onto the egg, ew!)
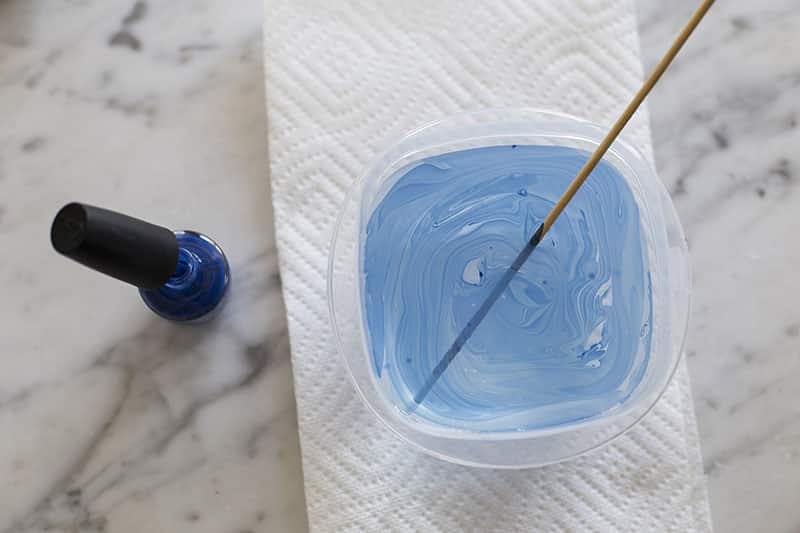
2) Pour a bit of your nail polish into the water – it should float on the top. Stir around the color, creating a marbled effect on the surface of the water.
3) With gloves on, lightly pinch the egg between two fingers, covering the least amount of egg with your fingers as possible. I used the tip of my ring finger and thumb. Dunk the egg under the surface of the water and swirl around, then remove from the water quickly. It will take a few times before they come out how you like, which is why I recommend experimenting with extra eggs.
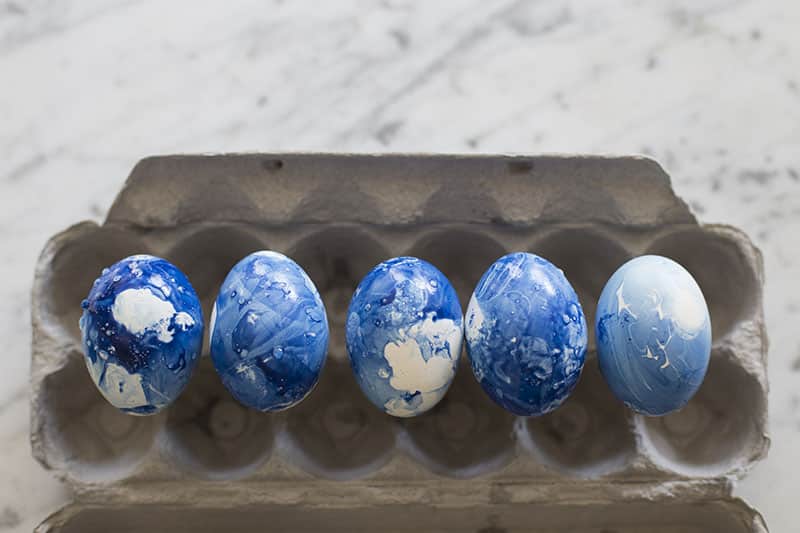
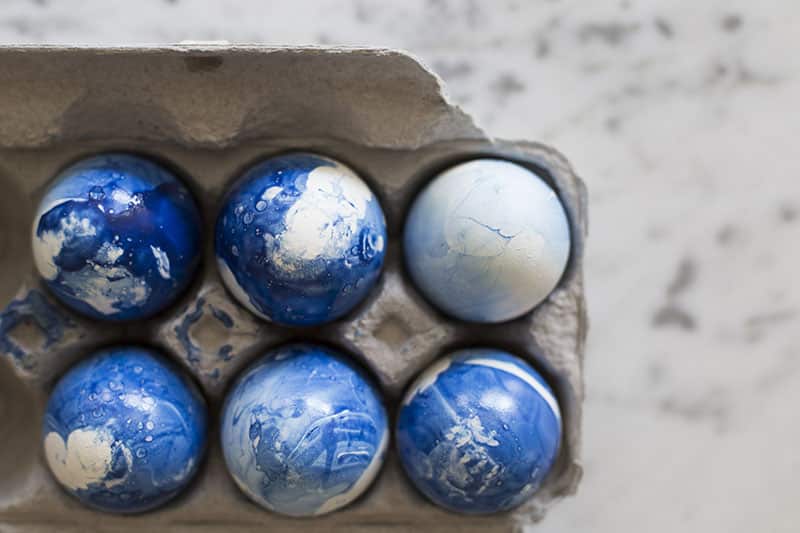
4) Lay out to dry – I used the ridges of the egg carton (which also makes a great way to transport them too, once they are dry), but you can also create little egg stands by inserting pins into a cork or foam board in the shape of the square, creating a pedestal for the eggs to dry on. Allow to dry for several hours.
Have fun!
xx,


Cute idea for an easter activity. They look so beautiful.
Would make a great center piece for the next easter lunch 🙂
http://tealattewithstyle.com/
So nice, thank you for the post Louise 🙂