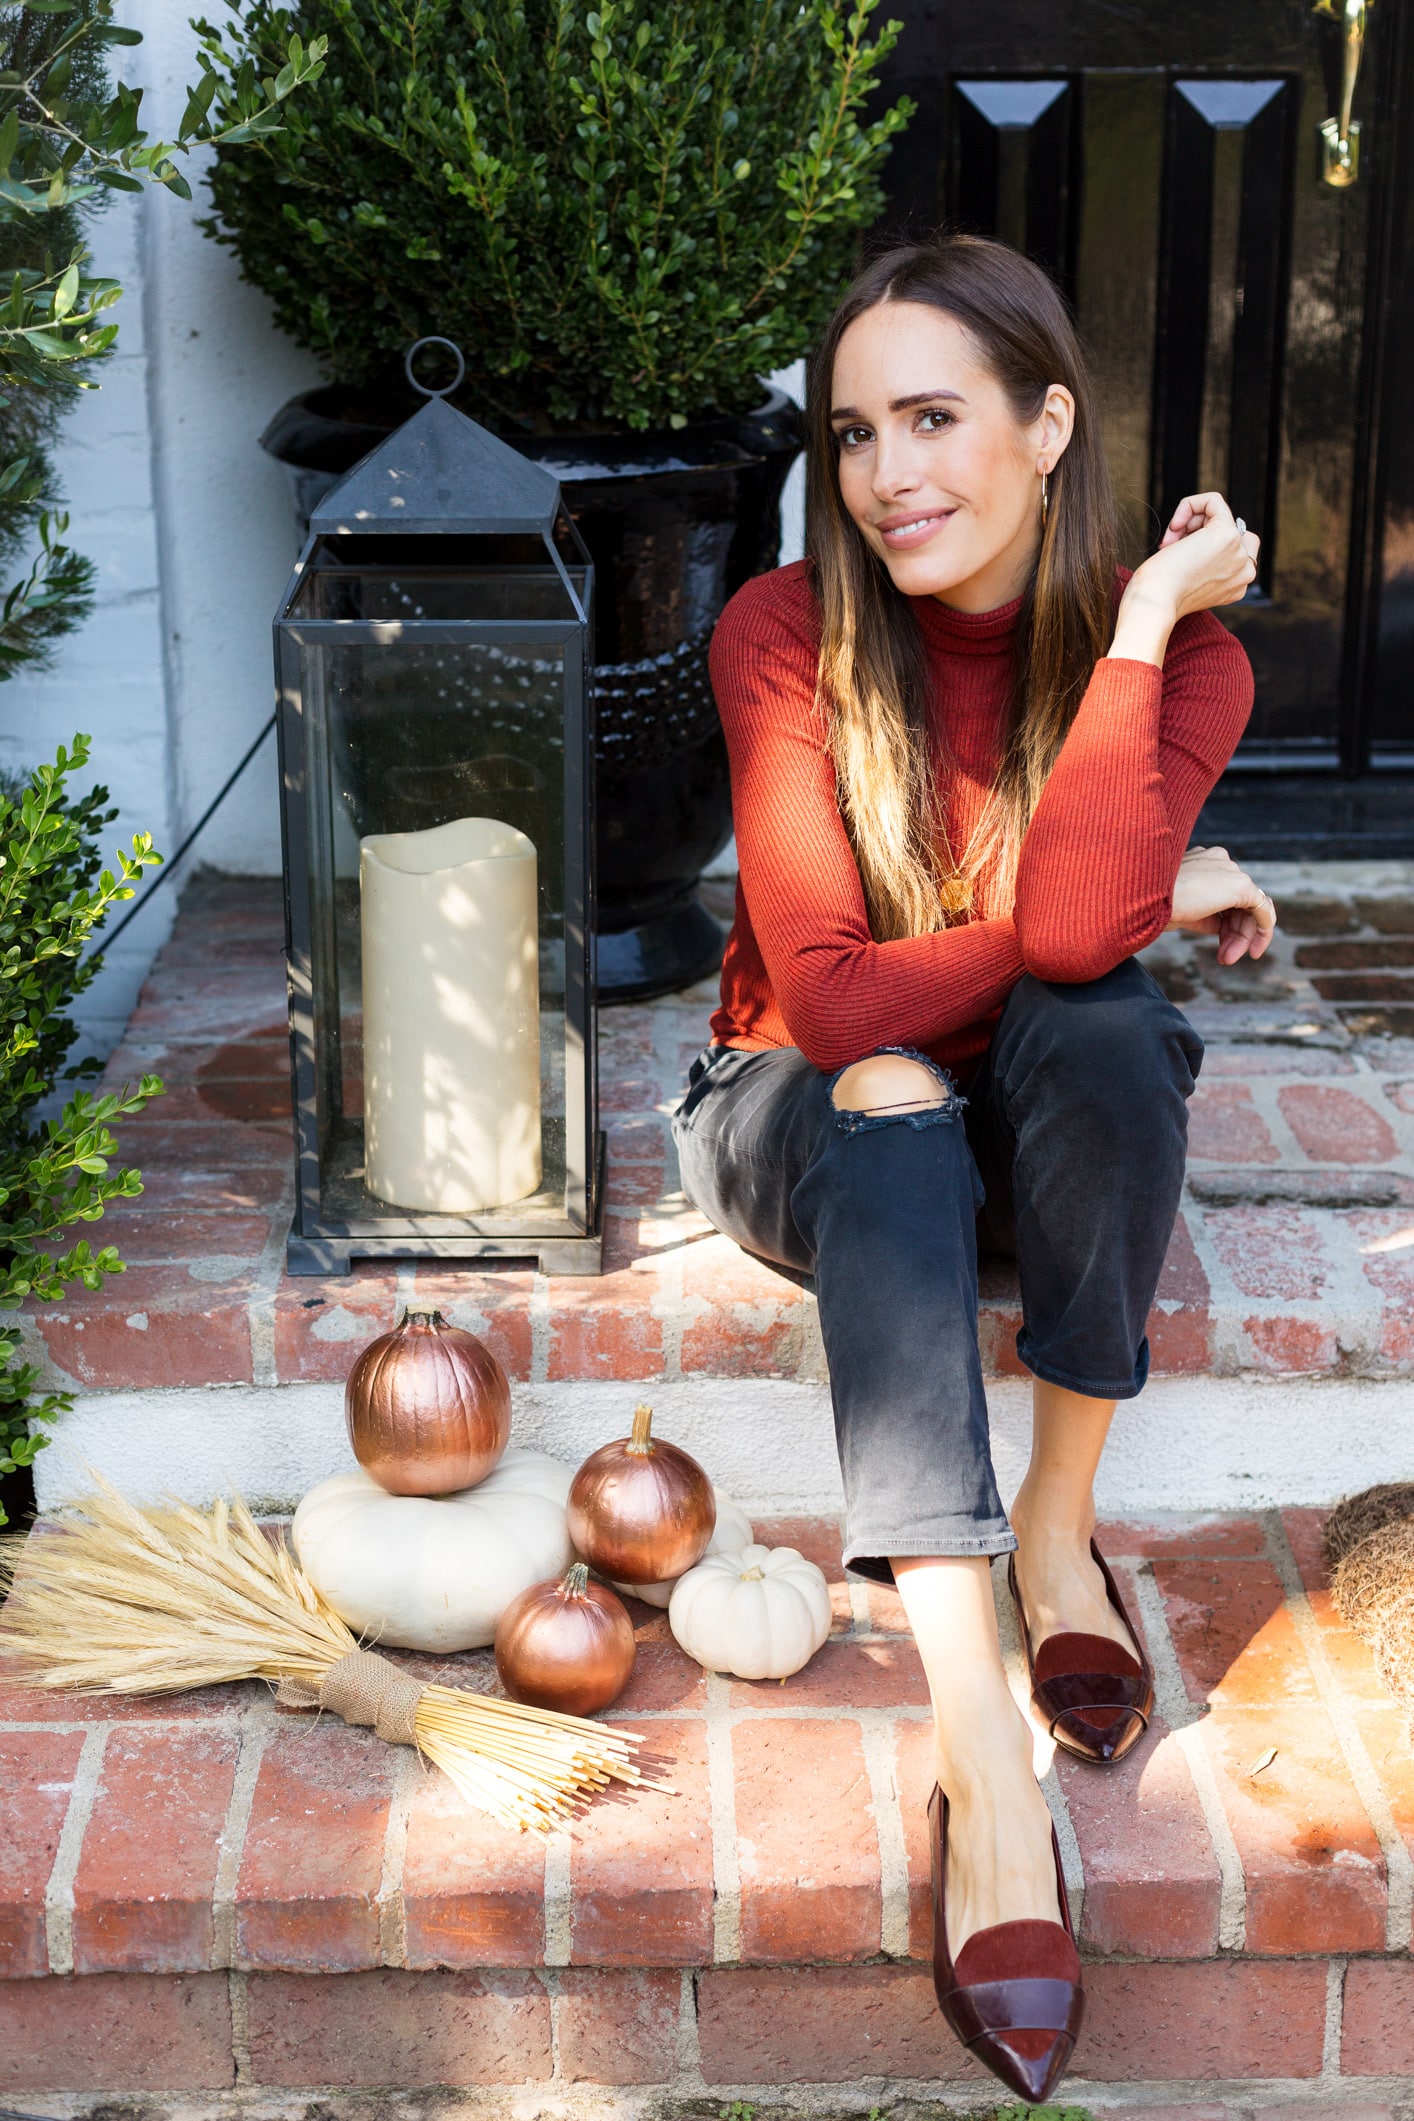
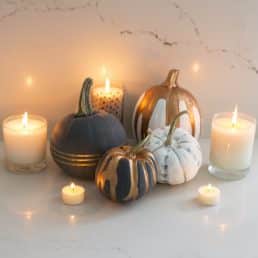
absolutely love Autumn, and always look forward to decorating the house for a new season. Fall always makes me think of cozying up by the fire, so it’s the perfect time to fill the house with warm-toned decorations. I decided I wanted to make something which included a warm, copper palette (which is one of my favorite colors of the moment, see my copper NYFW outfit here!). I wanted to do pumpkins for the porch, but in a chic and unexpected way. (No offense to some of the Halloween decorations in LA, but some are wayyyy tacky!).
I don’t usually go all out for Halloween, but the variety of pumpkins in every grocery store at the moment is hard to resist! I wanted to create something elegant with them, because who says Halloween has to be scary? The best part is that these are (almost) no mess because there is no carving involved. I created something similar last year with pumpkins painted in different colors, which you can see here.
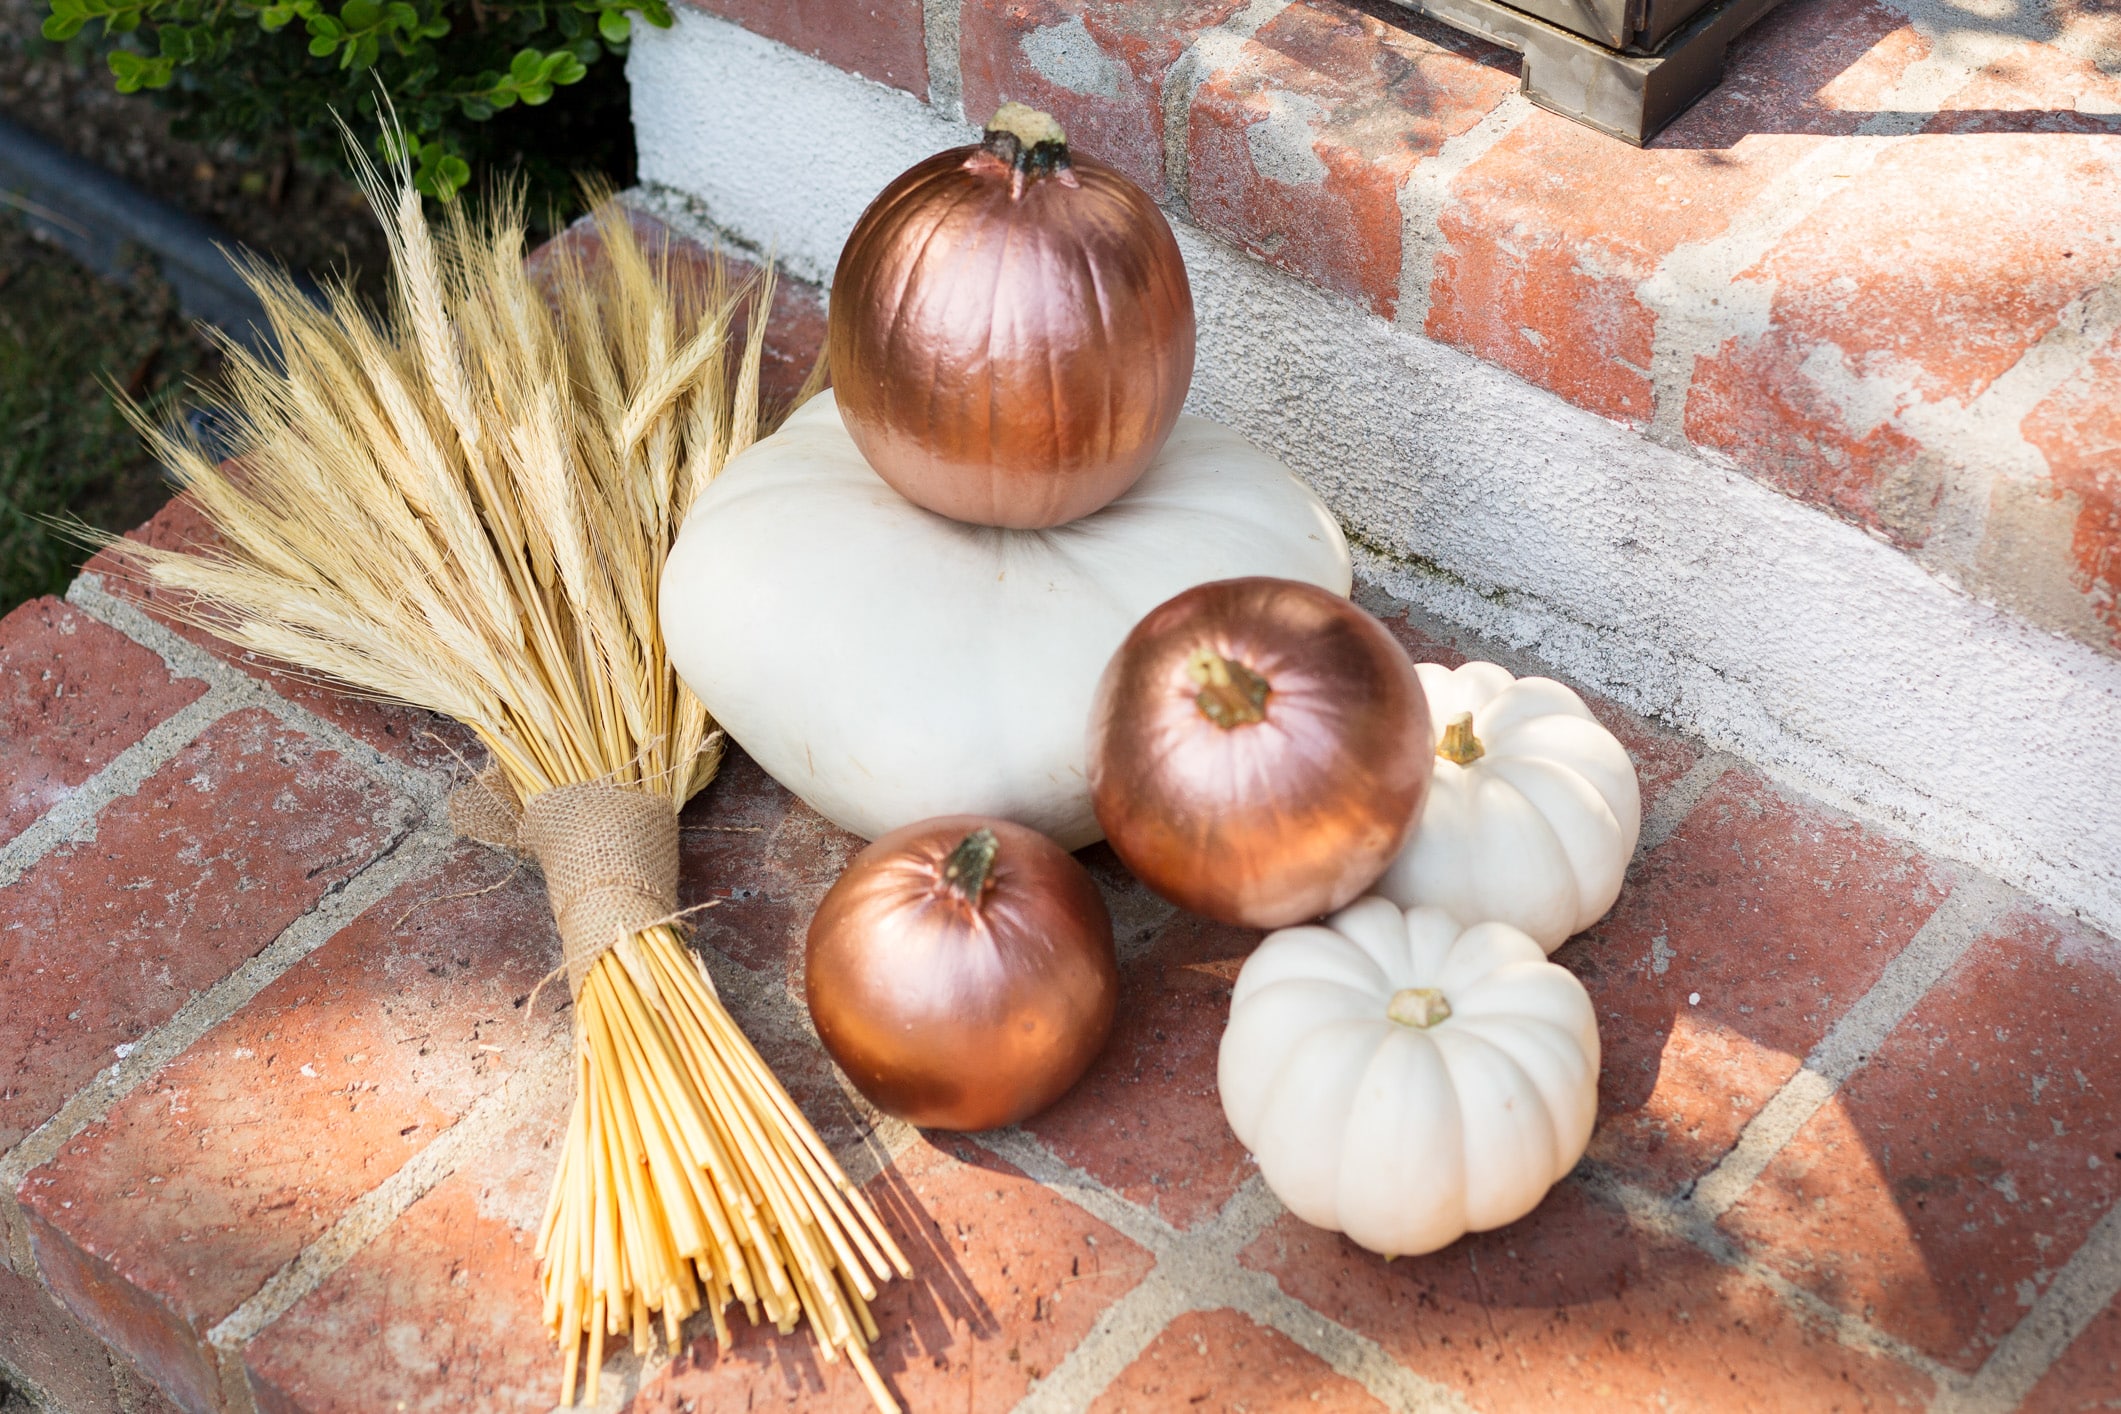
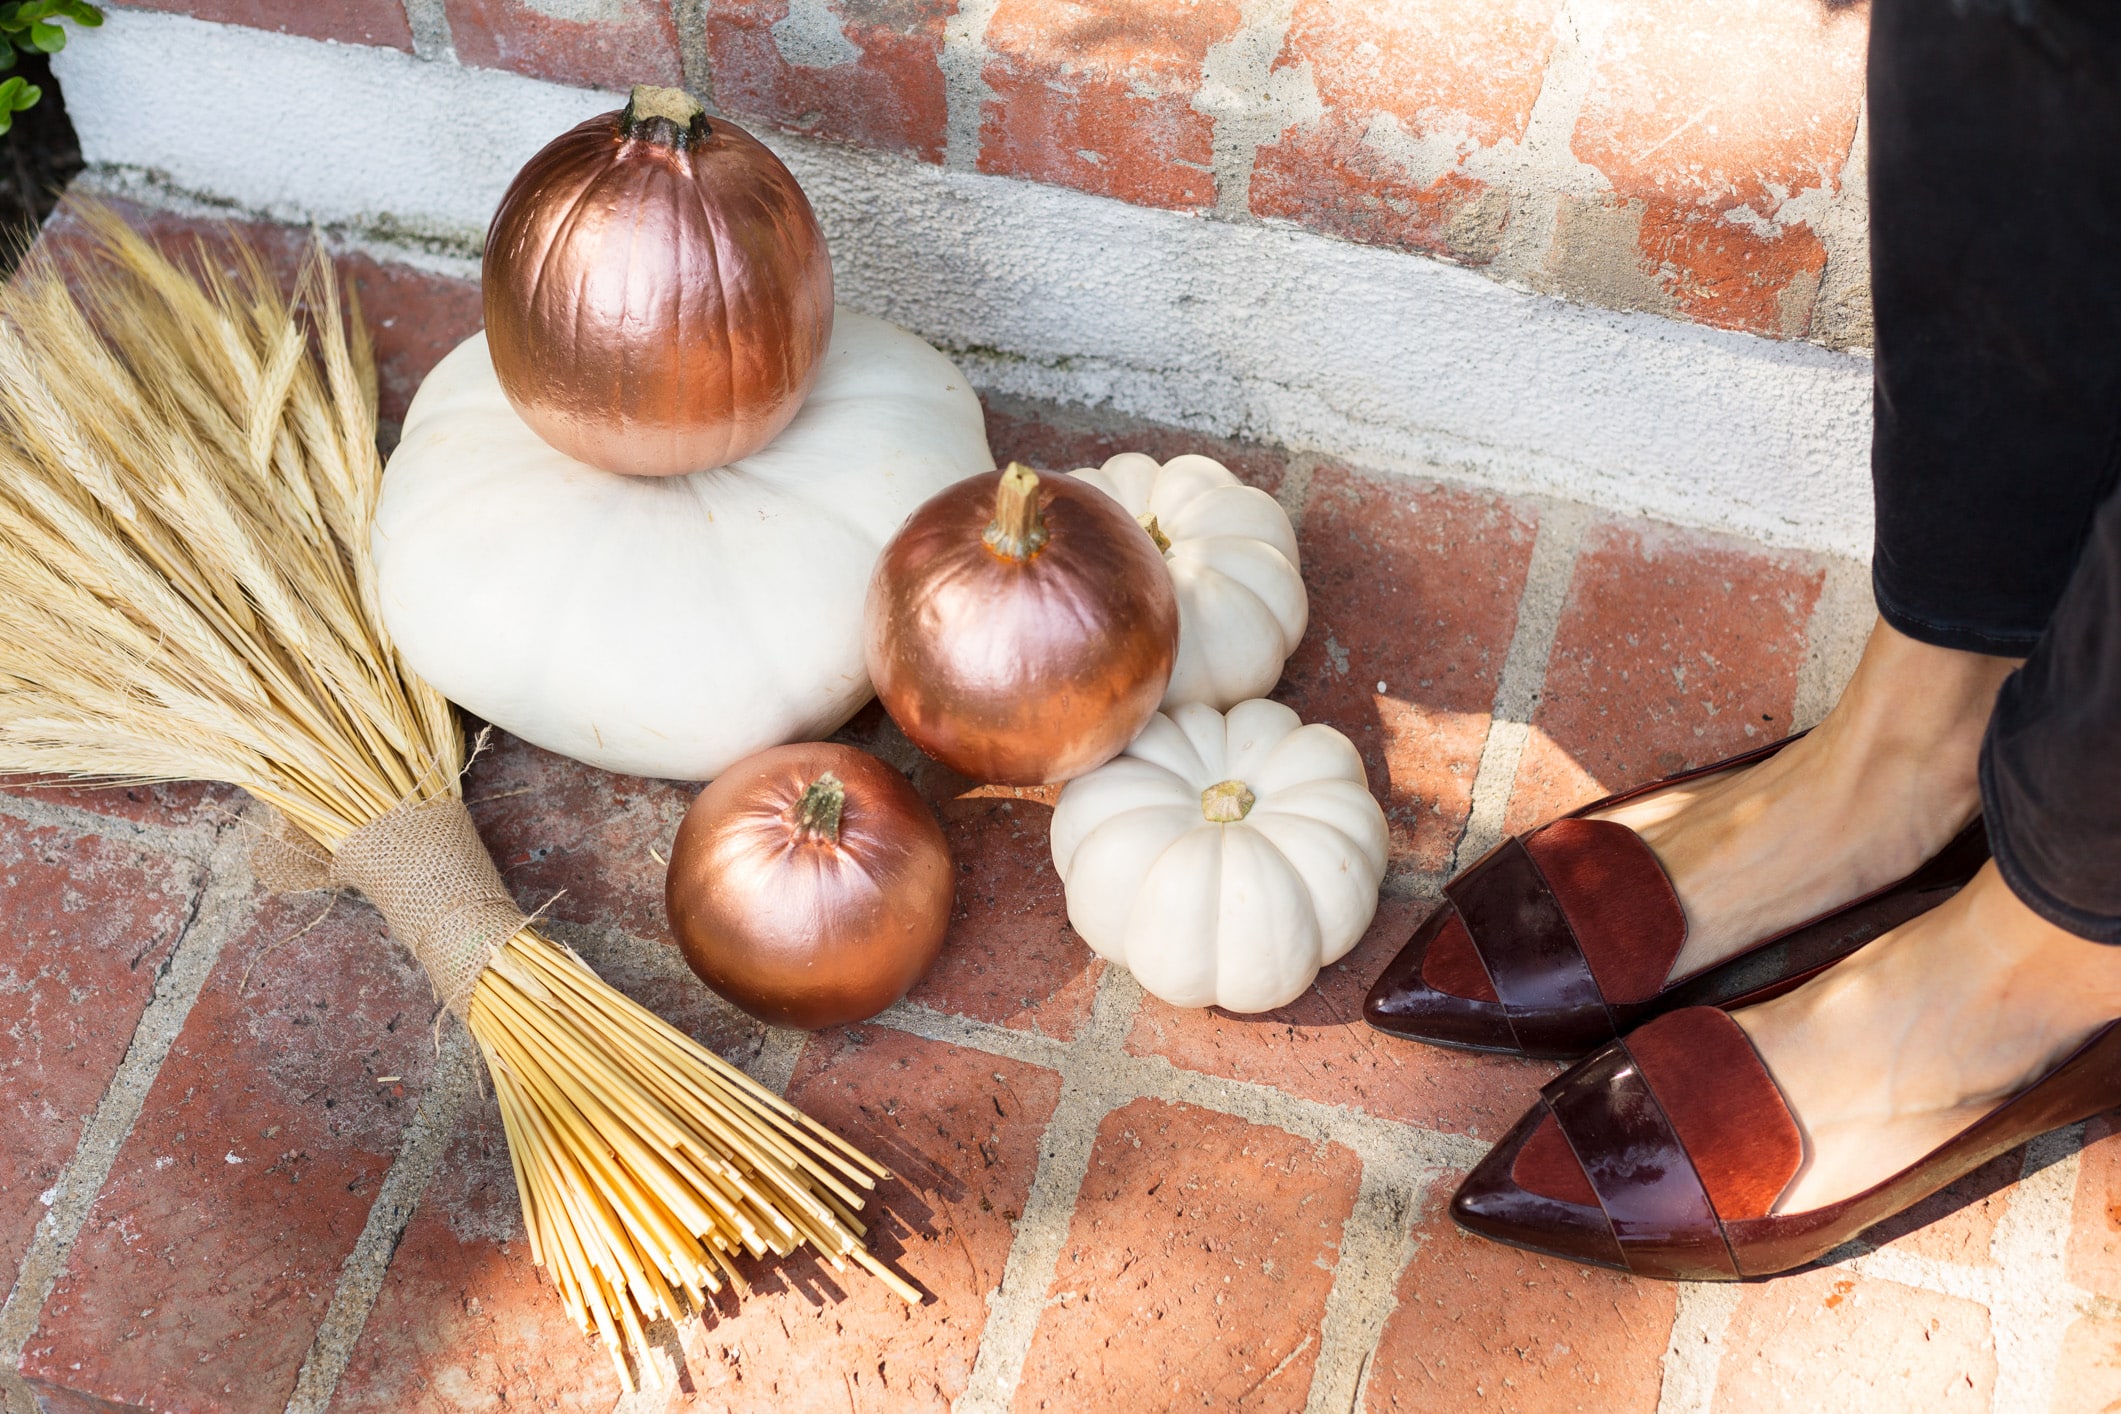
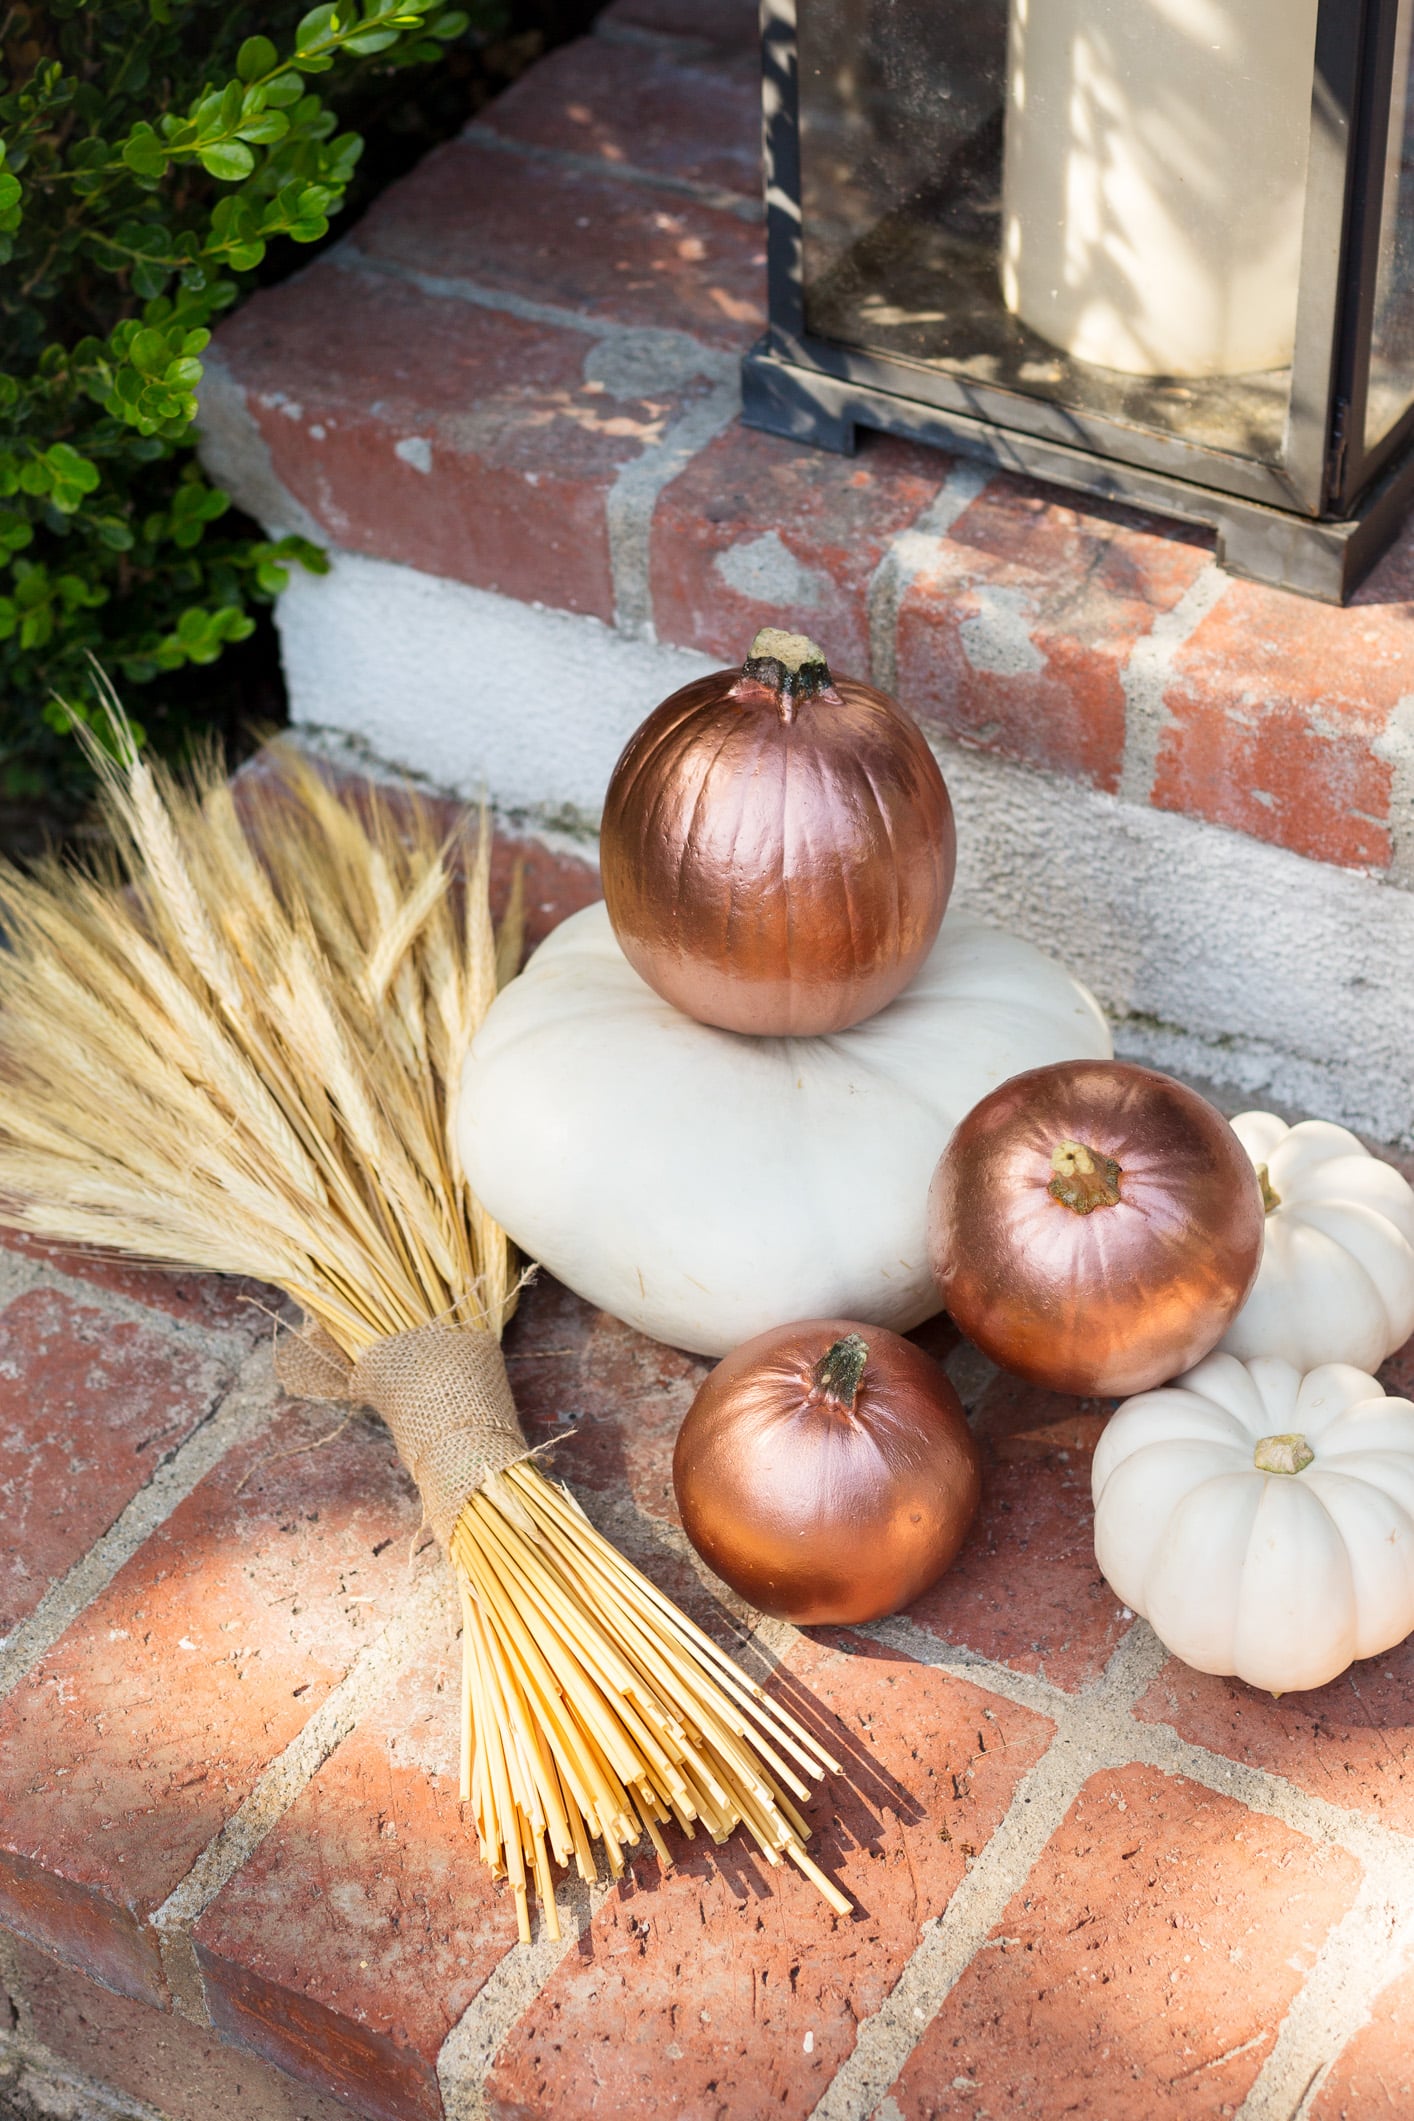
This DIY was so easy. I had Mackenzie spray the pumpkins outside with the copper spray paint, because I didn’t want to play around with aerosol paints while while pregnant (which means my job was a lot easier!). I can still take credit as I arranged them when they were dry and it was my idea, LOL. Check out how they came out below.
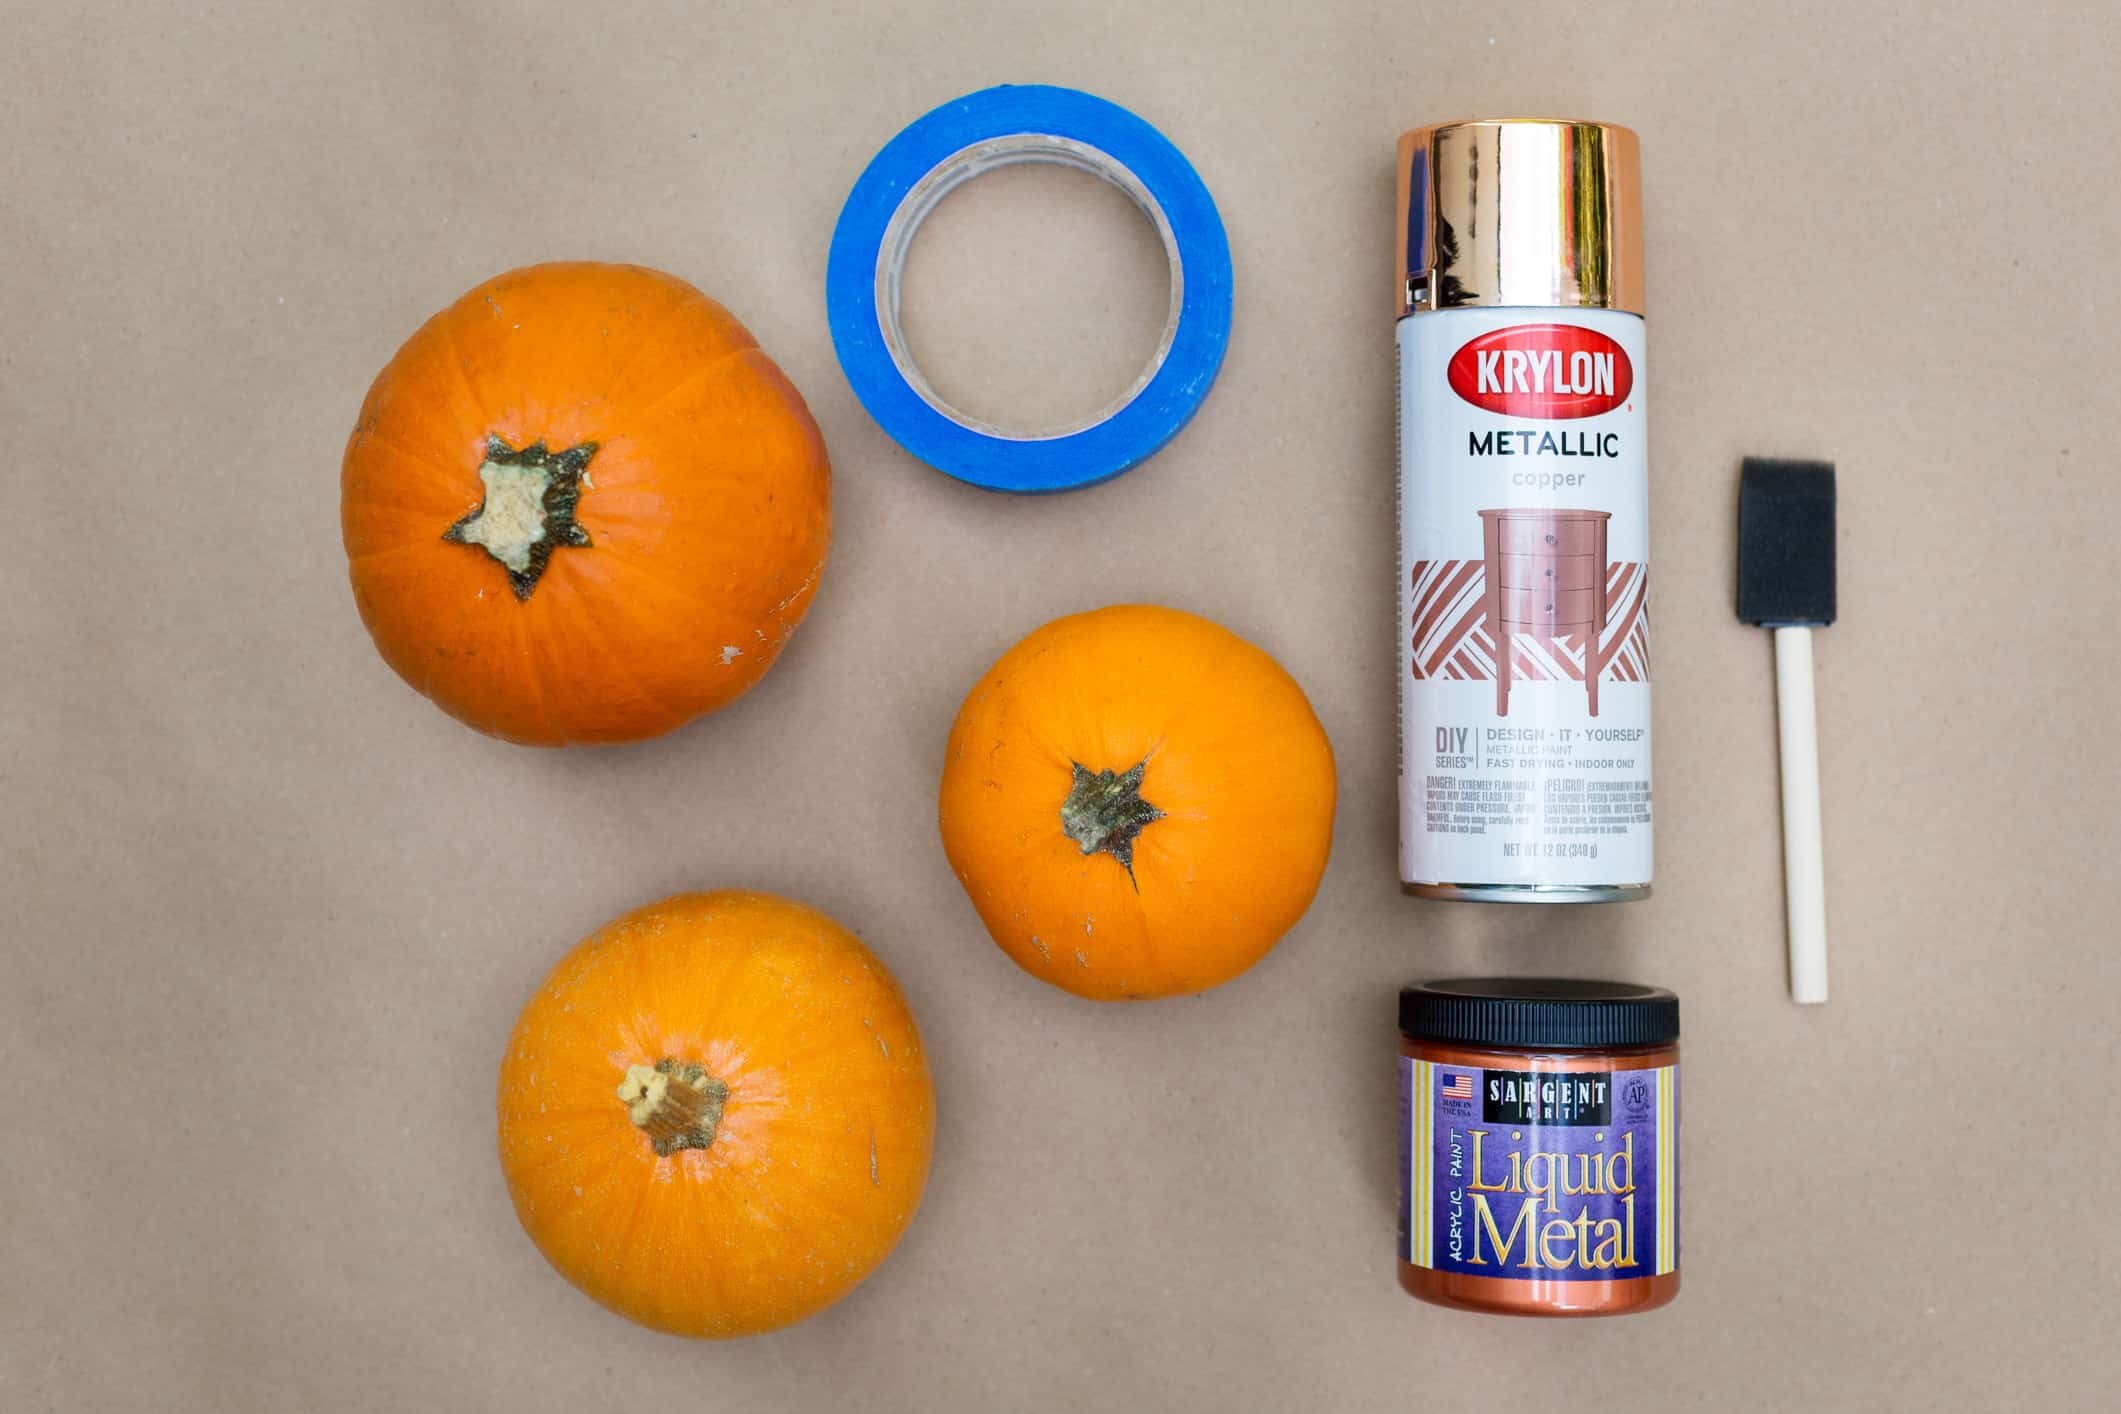
Supplies:
Assortment of pumpkins (washed)
Copper spray paint
Masking tape
Old newspaper or butcher paper
Foam brush for touch-ups
Copper paint for touch-ups (optional)
Plastic gloves
Step 1:
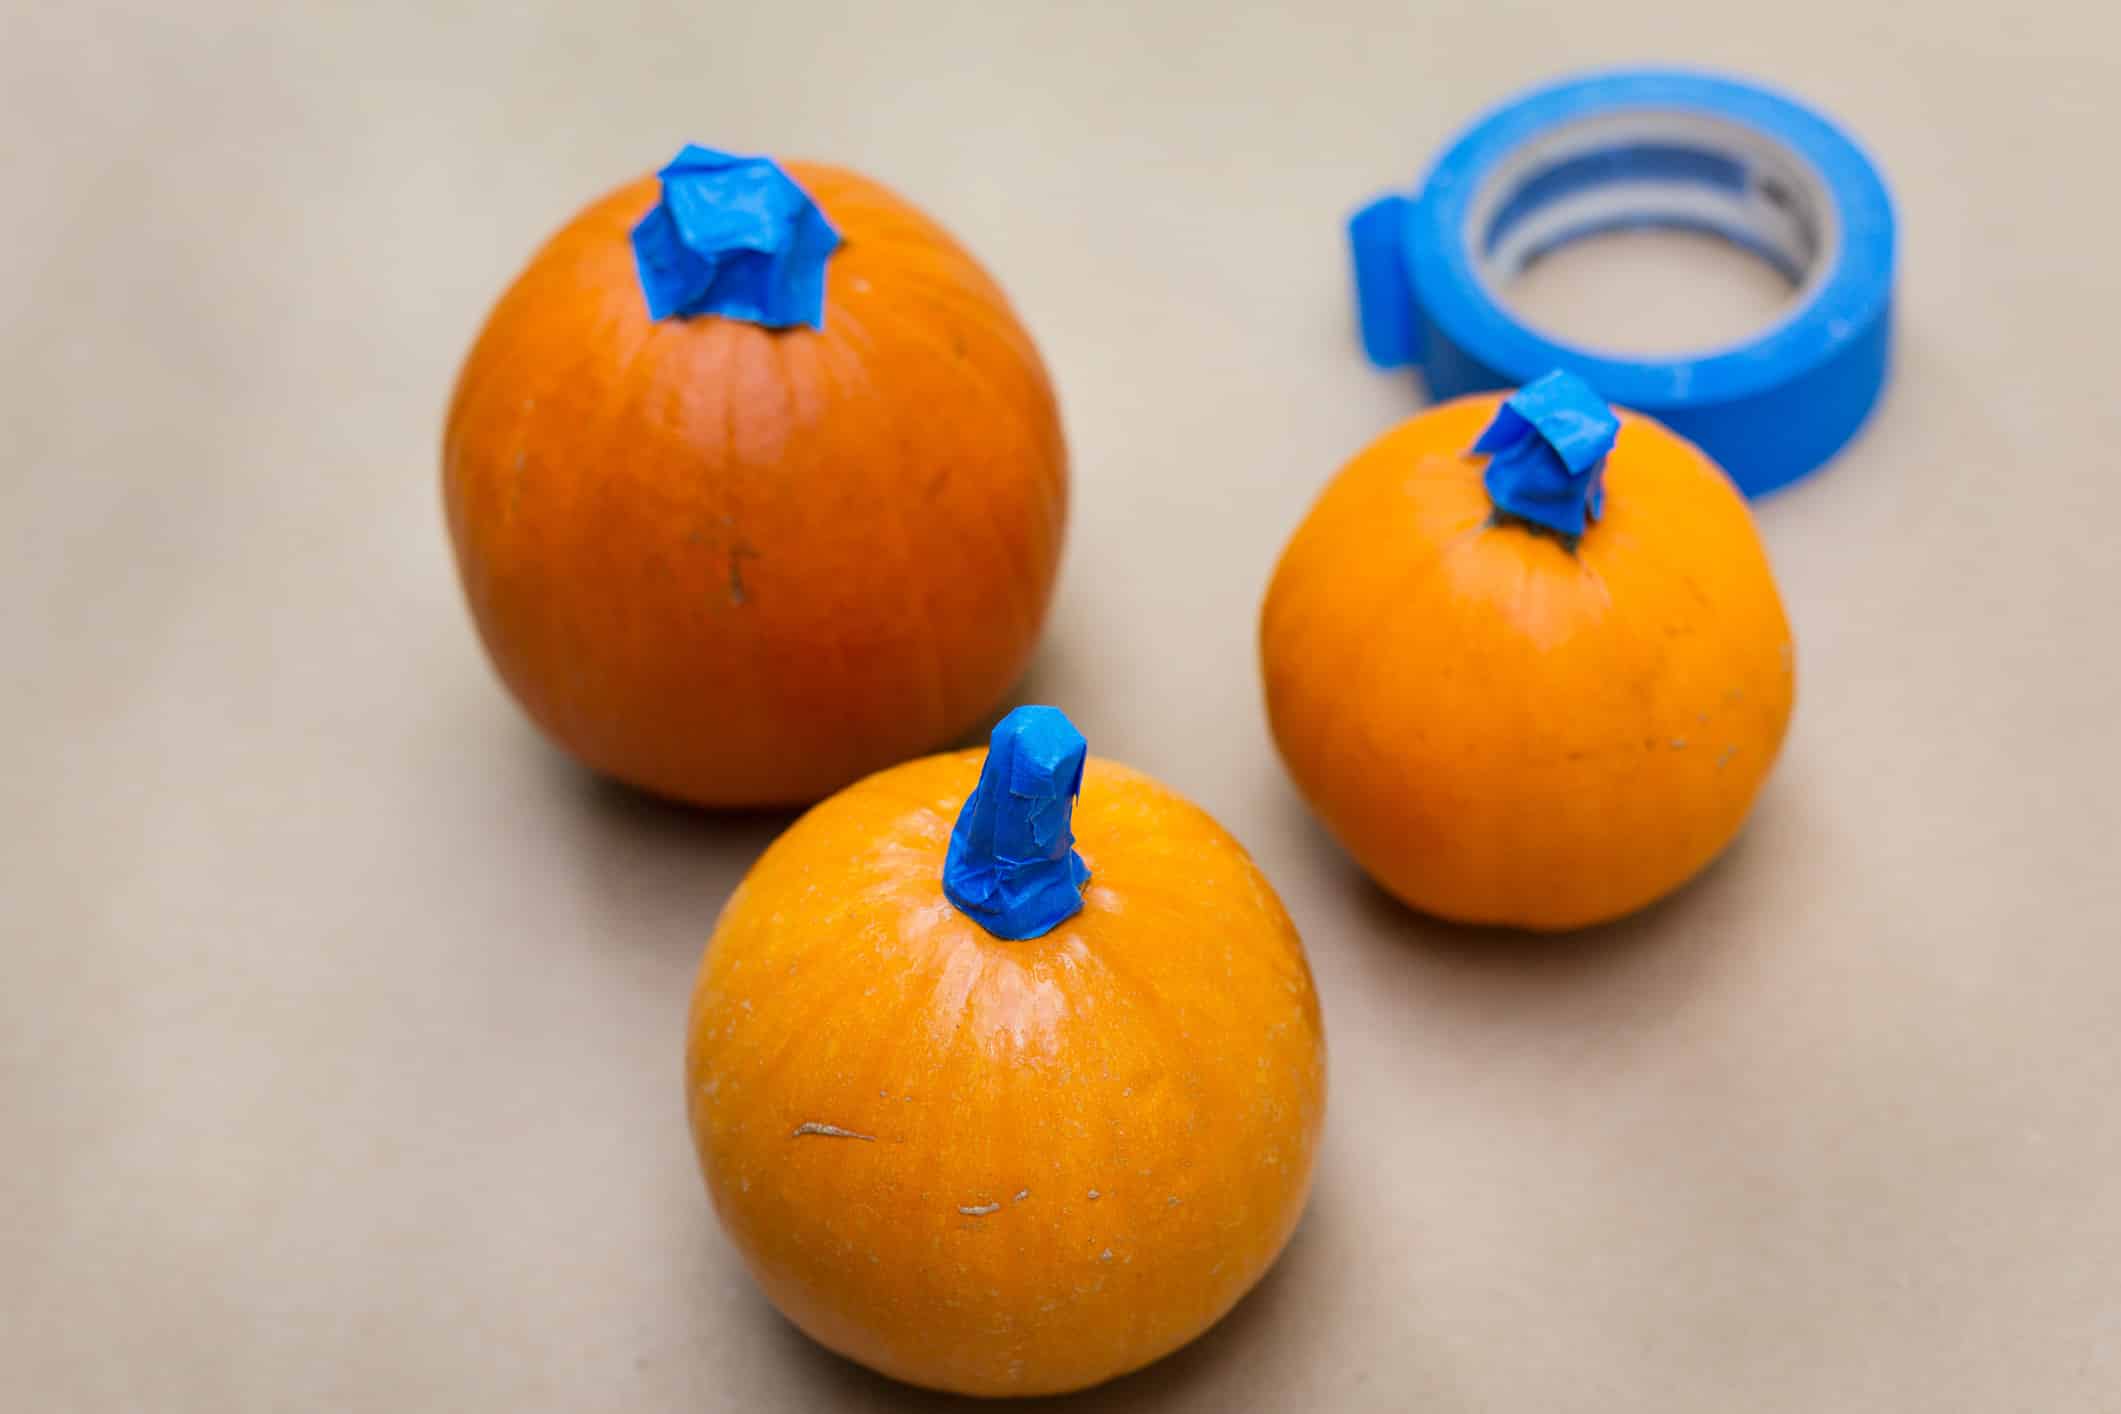
Wash the pumpkins so they are completely clean and dry them. Once they are dry, cover the stem of the pumpkin with masking tape so that only the pumpkin shell gets spray painted.
Step 2:
Head outside and place some old newspaper on a flat surface. It’s important to do this in the open air because you do not want to be spraying aerosol paints inside your house. They are definitely not good to breathe in and there’s more risk of accidentally spraying a surface. Put your plastic gloves on, to protect your skin (Mackenzie found this out the hard way by getting the paint all over his fingers), and then spray the pumpkins all over with the coppery paint. You can hold the small ones easily by the top and spray all over!
Step 3:
Wait for them to dry. If you need to do any touch-ups then you can spray the coppery paint directly onto a foam brush and press it into the patches which need a little more, or keep an extra pot of copper paint on hand. Mine dried outside in the sun and they didn’t take very long at all.
Step 4:
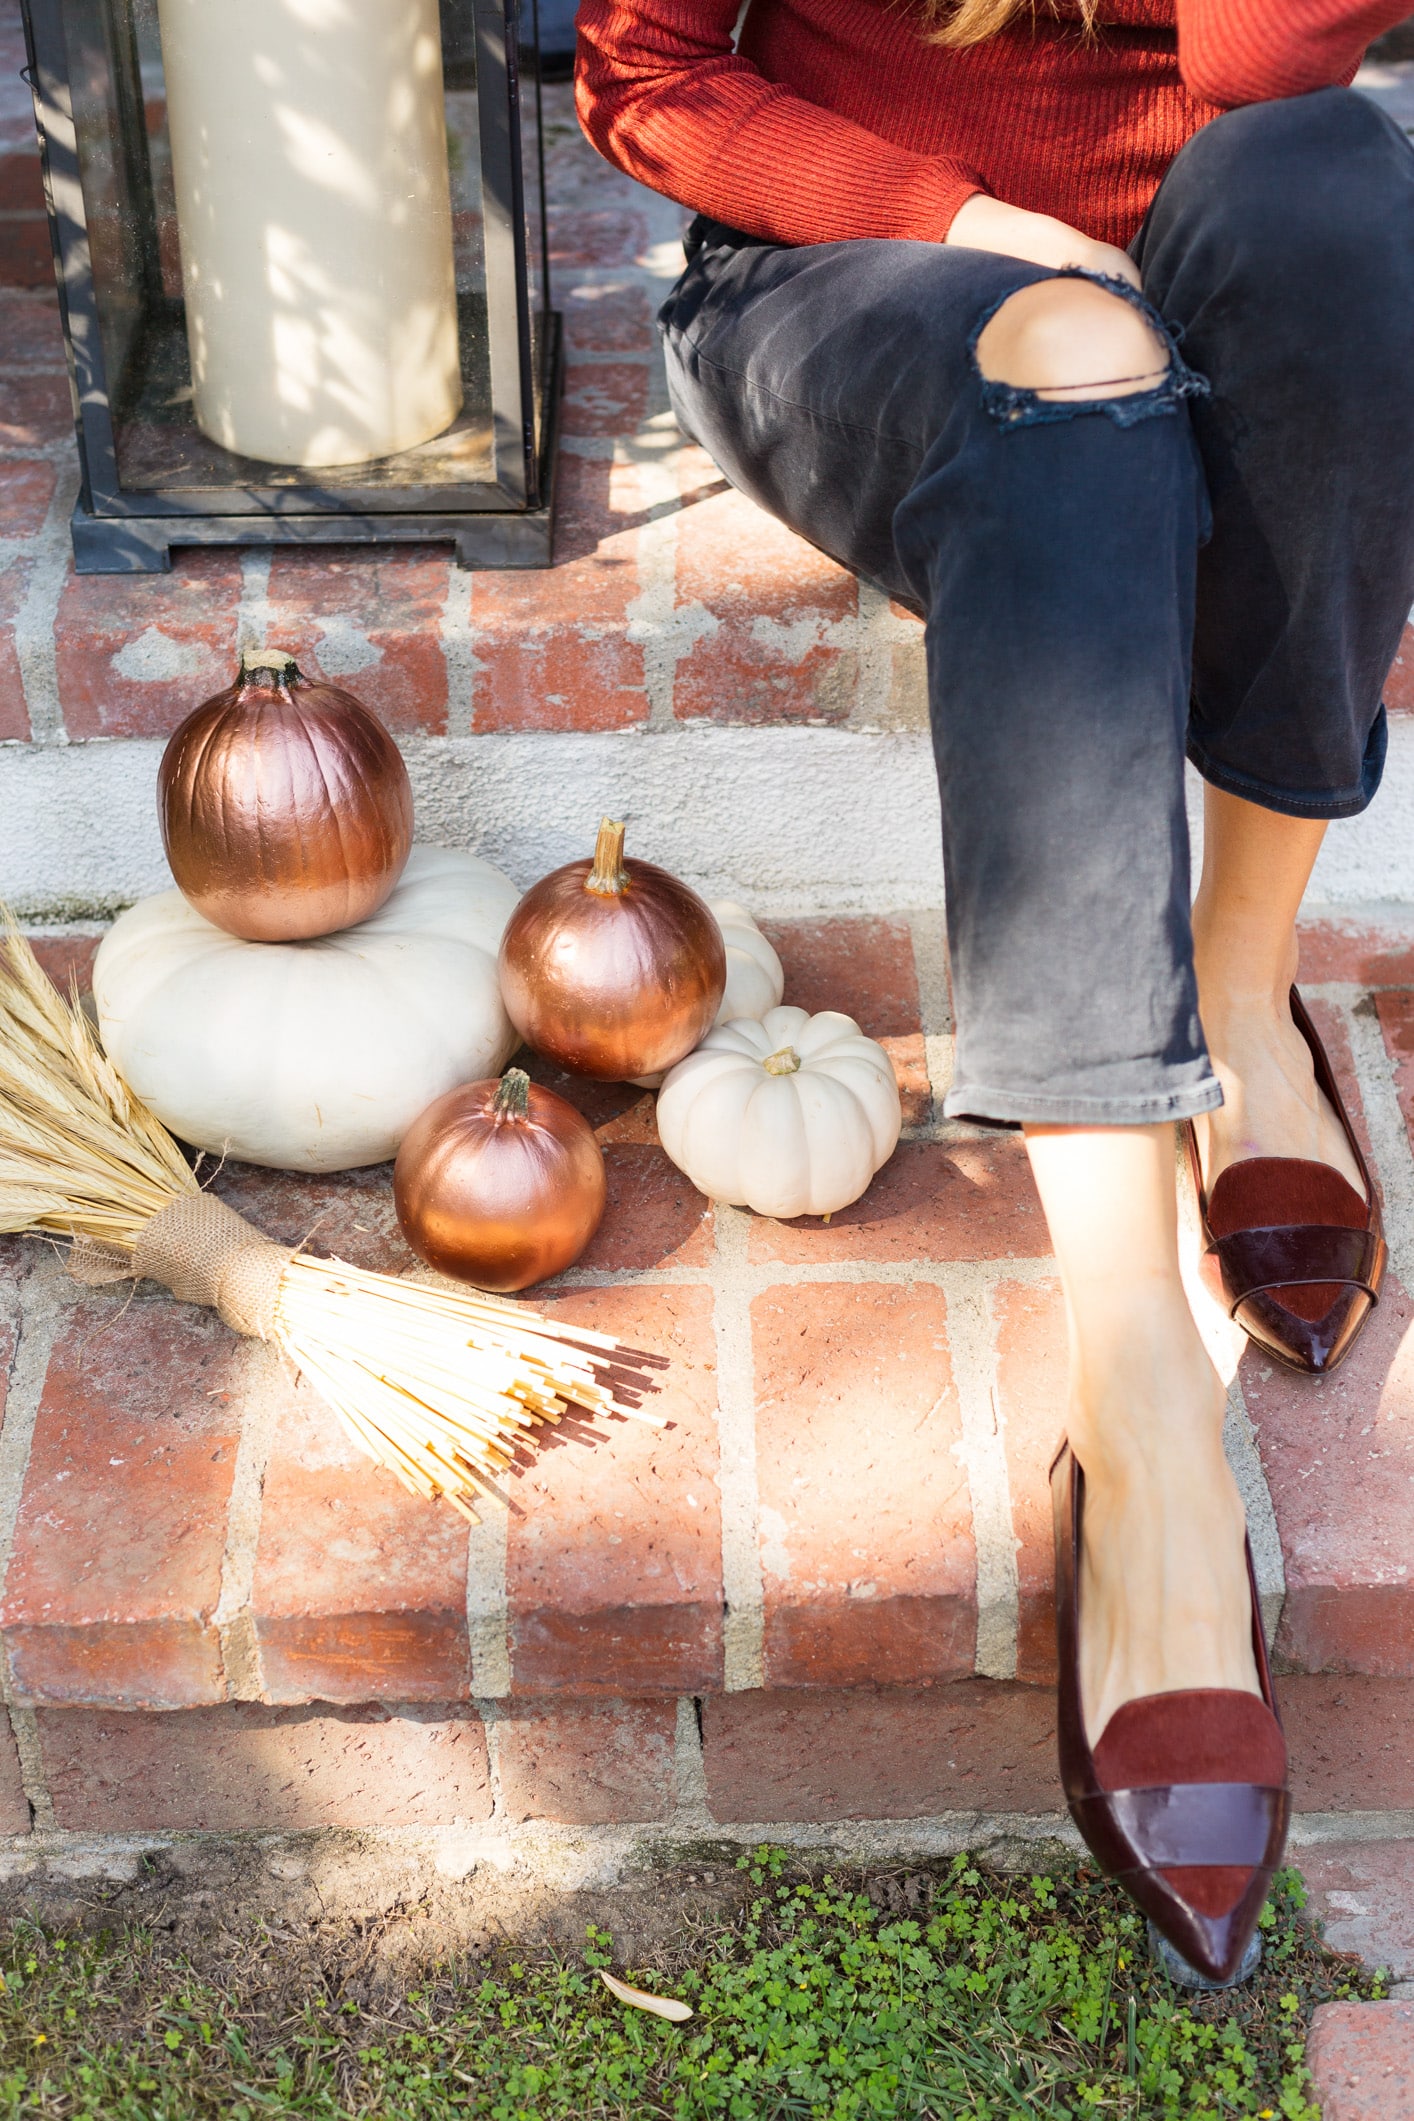
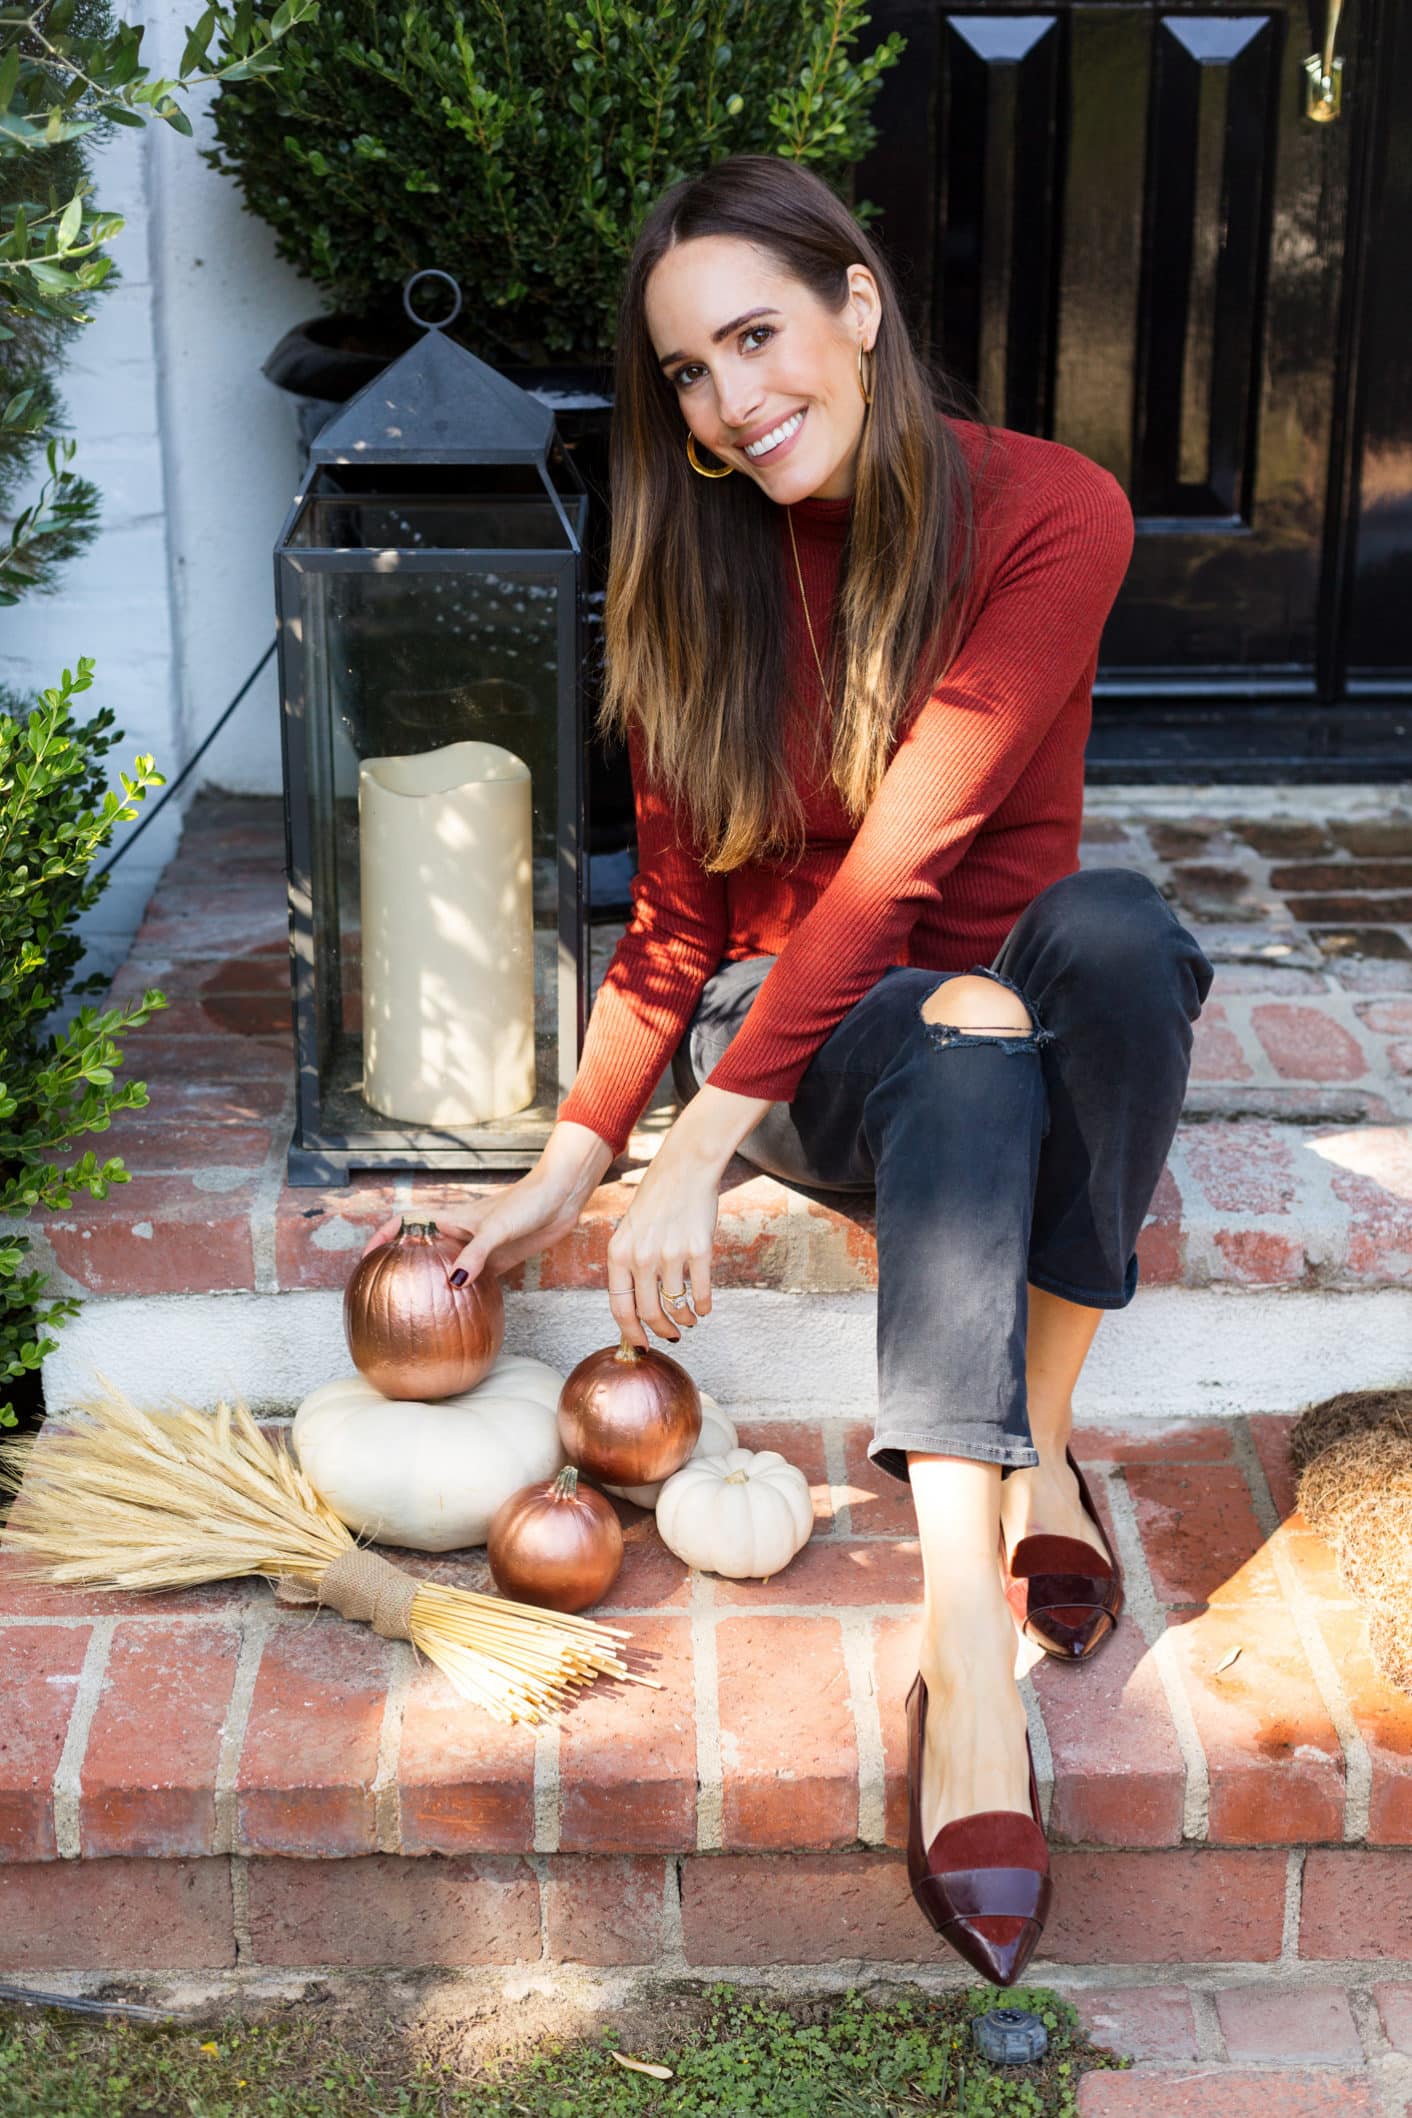
Once your painted pumpkins are completely dry, take off the masking tape and begin assembling them all. I used a few copper pumpkins and a couple of white ones to create a warm and colorful collection. I put mine by the porch to put a twist on the traditional Halloween pumpkins which go outside your door, but these would also look so cute on a table for a dinner party for Thanksgiving as well.
Let me know if you create this fun DIY and tag me in the photo on Instagram, so that I can see your versions of this elegant twist on Halloween! I’ll be featuring my favorites on my Instagram stories.
xx,


This project is so chic, I love how you have styled up Halloween in your own way. I’m adoring copper at the moment too, especially for homeware. I’m not big on the scary stuff myself, but decorating seems like so much fun! On another note, I read your book ‘Front Roe’ earlier in the year, and loved it! 🙂 Xx
Helen | Helen’s Fashion, Beauty & Lifestyle Blog
i love your look
http://www.fashionjuls.it