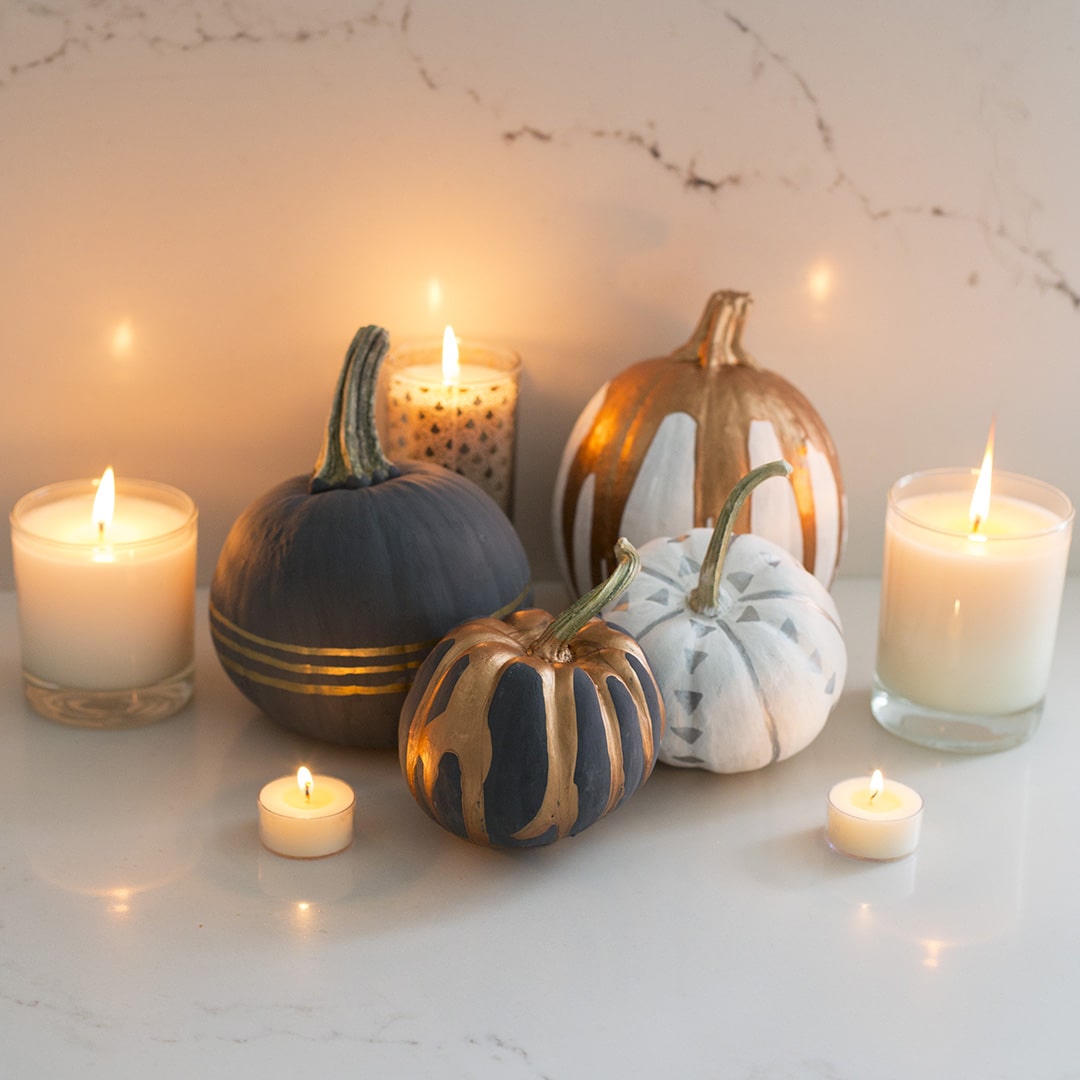
Although I love decorating for the holidays, one that I rarely go all-out for is Halloween. Maybe it’s just me, but I’m just not into having fake spiderwebs all over the place! Since we don’t have any little ones just yet, I like to decorate in a really grown up, yet chic and fun way (while I still can!). I’ve noticed over the past few years a really cool fall decorating trend: no-carve pumpkins.
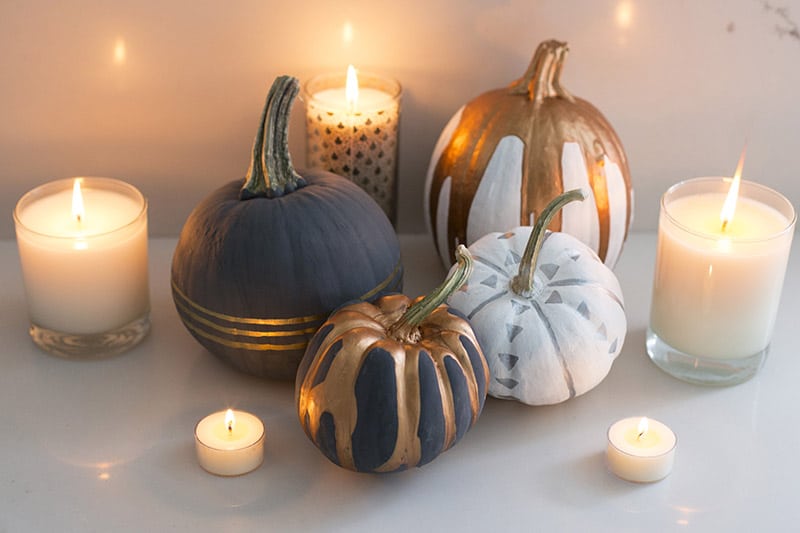
Unlike the traditional jack-o-lanterns, no-carve pumpkins usually involve decorating the outside of the pumpkin, without removing all the messy guts and seeds. You can make them super Halloweeney if that’s what you like, but I prefer ones that are a bit minimal and elegant. Last year I even decorated a few pumpkins with thumbtacks! (see them on Instagram here) What’s great about keeping them glam and chic is that they work from Halloween all through the holidays, so no need to toss them after trick or treating is over. They’d even make gorgeous Thanksgiving centerpieces. Check out how I painted mine below! There is no wrong way to do these, so take these ideas and make them your own.
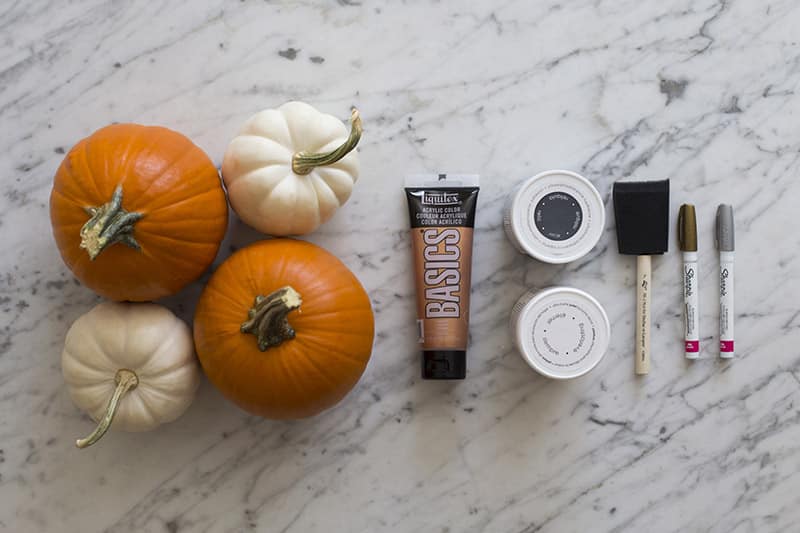
Supplies:
Assorted pumpkins (washed!)
Chalk-finish acrylic paint (I used charcoal and white)
Foam brushes
Oil-based metallic paint pens (I used silver and gold)
Metallic acrylic paints (I used copper)
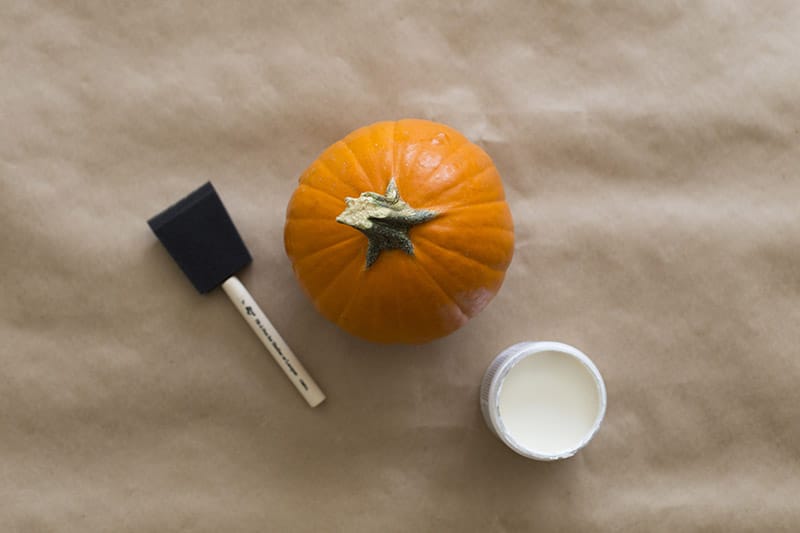
Step 1) Protect your workspace by laying down newspaper or parchment. Decide on your base colors – I went with these cool chalk colors. Start by applying a few layers of chalk paint to your pumpkins (not the stems). You’ll need to let them dry between coats.

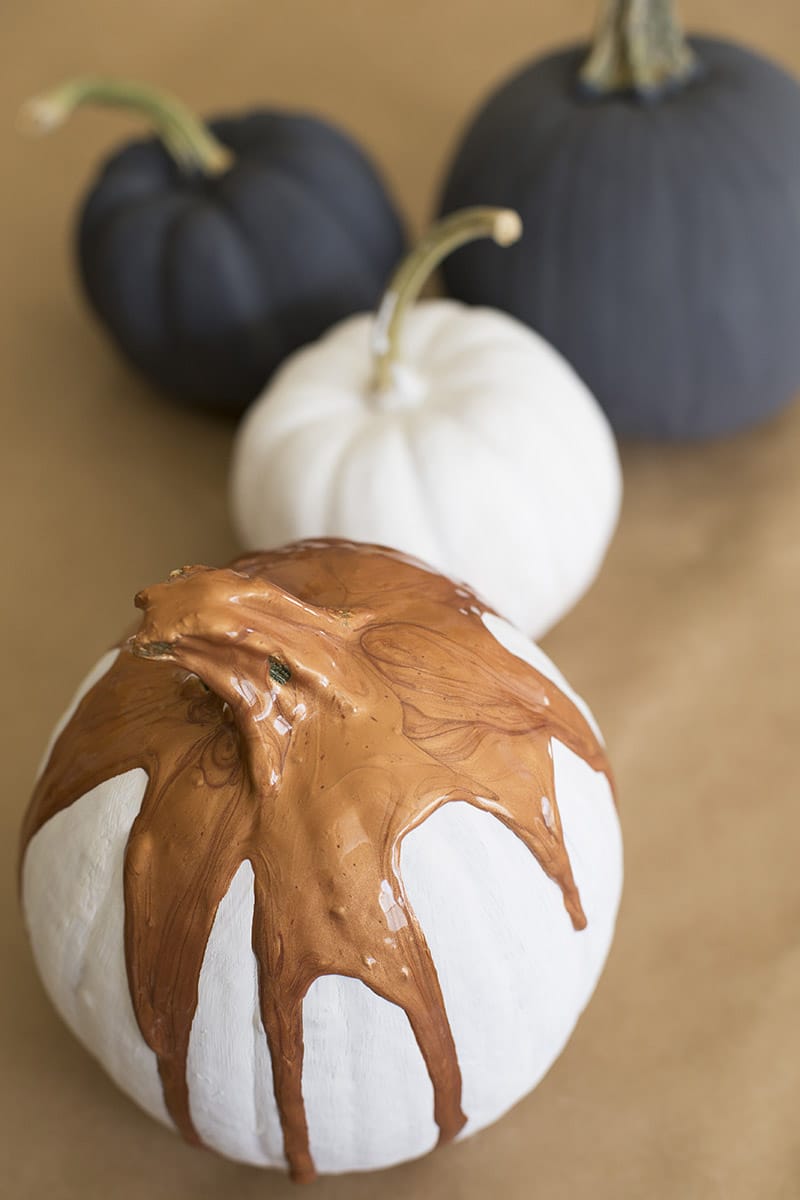
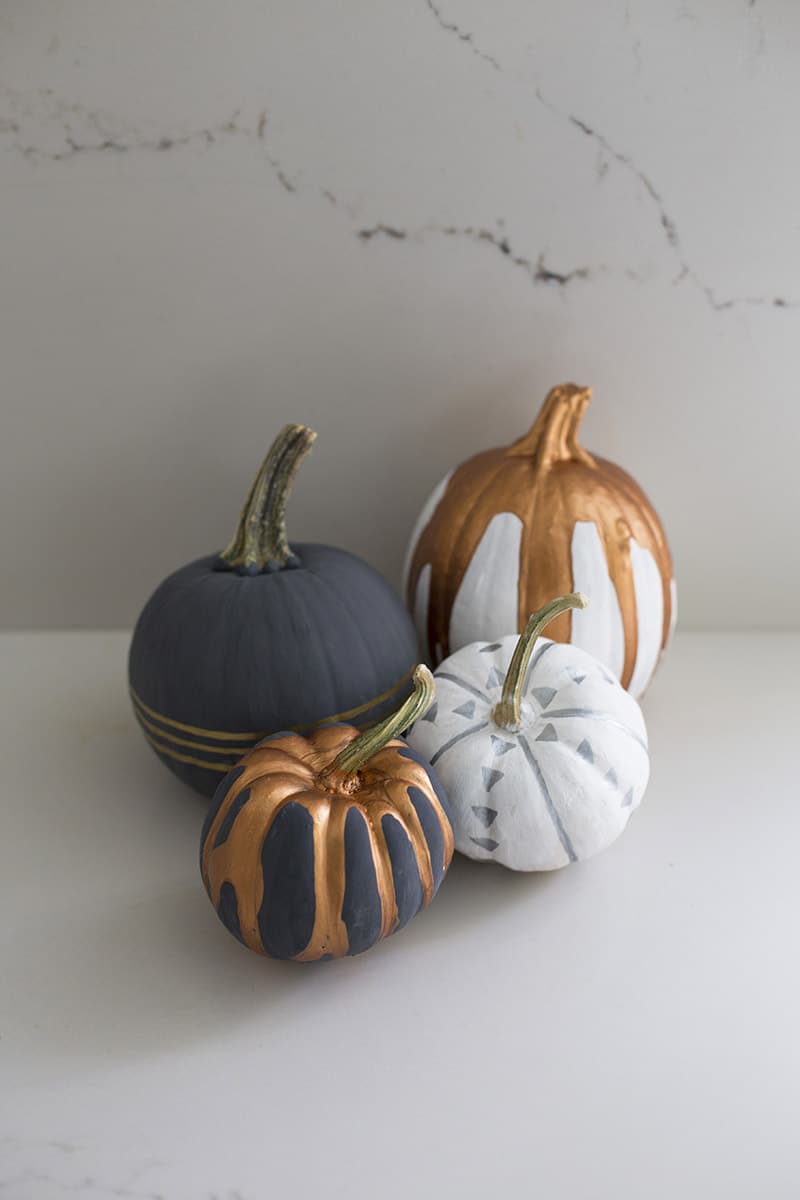
Step 2) Once they are fully dry you can start decorating (luckily it was 90 degrees on the day I did mine, so I set them outside for a few minutes between coats and they were dry in no time). For the drip effect, take your paint and literally drip it down the stem, until it overflows on each side. This was my first time doing this, and I realized pretty quickly that it would be easier to use metallic paint that comes in tubs that you can pour, rather than tubes like I used here. I ended up squeezing all the paint into an old tupperware and mixing it with a bit of water to make it runnier, then poured it over the top of the pumpkin. Allow to dry.
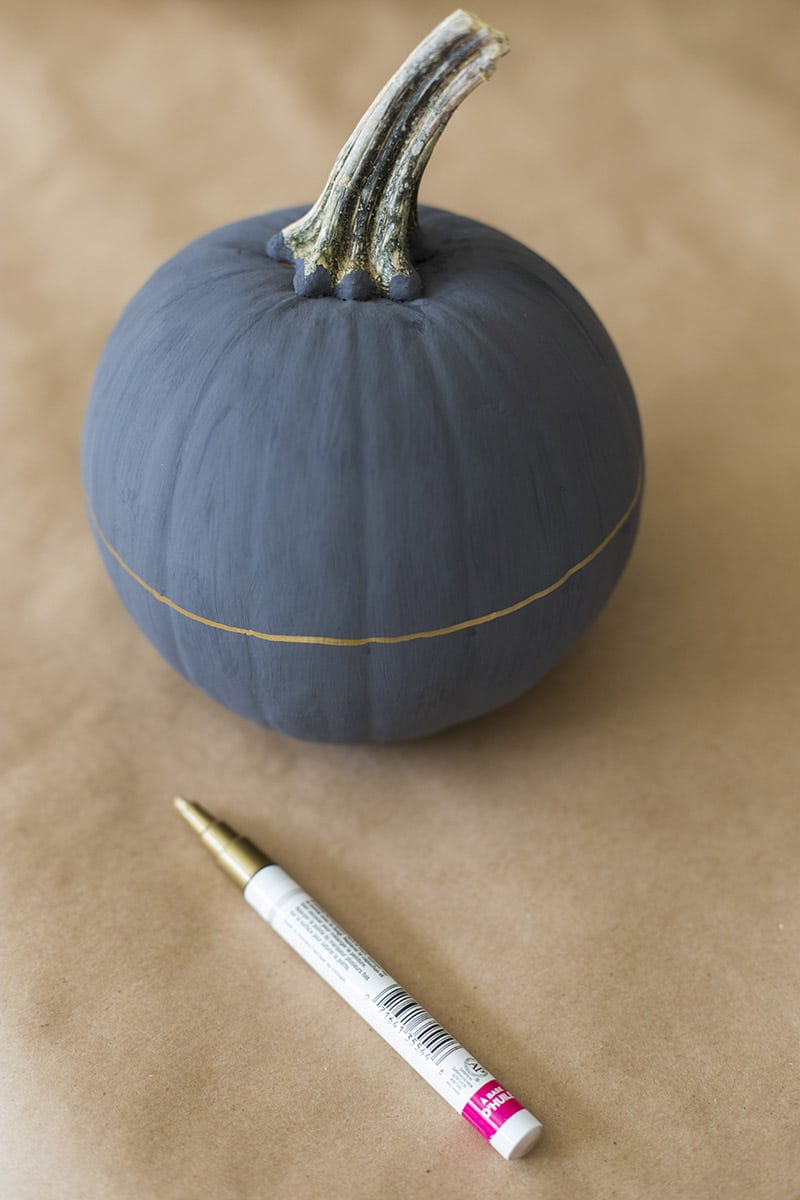
Step 3) For the handpainted pumpkins, use metallic oil-based paint pens. I thought the gold looked nice on the charcoal color pumpkin, and the silver on the white. Decorate however you like! I kept mine rather simple. Allow all pumpkins to dry overnight without moving them. And voilá!
xx,


Love the idea of panting them instead of carving! x
http://josefinmolander.com