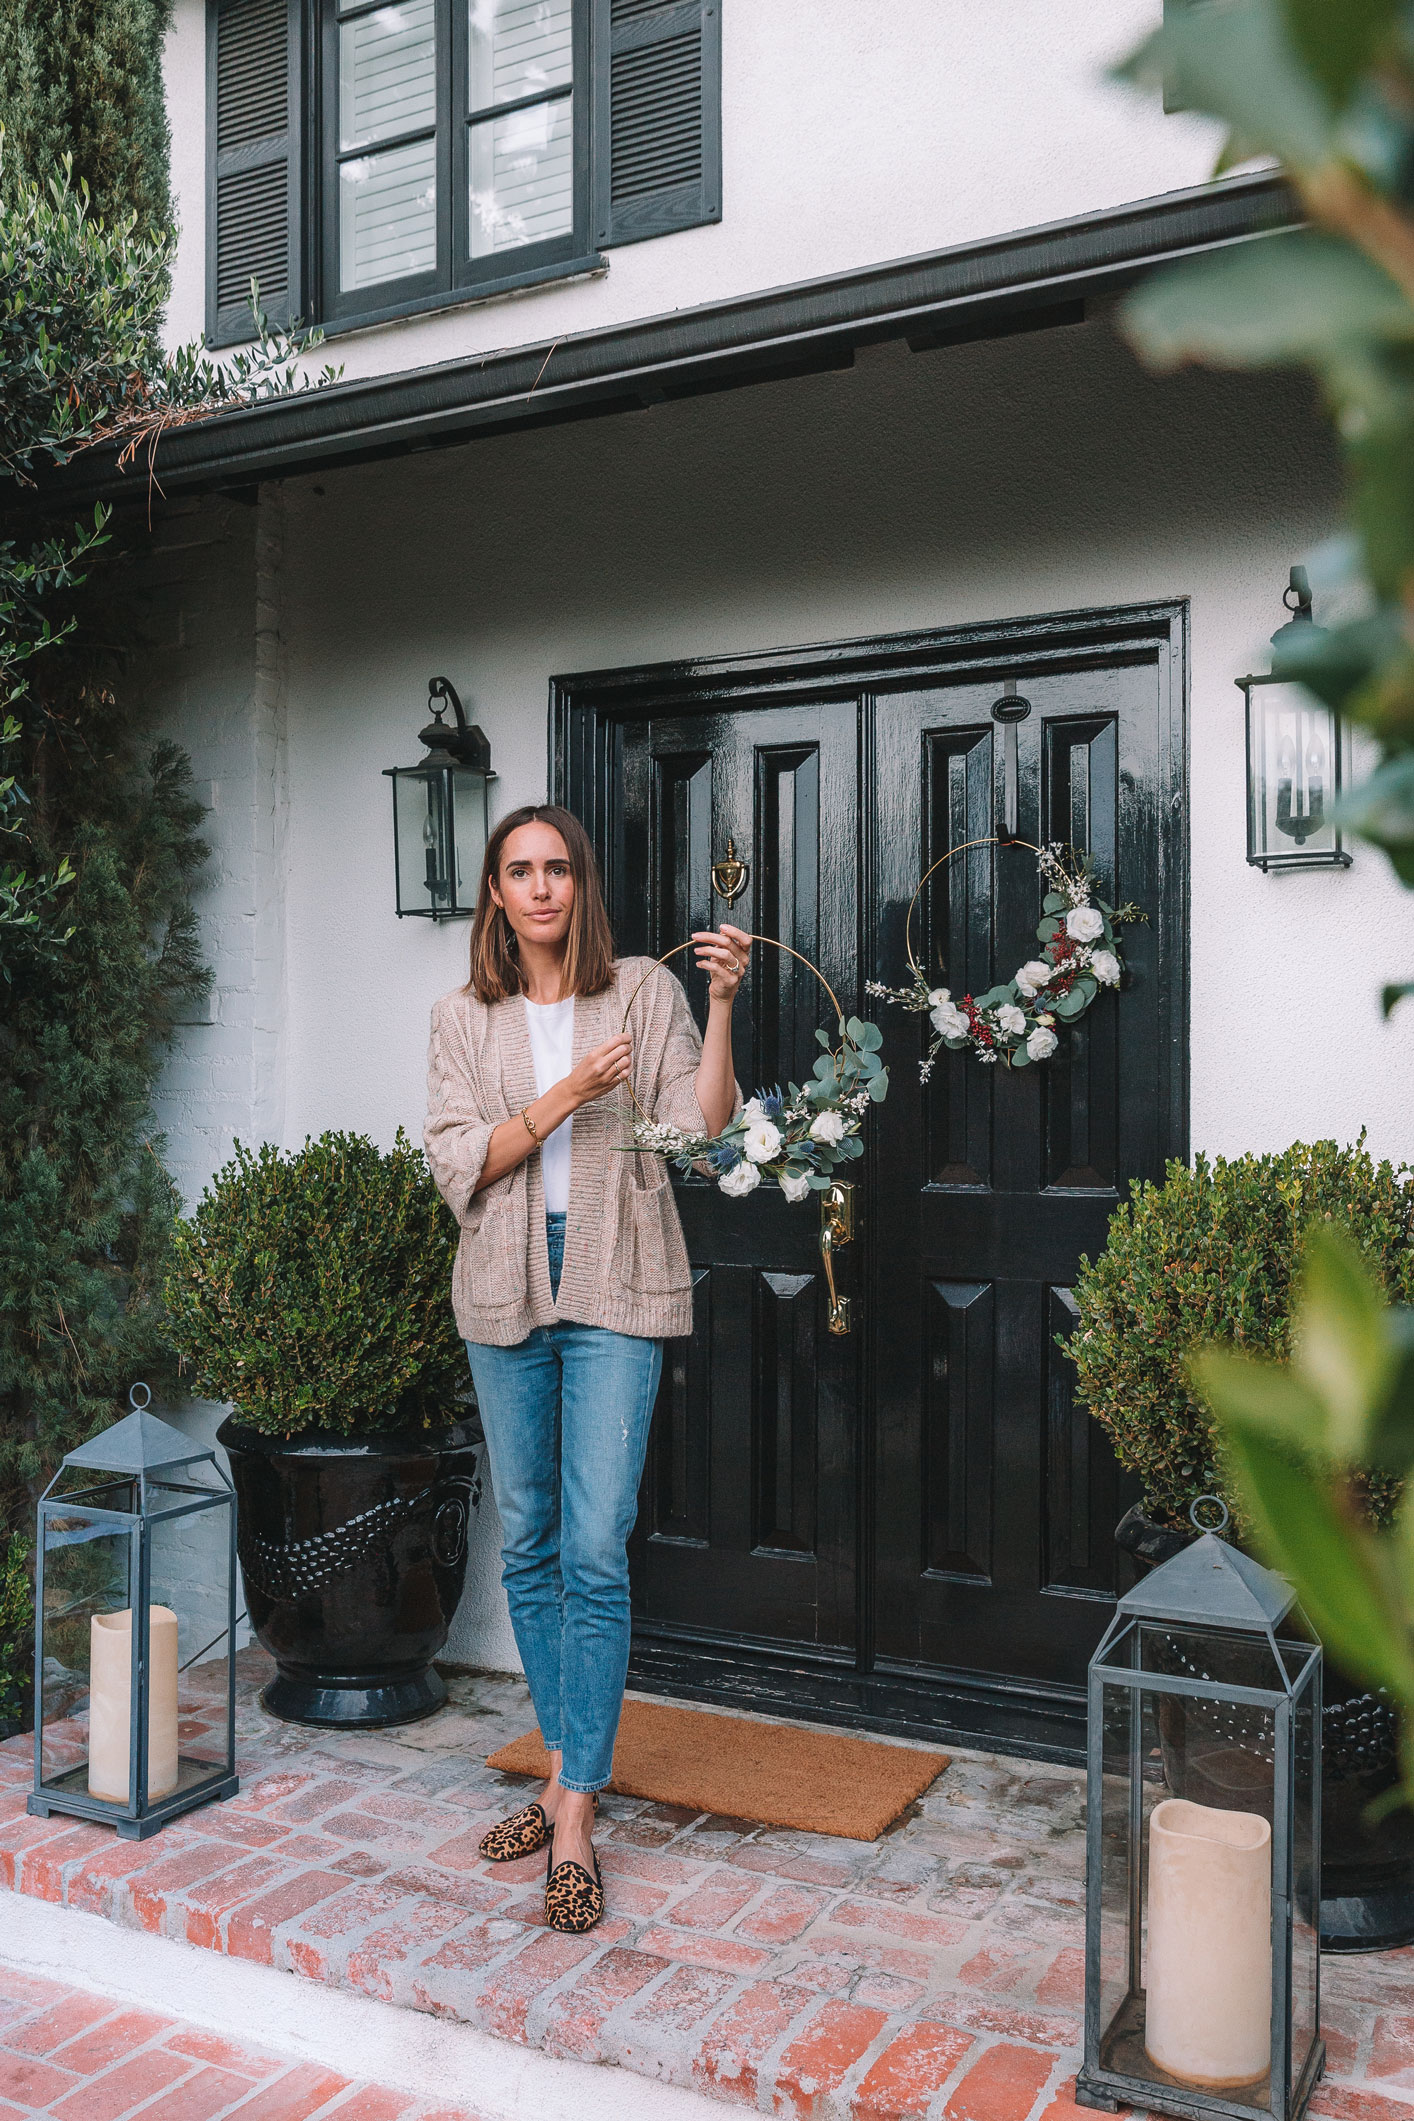
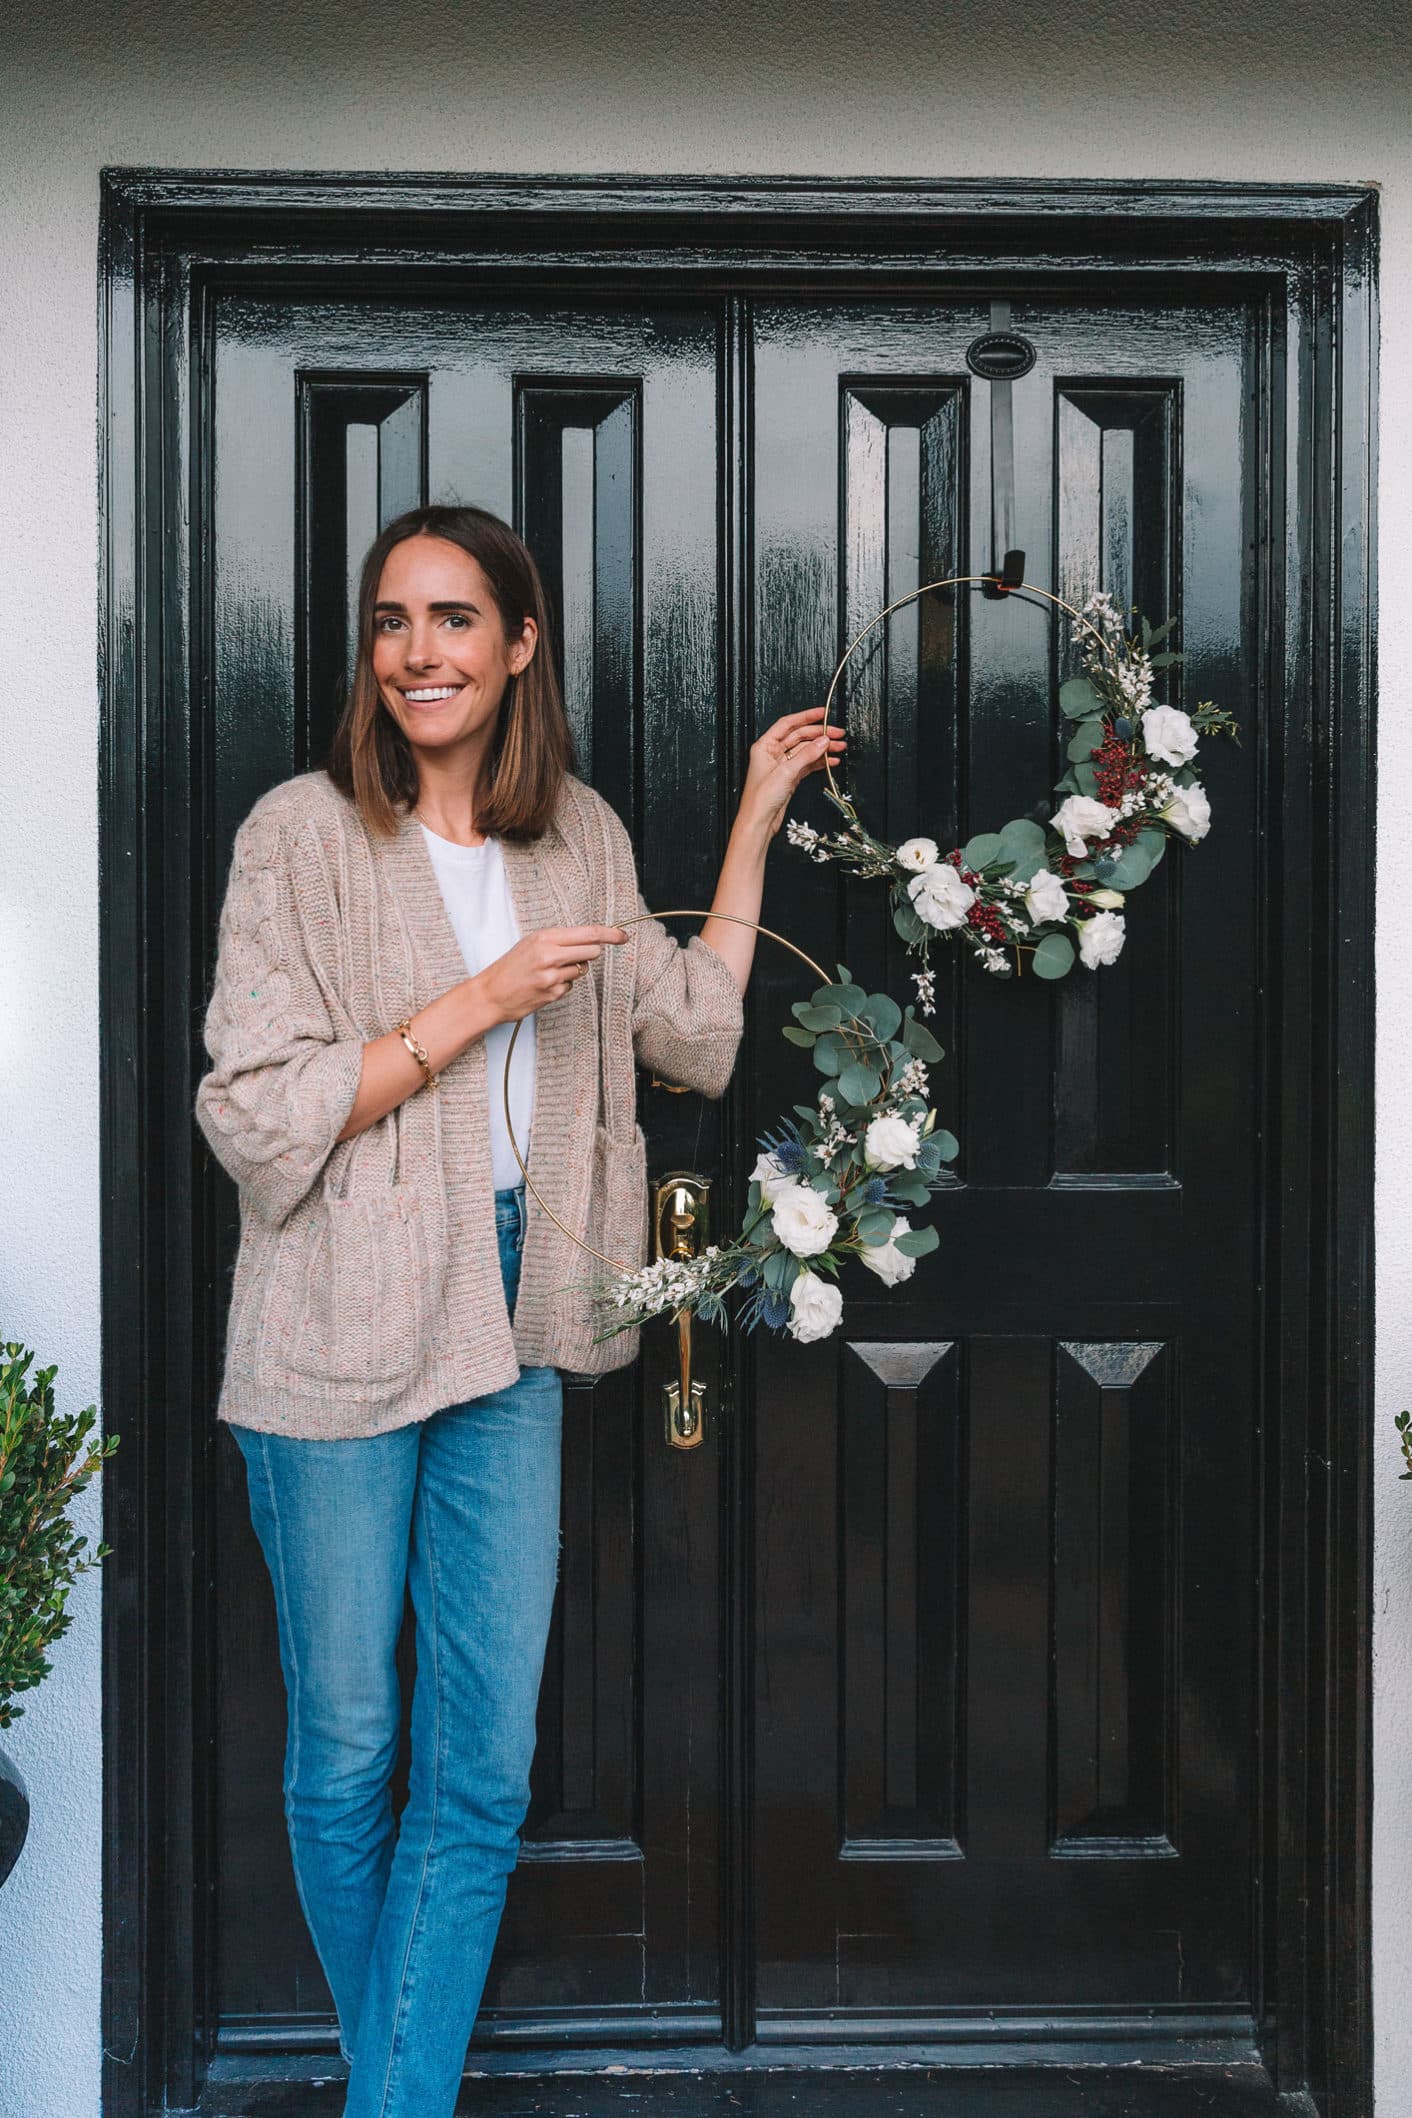
You guys know I love wreaths, so much that I make one almost every year (check out this garland wreath I made last year, and my orange & eucalyptus wreath the year before!). So 2018 was no different – I decided to have a fun wreath making tea party at my house, but this year I wanted to try a totally new shape. I’ve been seeing these gorgeous asymmetrical holiday wreaths on Pinterest and Instagram all year, and I’ve been dying to try them out. It’s not too late to make your own! See how to make one below, just in time for Christmas and New Years.
Supplies:
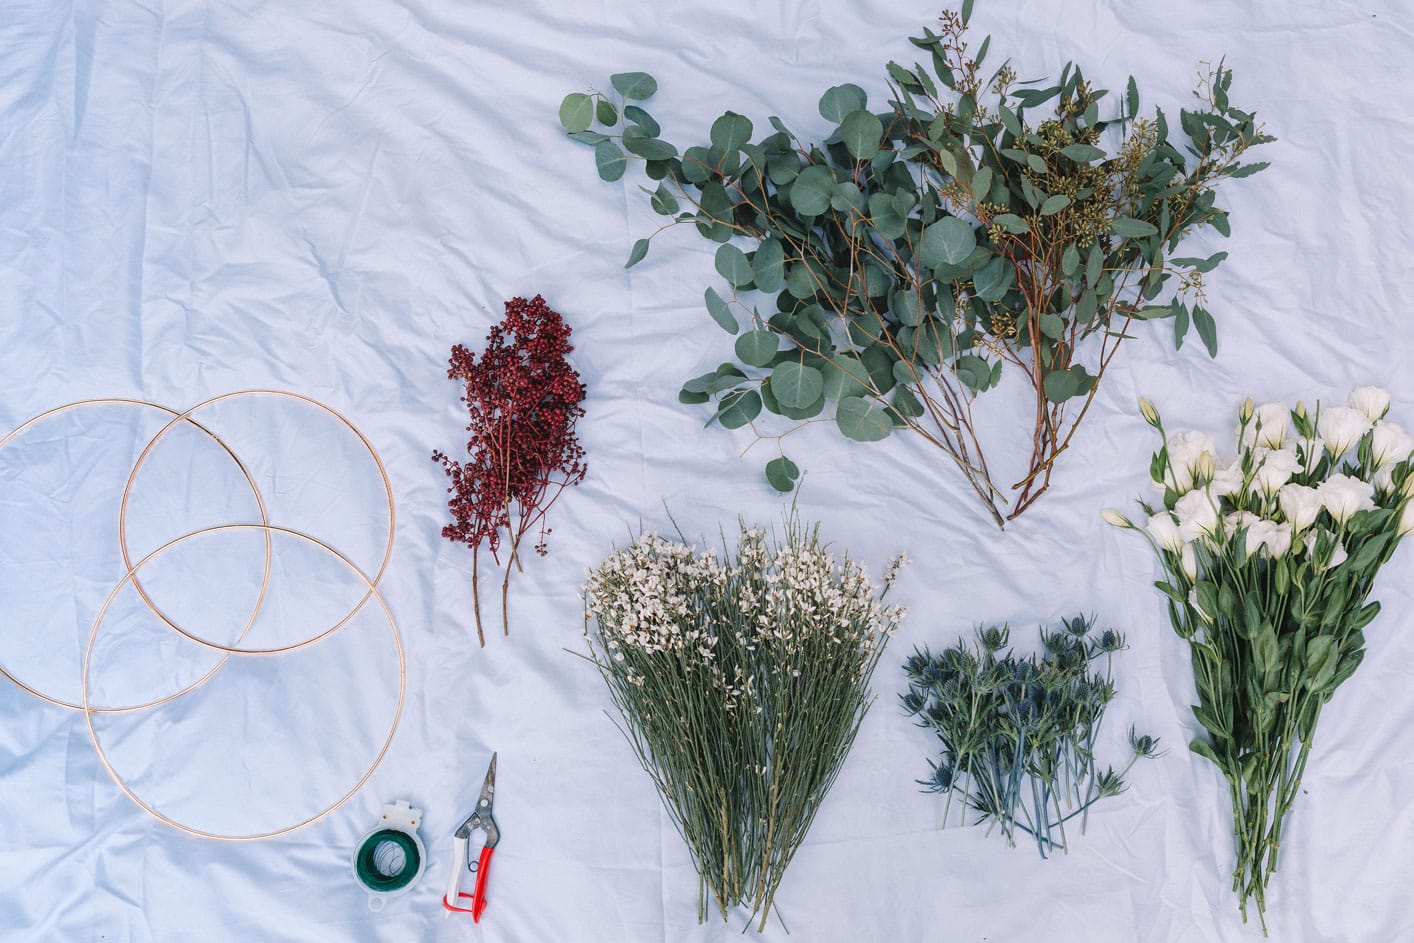
Gold crafting rings (mine are 12 inches wide)
Green floral wire
Floral shears
Wreath hanger
How To:
First up, flower sourcing: I highly suggest checking out your local farmer’s market for the freshest in-season blooms, but if you don’t live nearby one, grocery stores like Whole Foods, Bristol Farms, Pavilions, or even local mom and pop shops usually have a great selection for a good price. You’ll need lots of greenery for the base. Eucalyptus and olive leaves are some of my personal favorites. If you want to go full holiday, try rosemary or pine. Then you’ll need a selection of 2-3 types of flowers for decoration. I went for white flowers with berries and thistles for accents. As a rule of thumb, you can usually split one bouquet of flower or greens between two people, so keep this in mind if you’re shopping for a group. If you want something more permanent, go for faux flowers from your local crafts store!
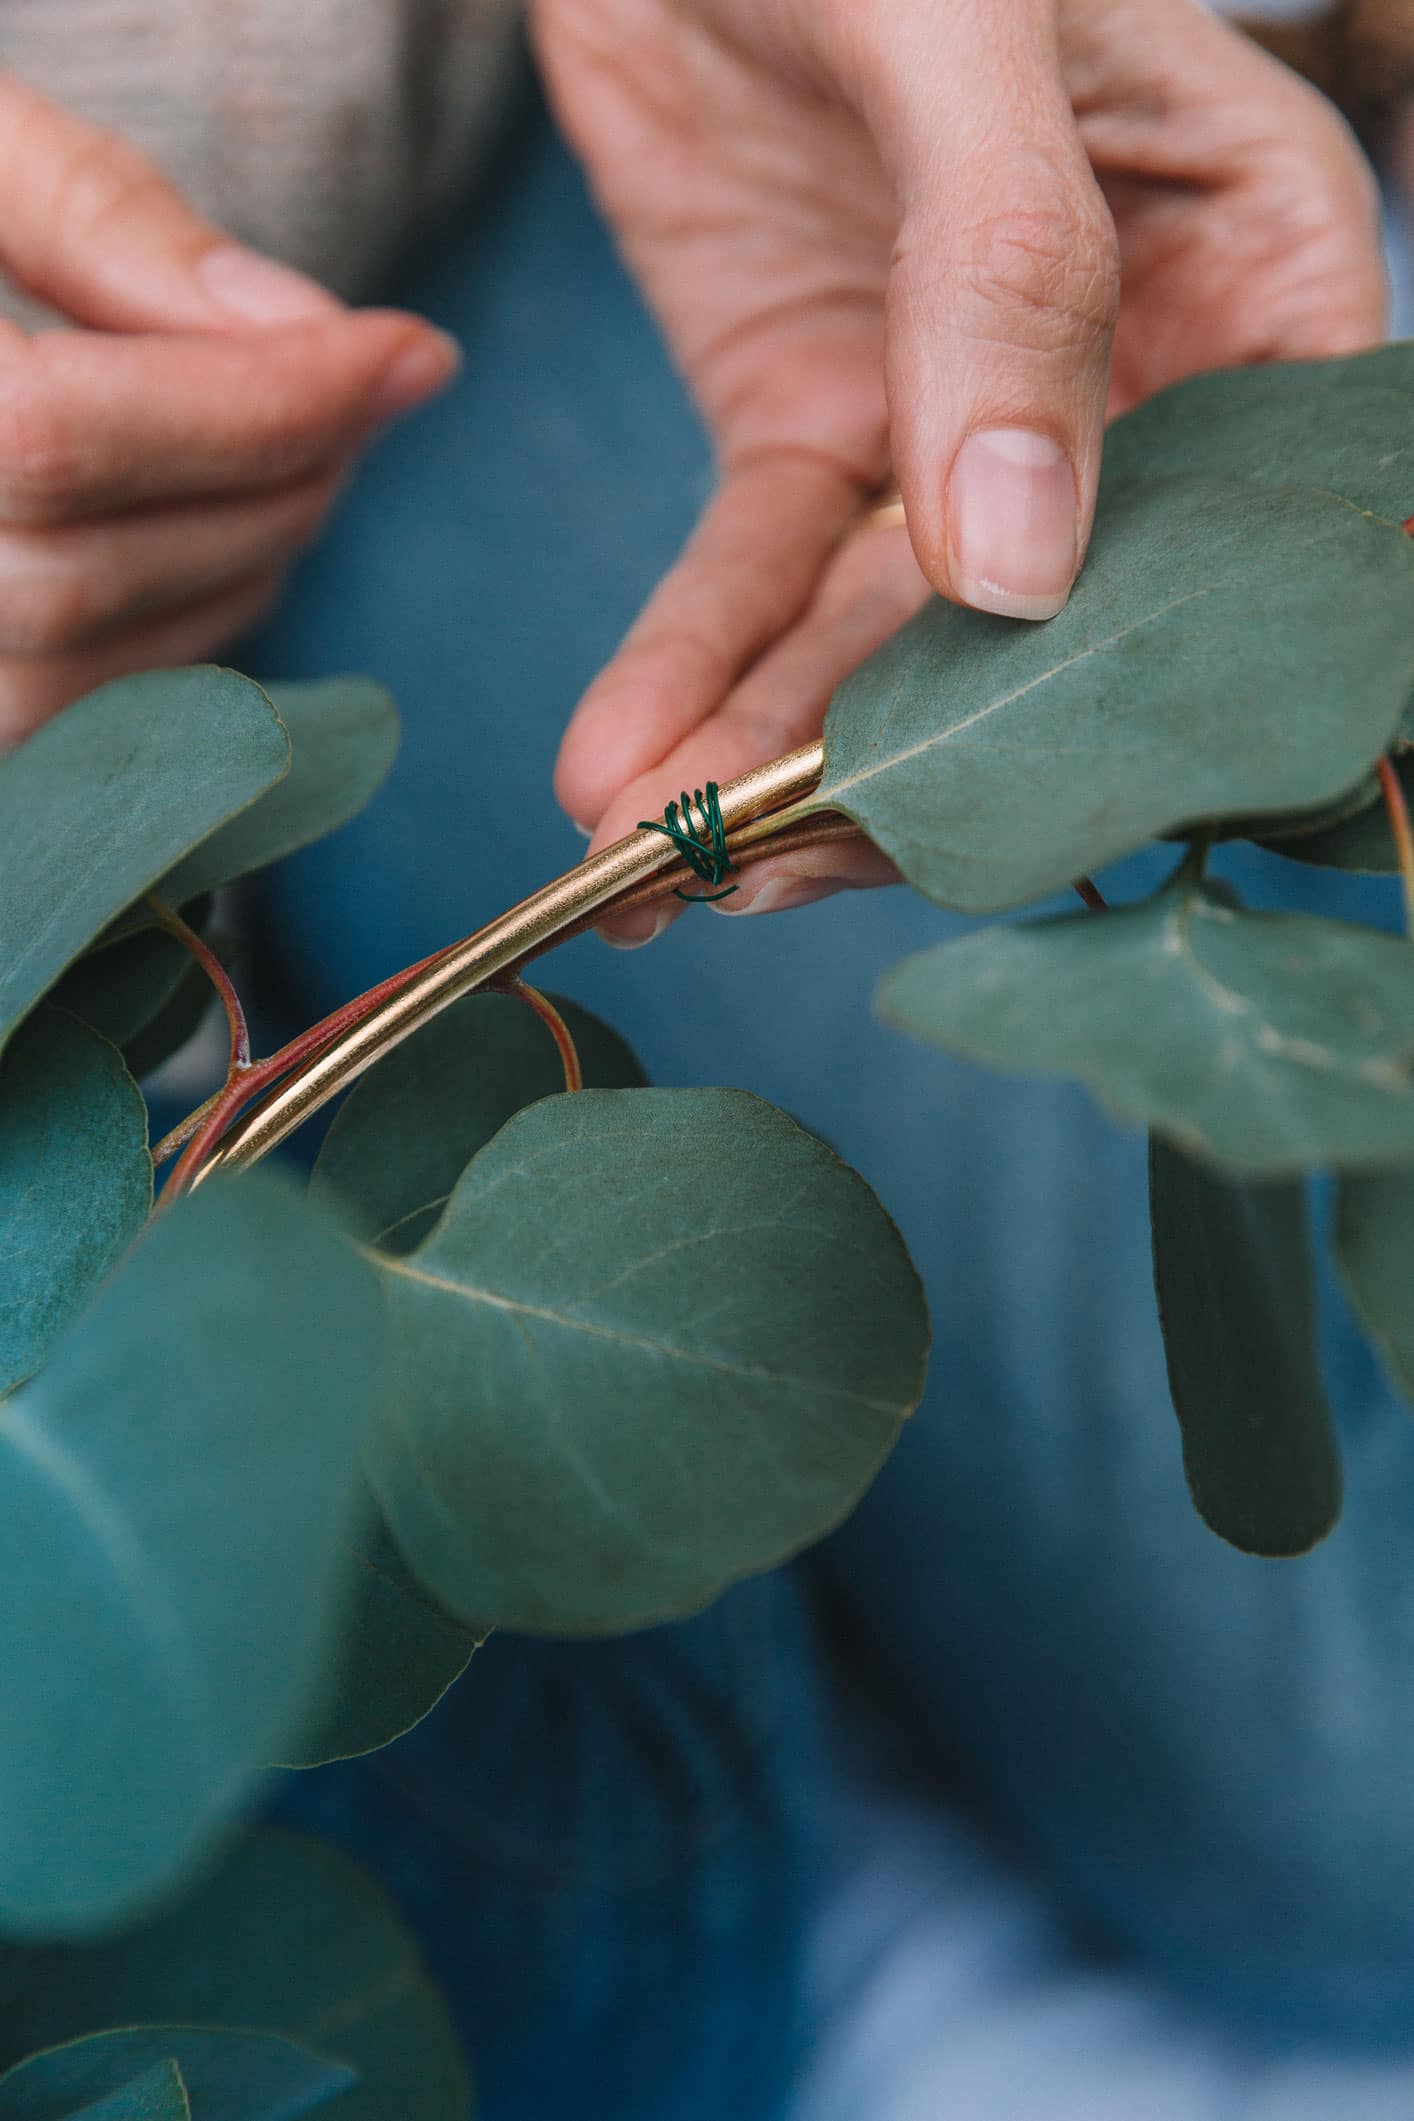
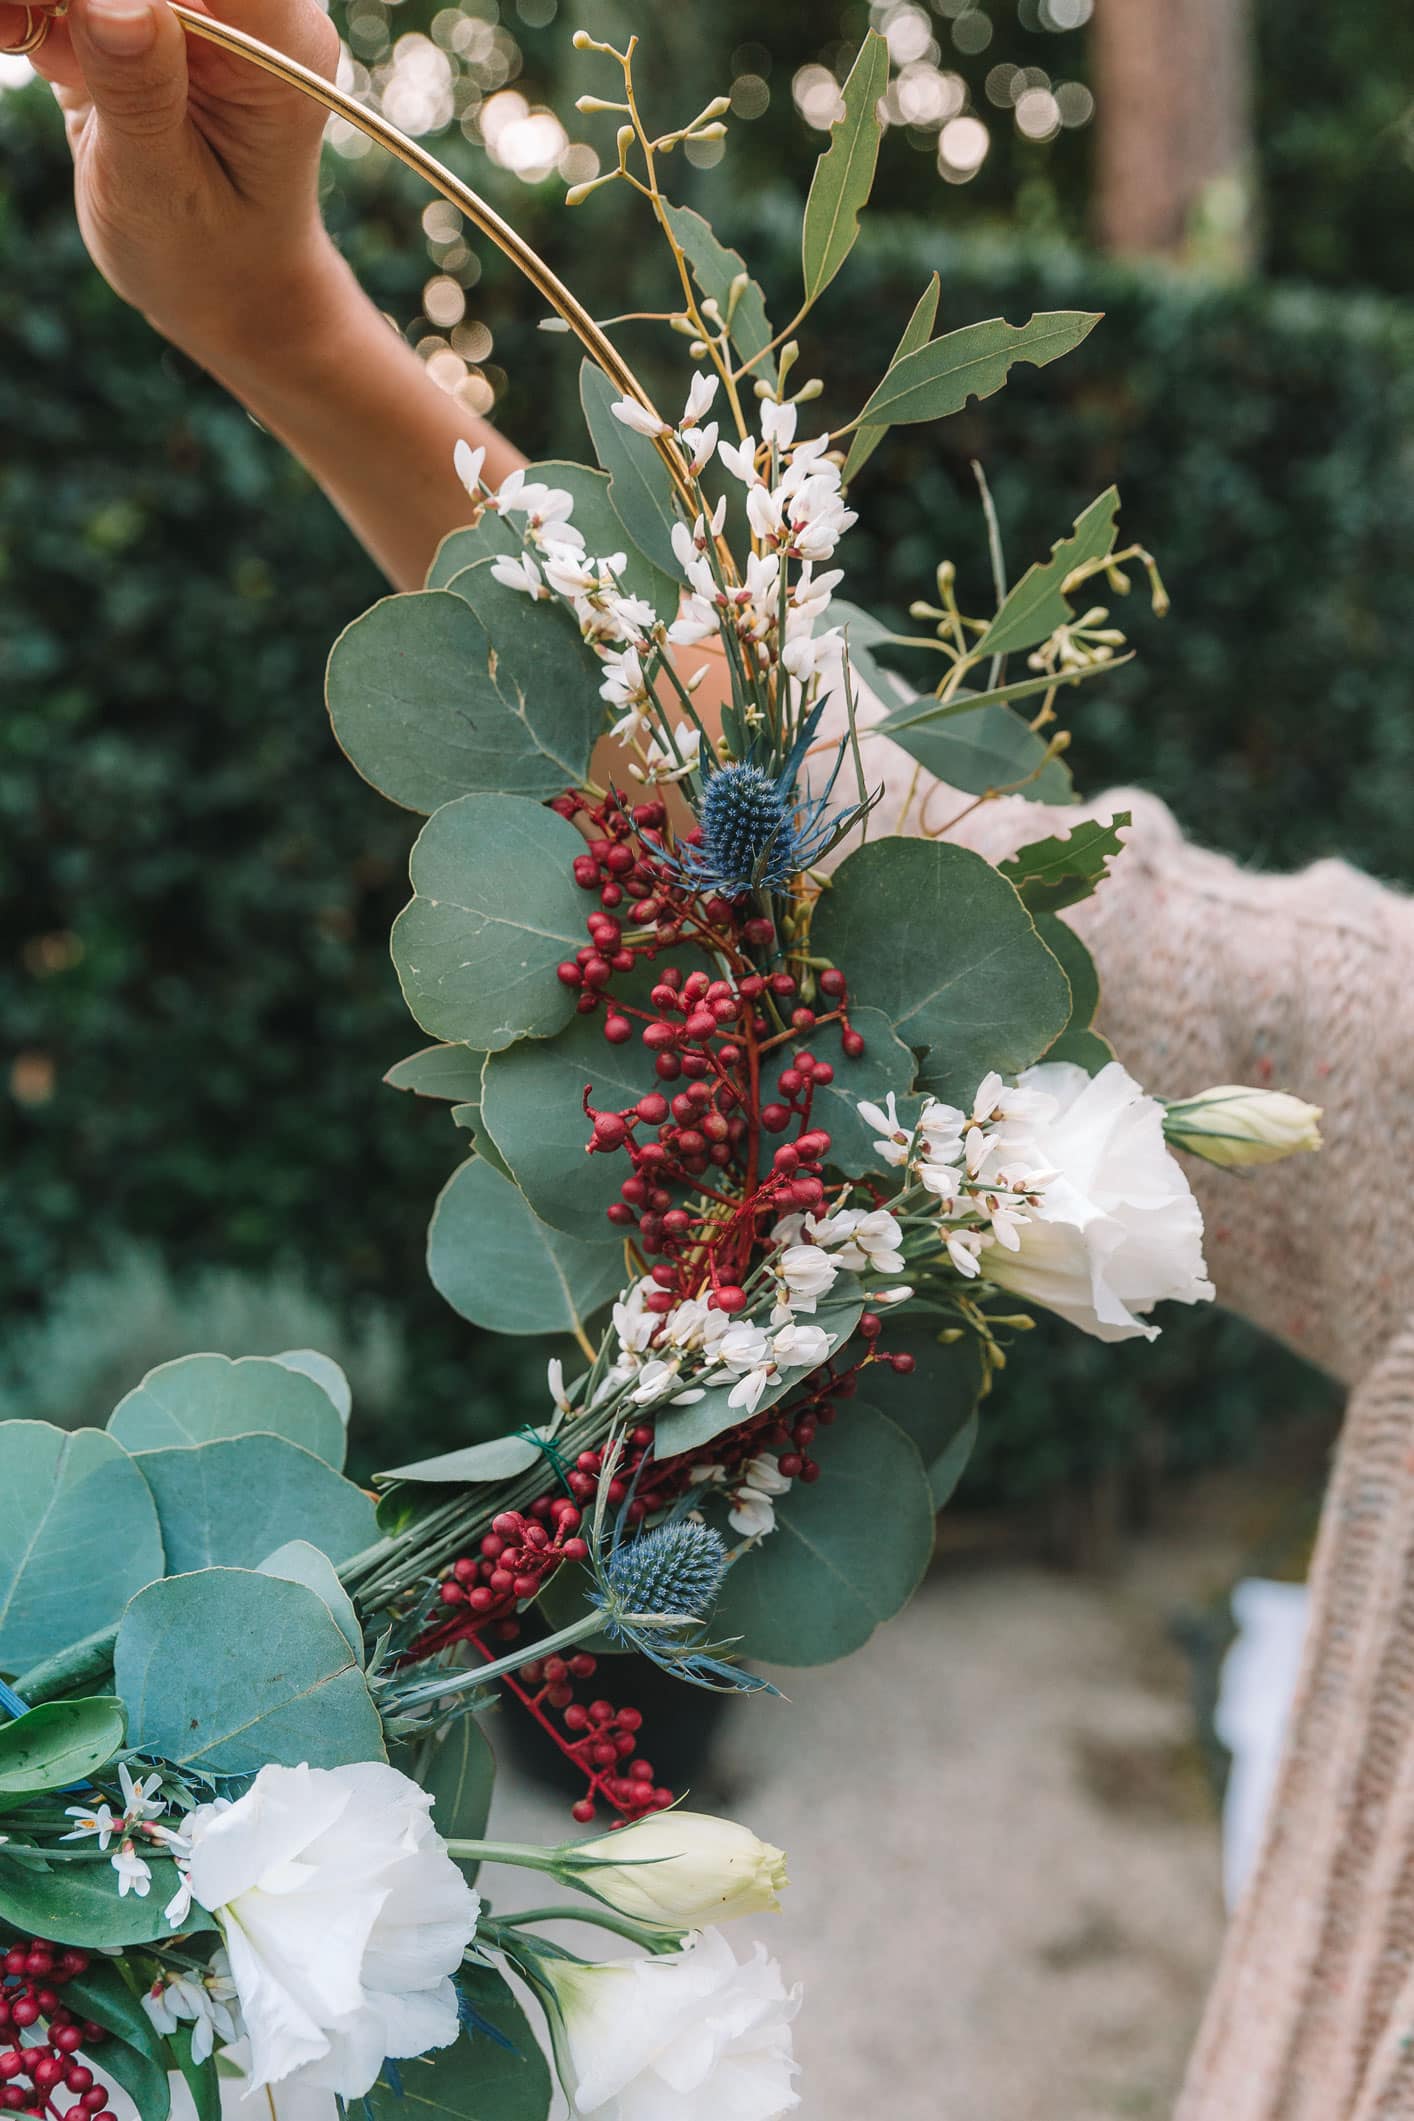
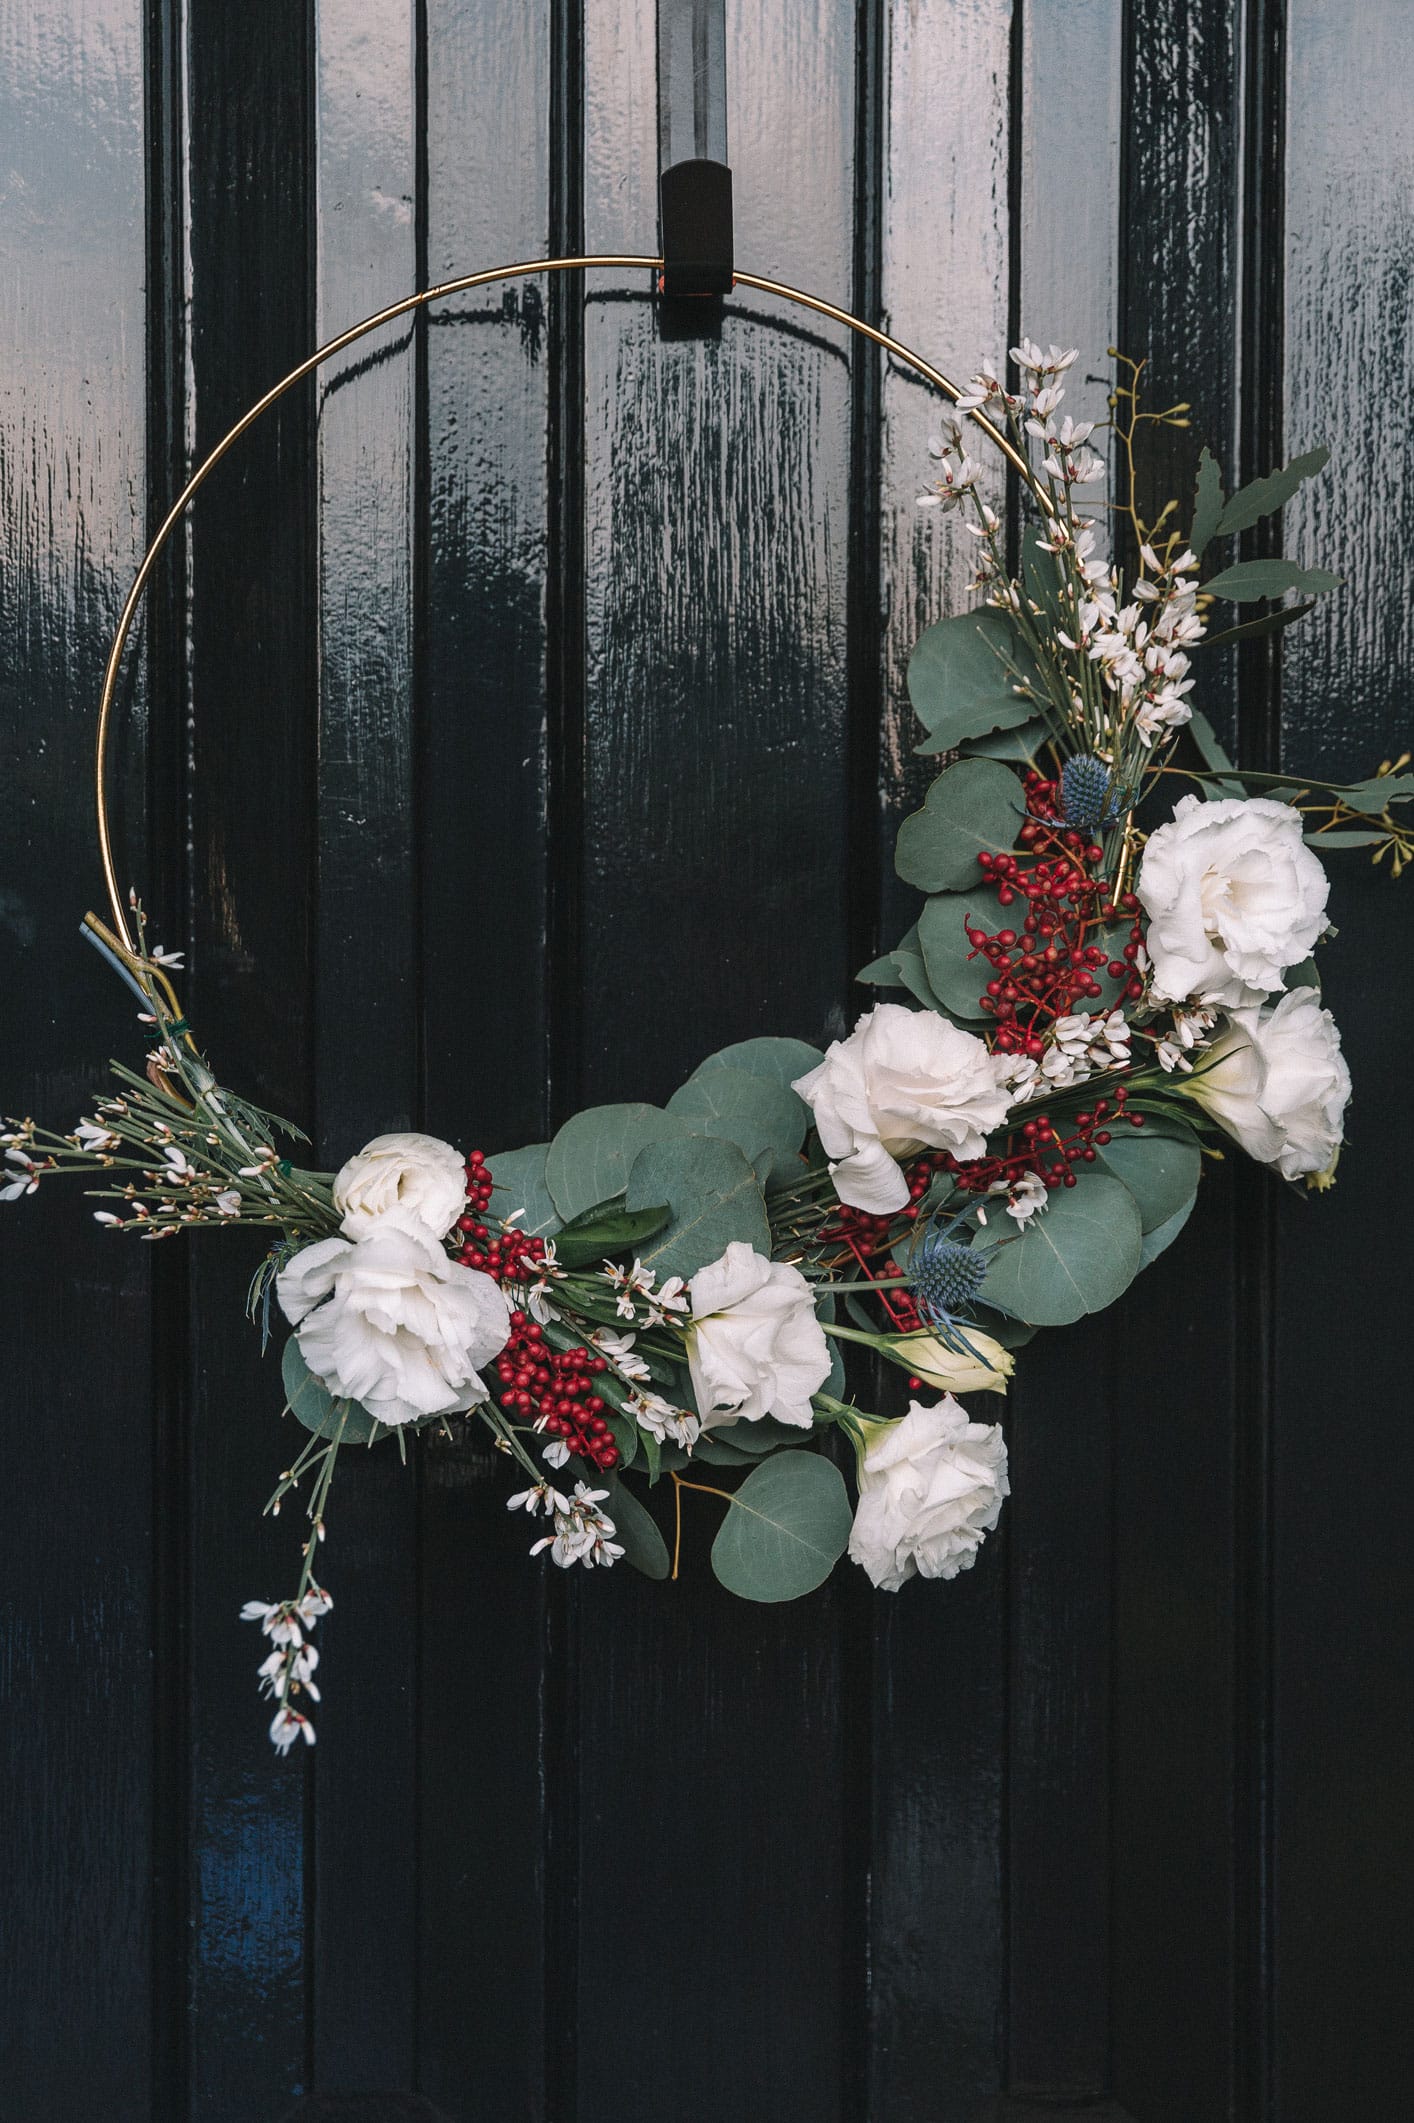
Start with greenery: Start by wrapping some thinner pieces of greenery around the ring, fastening the ends with small bits of the floral wire. Wrap them around 3/4 the ring, leaving some visible to create the ‘asymmetrical’ look. Once you wrap a few strands around the ring, the green floral wire will not appear as visible, and it will be easier to weave the ends of your flowers through.
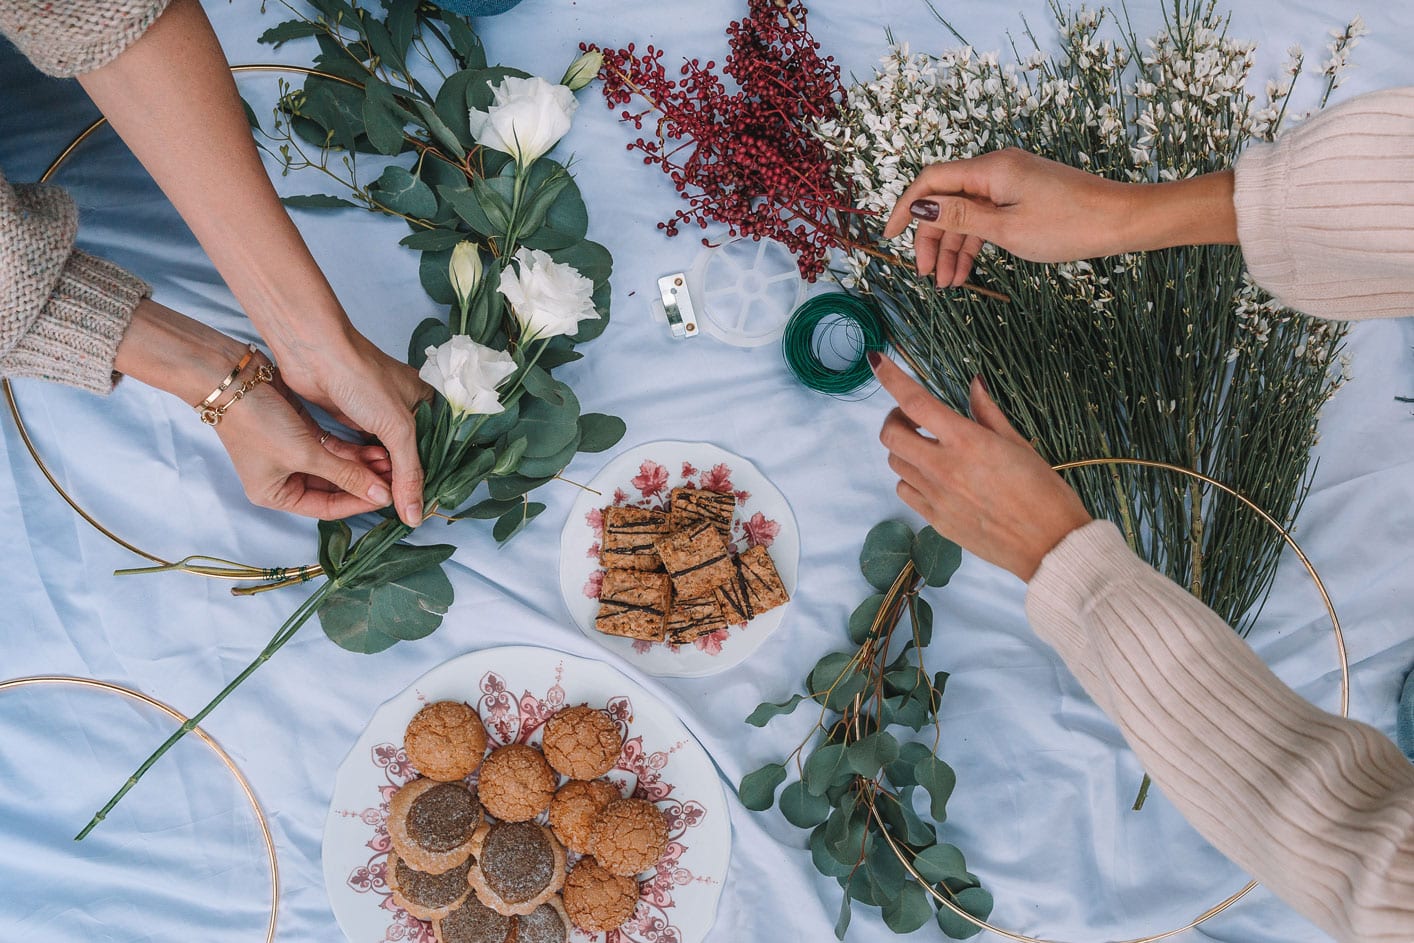
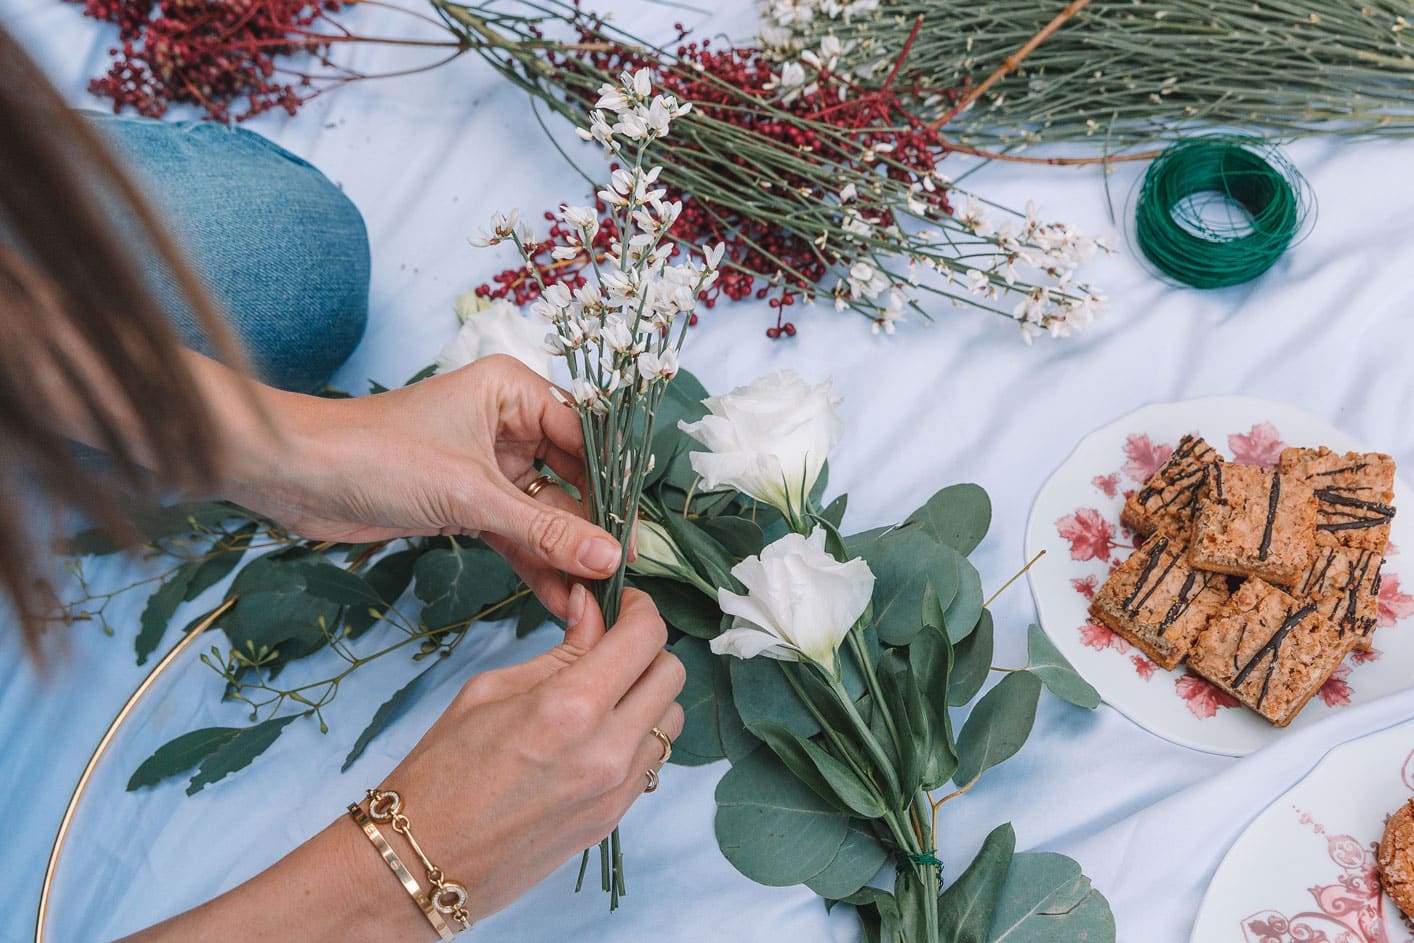
Do your foundation color next: In this case, my foundation color was white. Once I had my greens in place, I moved on to my white flowers, weaving them in and fastening them down only where there was greenery (remember, we’re going for an uneven look so part of the gold ring must be free). I used two different types of white flowers: one large, one small. This creates a nice variety and texture to the look. These sets of flowers are what adds most of the color and volume to your wreath, so use as much as you like. Keep in mind there’s no right way to do it, and get creative! Line up each flower to where you think you want it to go, then trim it accordingly.
Finish with your accent colors: To add some holiday vibes to my wreath, I went with tiny berries and a few thistles as accents. You don’t need as much of your accent colors, so it’s fun to sprinkle them here and there. Heavier items like these berries need a larger base of greenery to sit in, so I fastened them down in the thickest part of my wreath.
Caring for your wreath: Since this is a live wreath, it will eventually wilt and dry out. To prolong its life, spritz it with a spray water bottle once a day. If you like the dried flower look, you can keep it as is – or toss the dead pieces and save your gold ring for a new one next year!


xx,



They turned out so well!! Just gorgeous!!
Rebecca | http://www.peppermintdolly.com