When I was younger, scrapbooking was something a lot of people did, especially as middle-schoolers and teenagers. If you’re not big into painting or drawing, it’s a fun way to be creative without really having to learn a new trade, and it’s an easy, non-messy way to express yourself. Scrapbooking is like telling a story through pictures, textures, and colors. You can create visually pleasing moodboards and collages, or even a vision board for your future hopes and dreams (I had a wedding scrapbook that I hid from Mackenzie when we were first dating!). Think of it as an upgraded photo album with your own sense of personality to it.
Though I haven’t done it much since getting married and having Honor, I began a scrapbook right before moving to LA, almost ten years ago, and it still has a few pages left. it’s still one of my favorite ways to be creative, even as an adult. One of my favorite past times is to put on a classic movie, have a glass of red wine, flip through magazines to cut out clippings, and scrapbook away on a rainy afternoon or evening. I think it’s an extremely gratifying and nostalgic way to document your life – and your tastes – whether you’re getting married, having a baby, or even just for fun. It’s also very therapeutic!
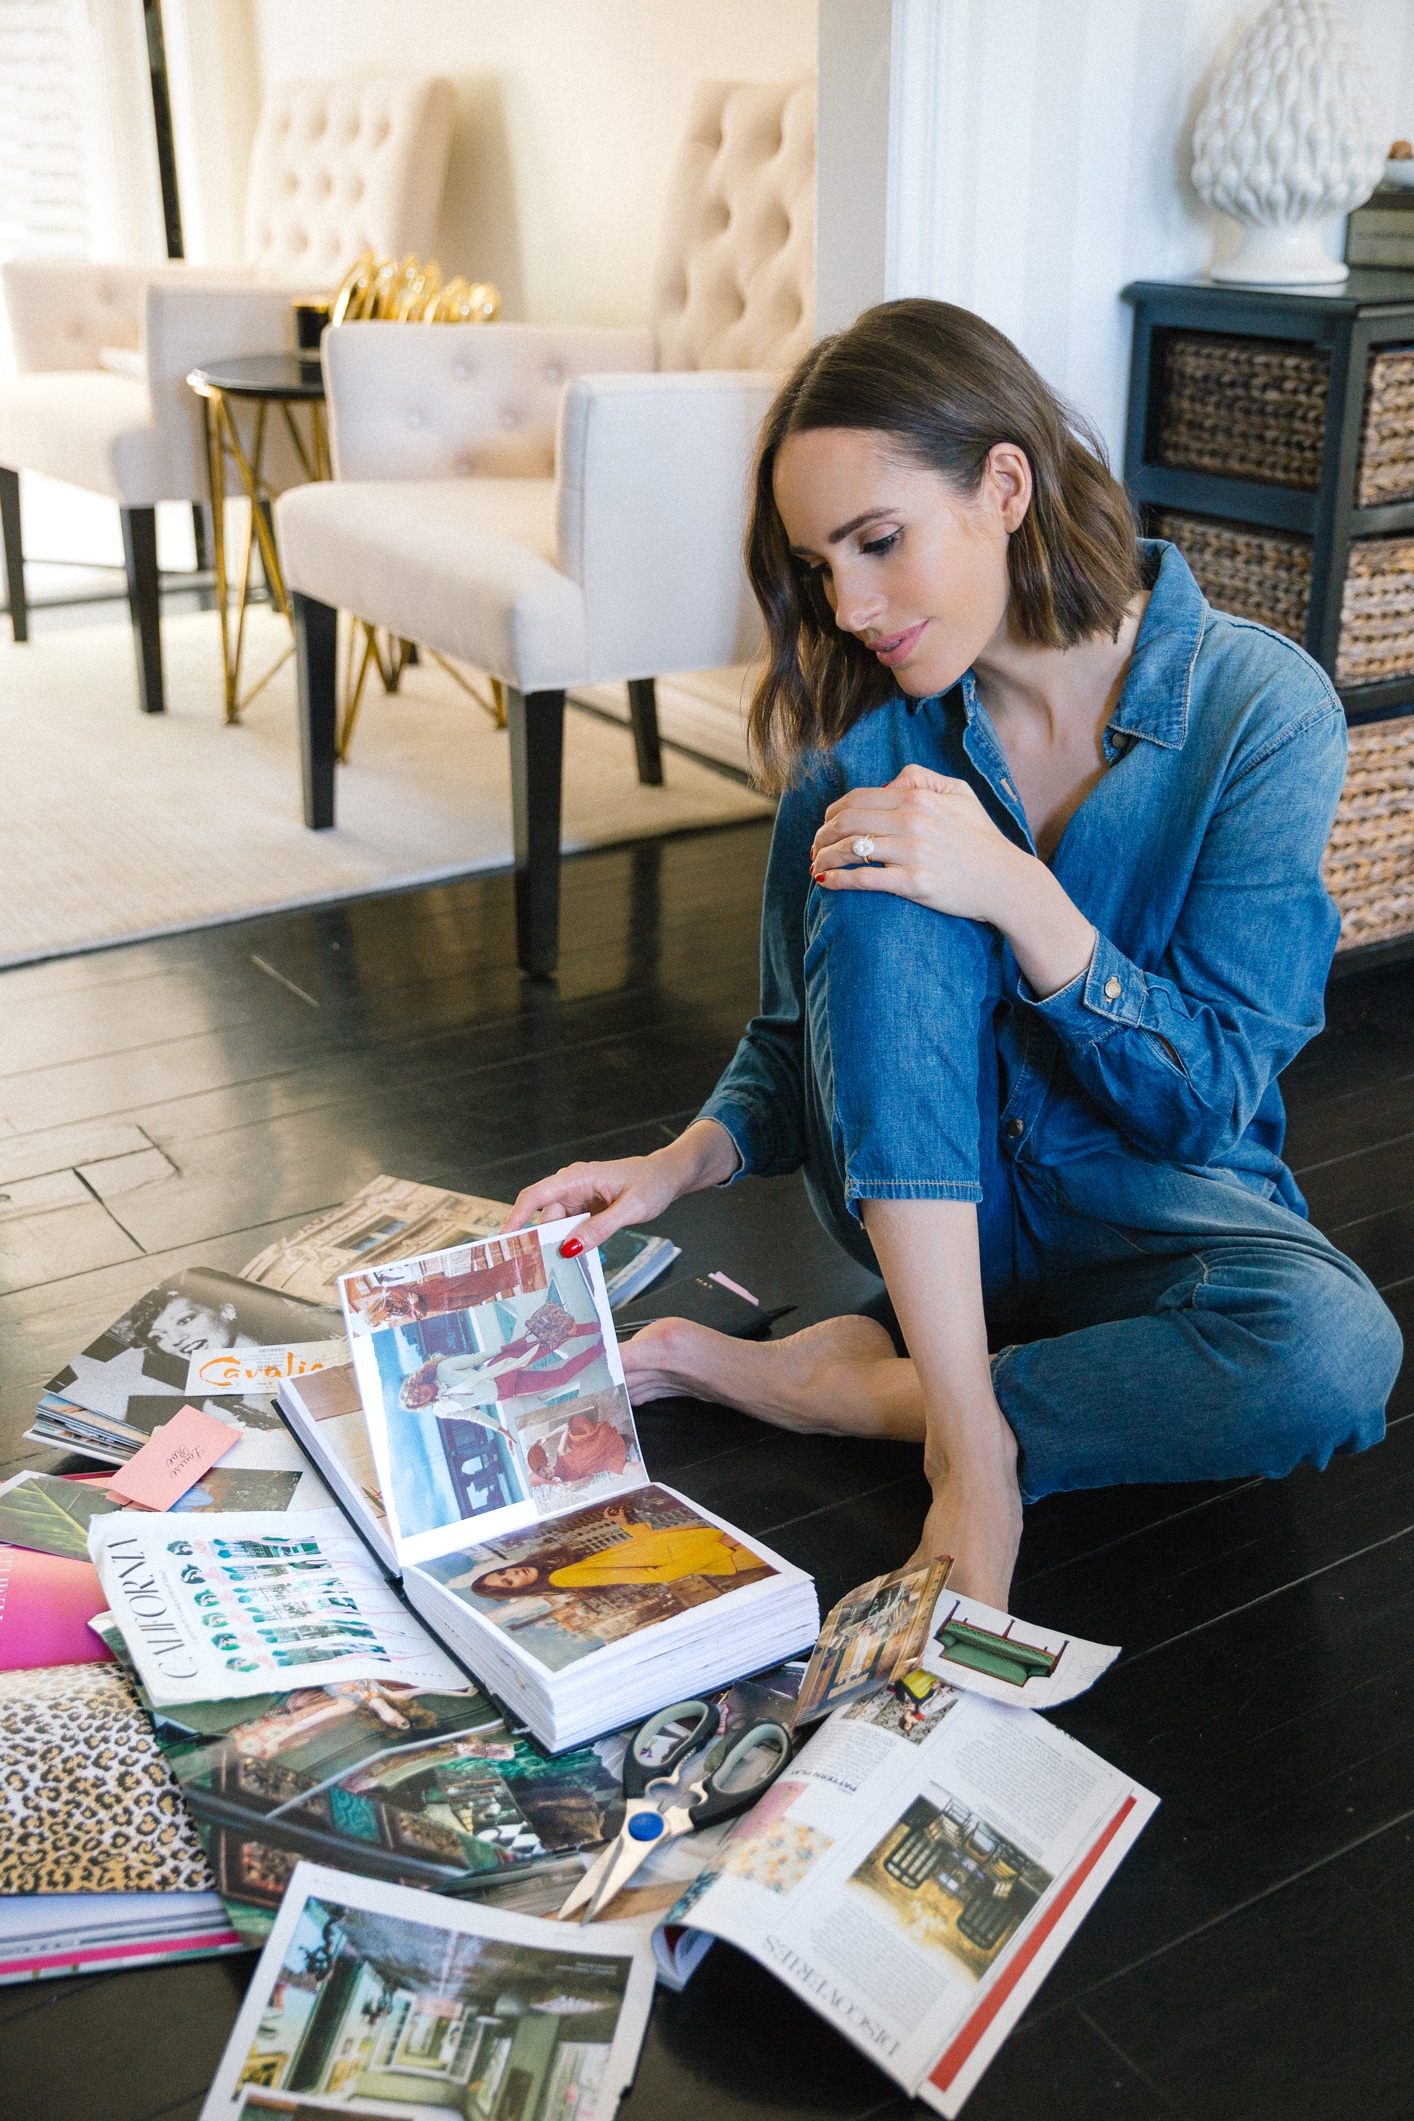
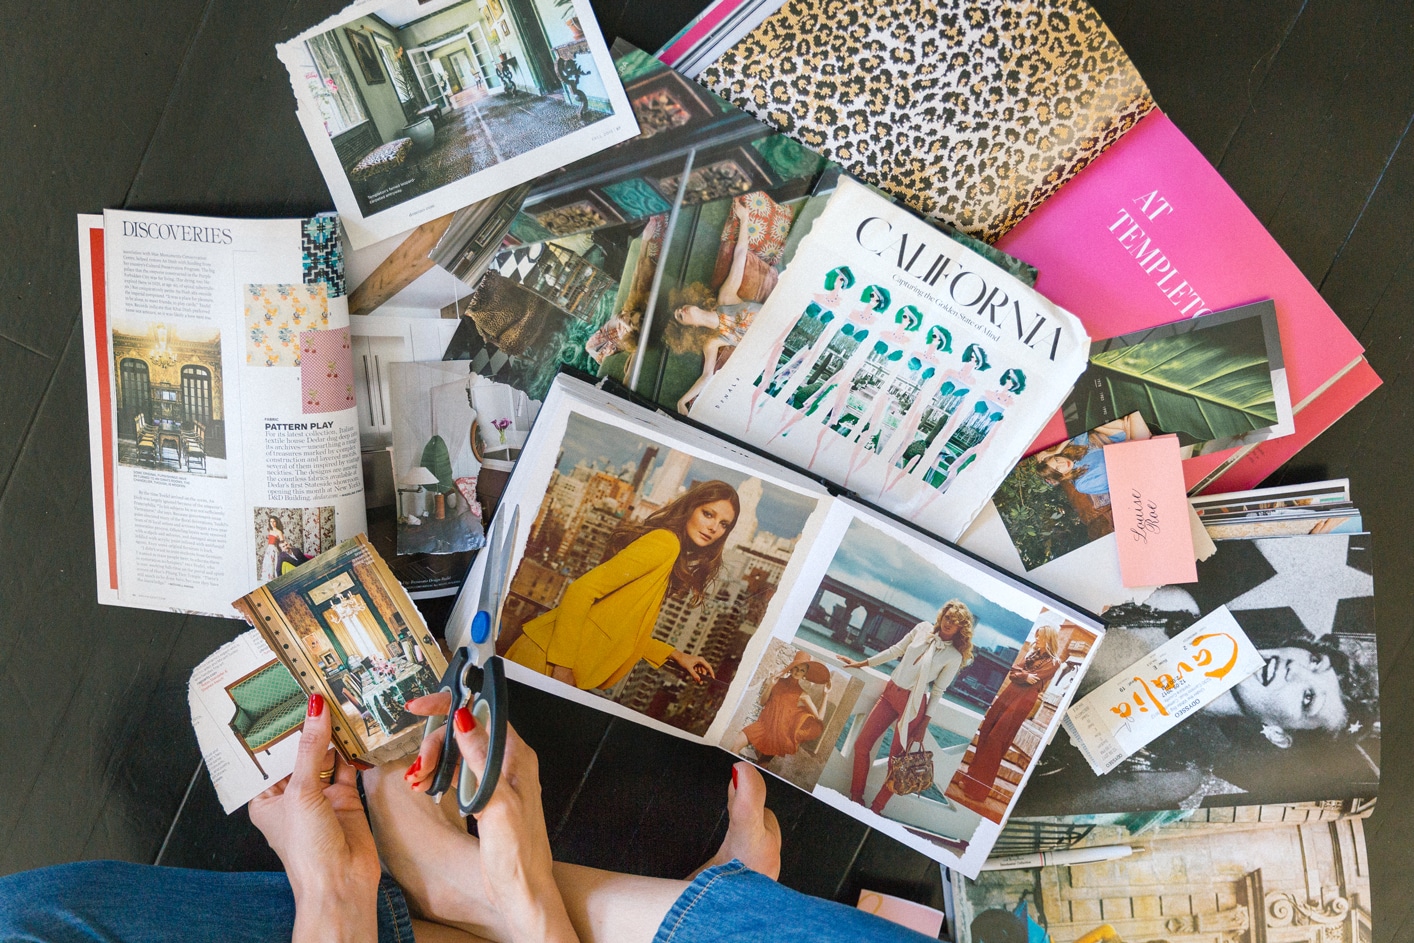
Scrapbooking is easier than you think and before you know it, you’ll be dying to do a little bit every day once you get started. It can be themed however you like – for me that’s inspiring interiors, a lot of fashion, and some memories, from polaroids of my Mum when she lived in Brazil back in the 60’s, to ticket stubs and the hotel key card from Honor’s first trip away. The great part is there’s no rush to complete it, and you can add a bit as you go over weeks, months, or even years. Scroll down to see what you need to create your own scrapbook and my five tips for putting one together!
Here’s what you’ll need:
– A hardback notebook with blank pages
– Cardstock or patterned papers
– Adhesives, like glue and tape (best if it’s acid-free)
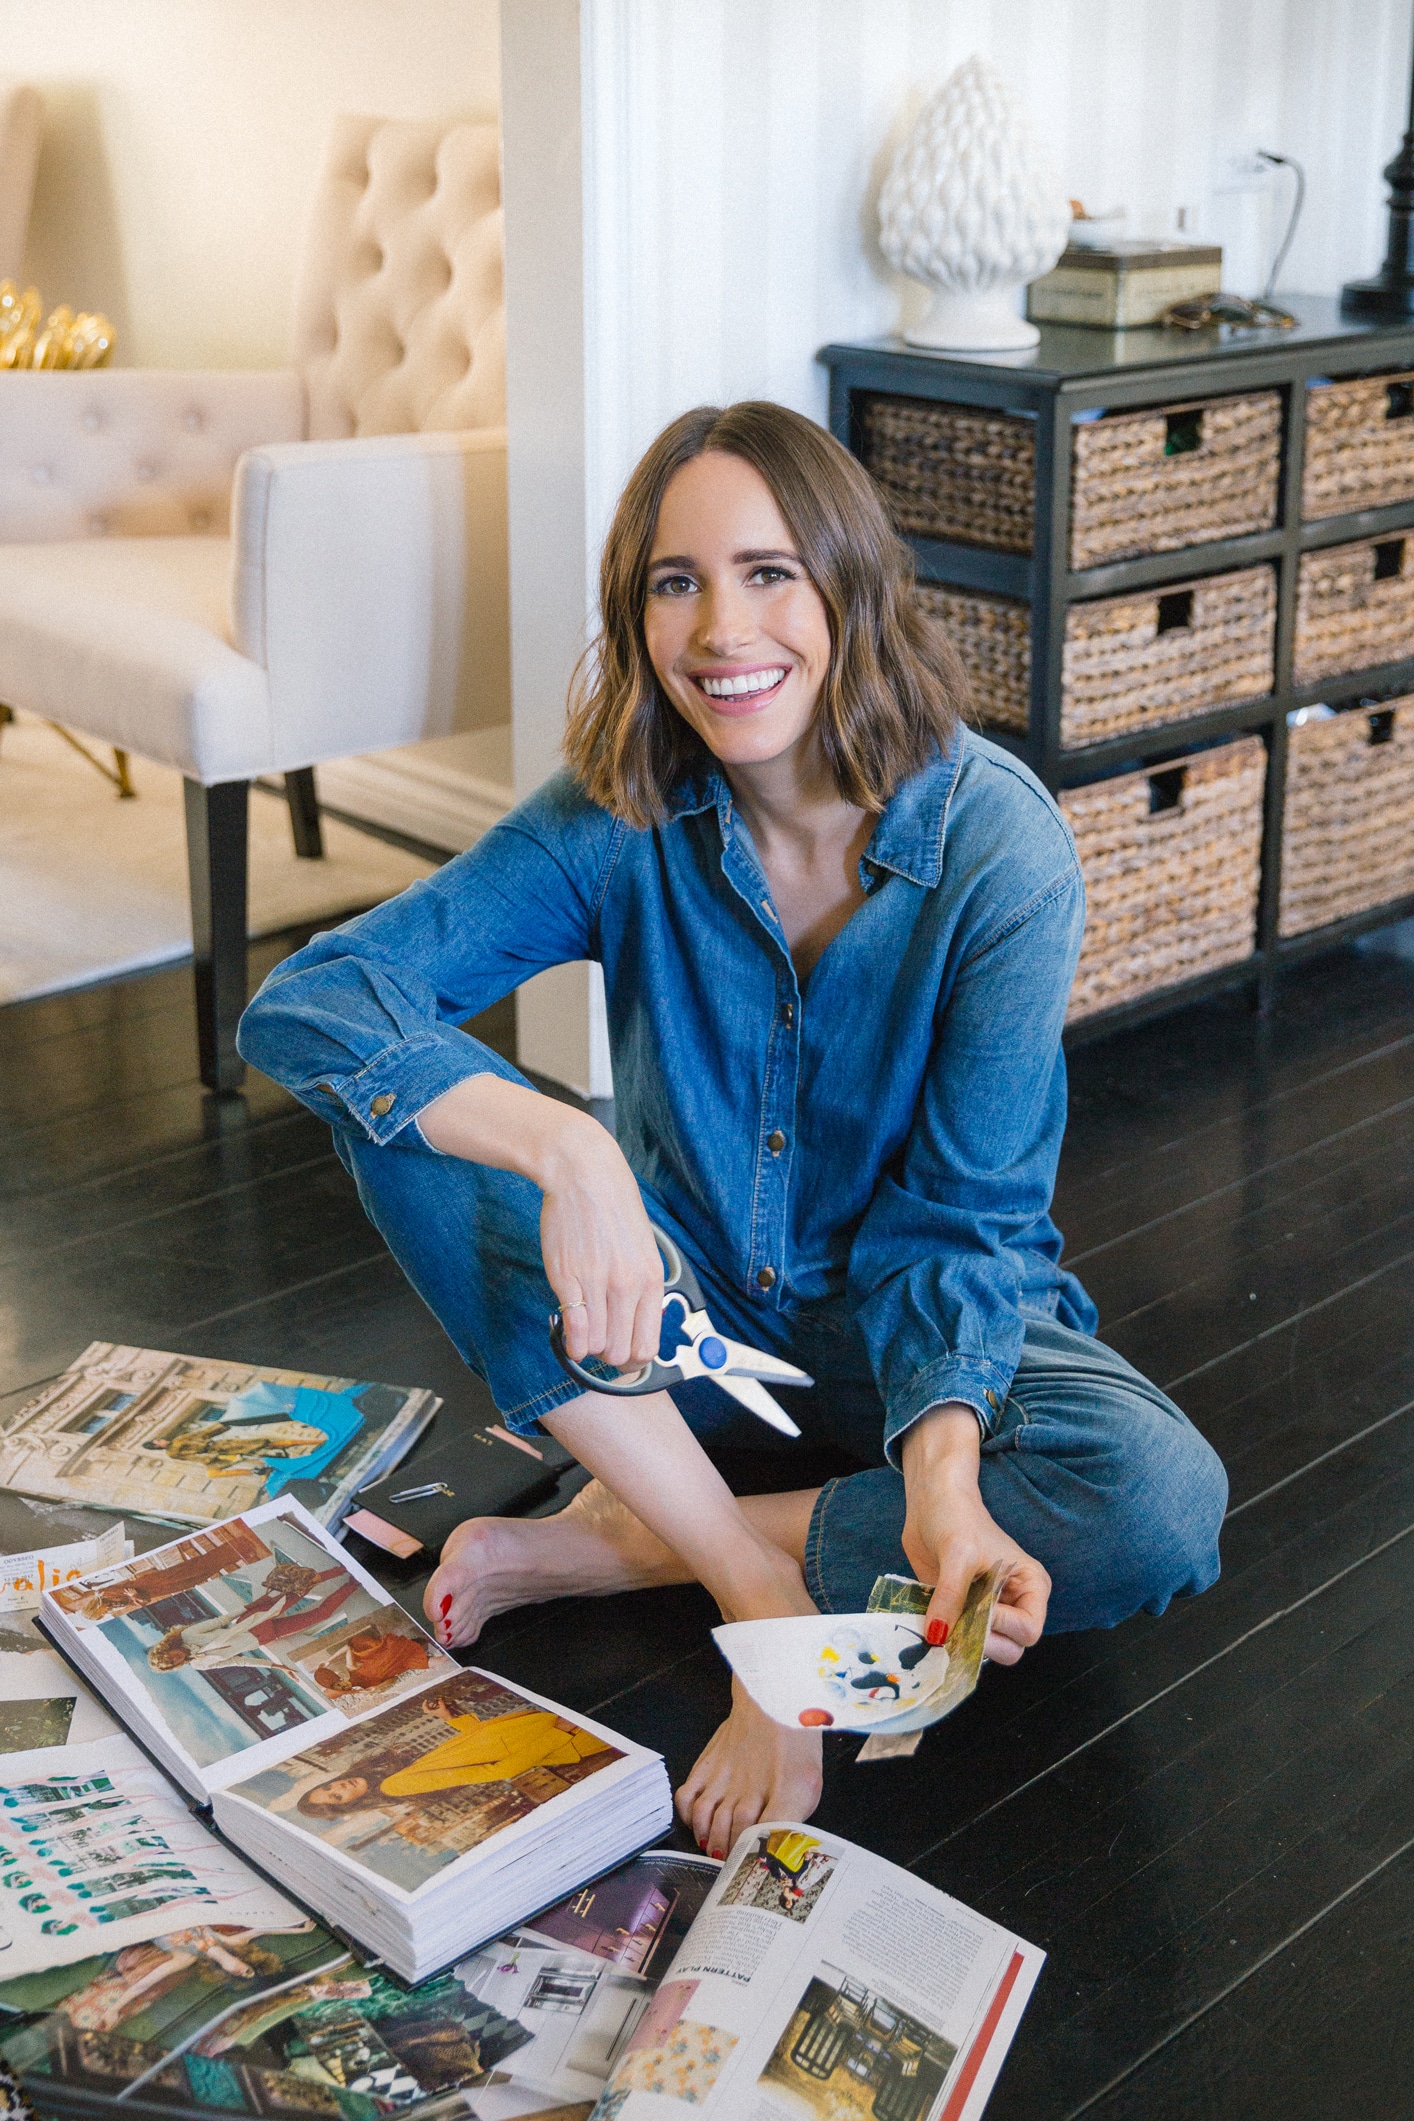
– A nice, sharp pair of scissors
– Pens and markers
– Magazine or newspaper cutouts
– Fun embellishments (glitter or stickers, anyone?)
– Photos, plane tickets, love notes, or any other fun items you can think of
Steps:
1. Pick a theme or story for each page
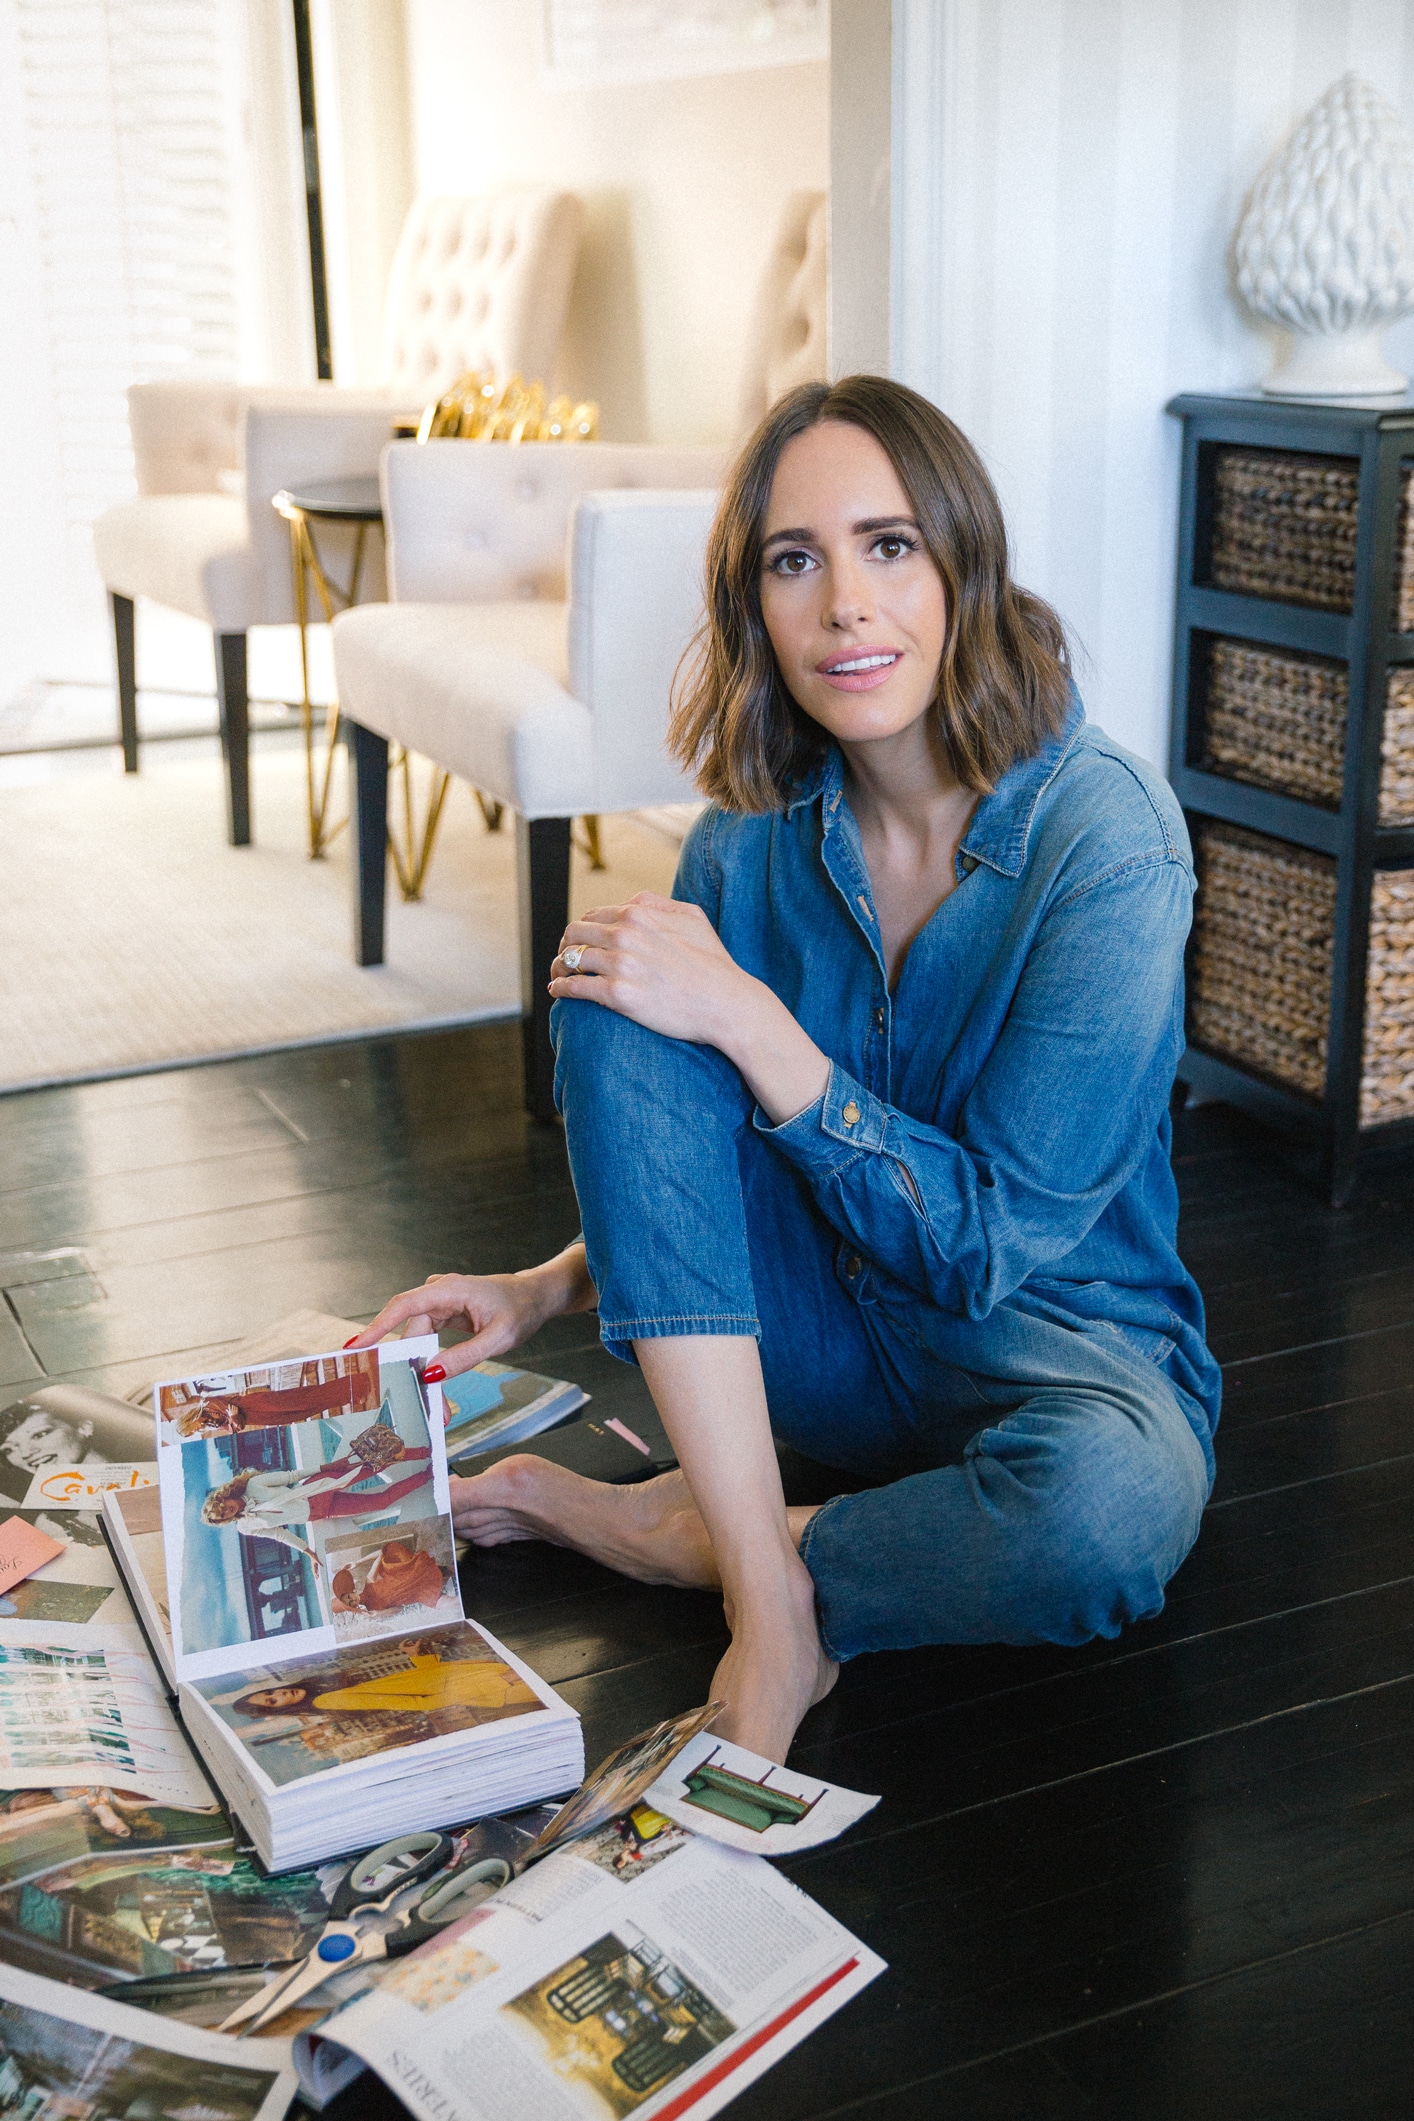
I consider each page of my scrapbook to have a different vibe, and while you can certainly dedicate your entire book to one subject, I find it much more fun to create fresh collages on each page. I’ll usually gather clippings and photos that have similar colors or subject matter, and group them together before placing them on a page.
2. Choose Your Size
Your album size will depend on your preferences – do you want something small and handheld that you can cart around easily? A smaller sized book would be perfect if you plan to scrapbook while on vacation. If you have the time and resources, maybe you want a large scale book that you can create elaborate collages in. For me personally, I like something right in the middle range, that doesn’t require me to source too many clippings, but still gives me space to be creative (like this one).
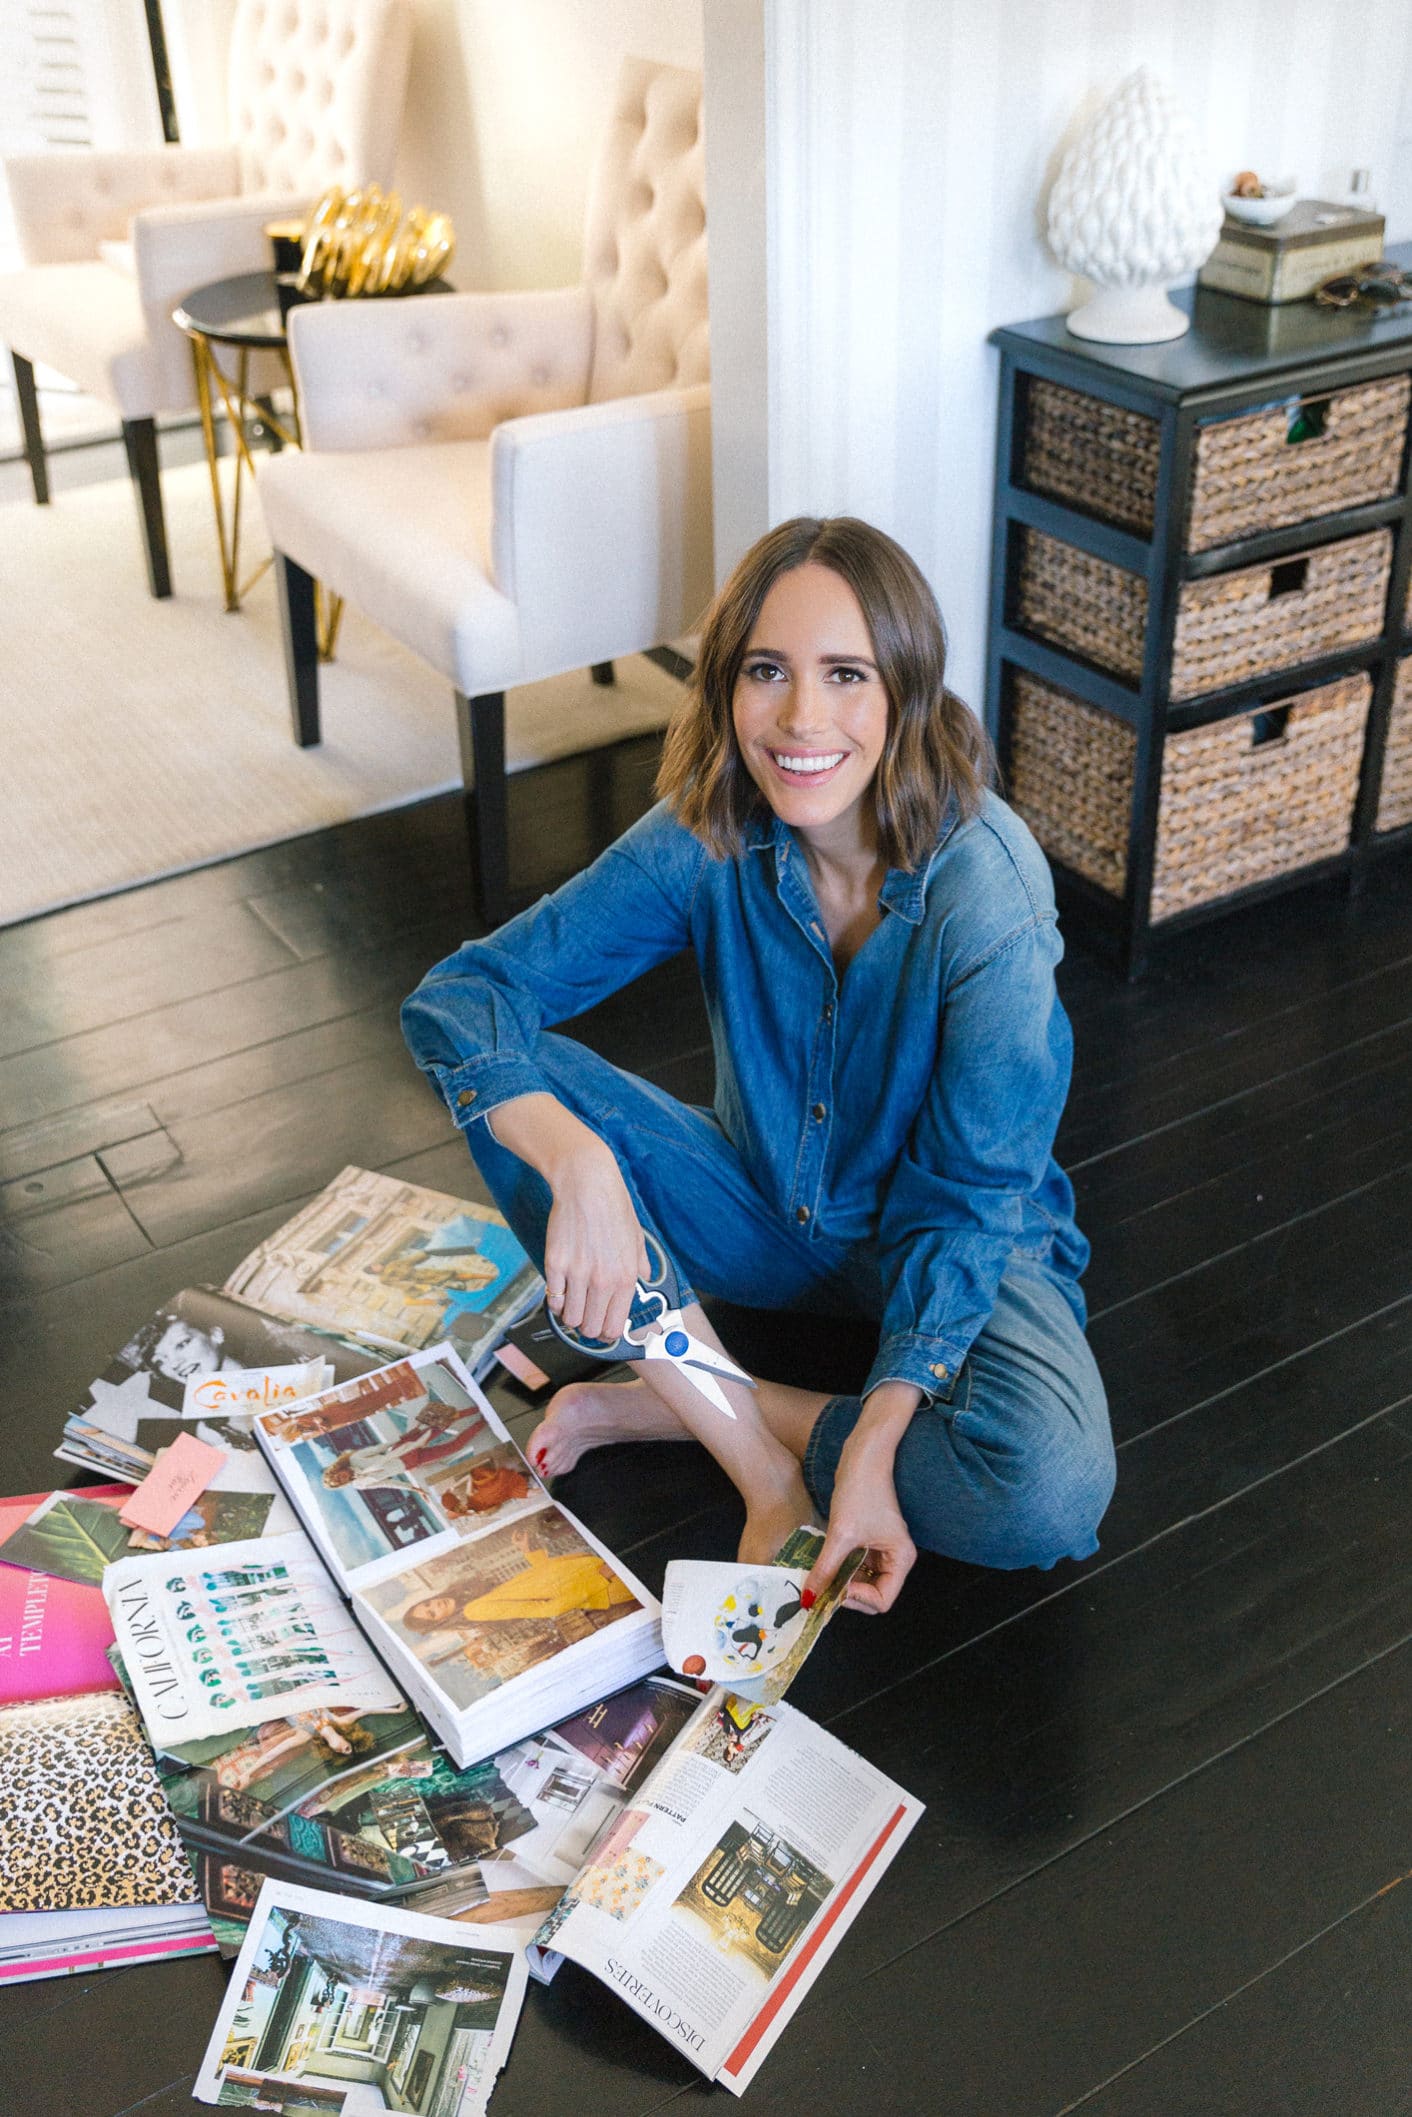
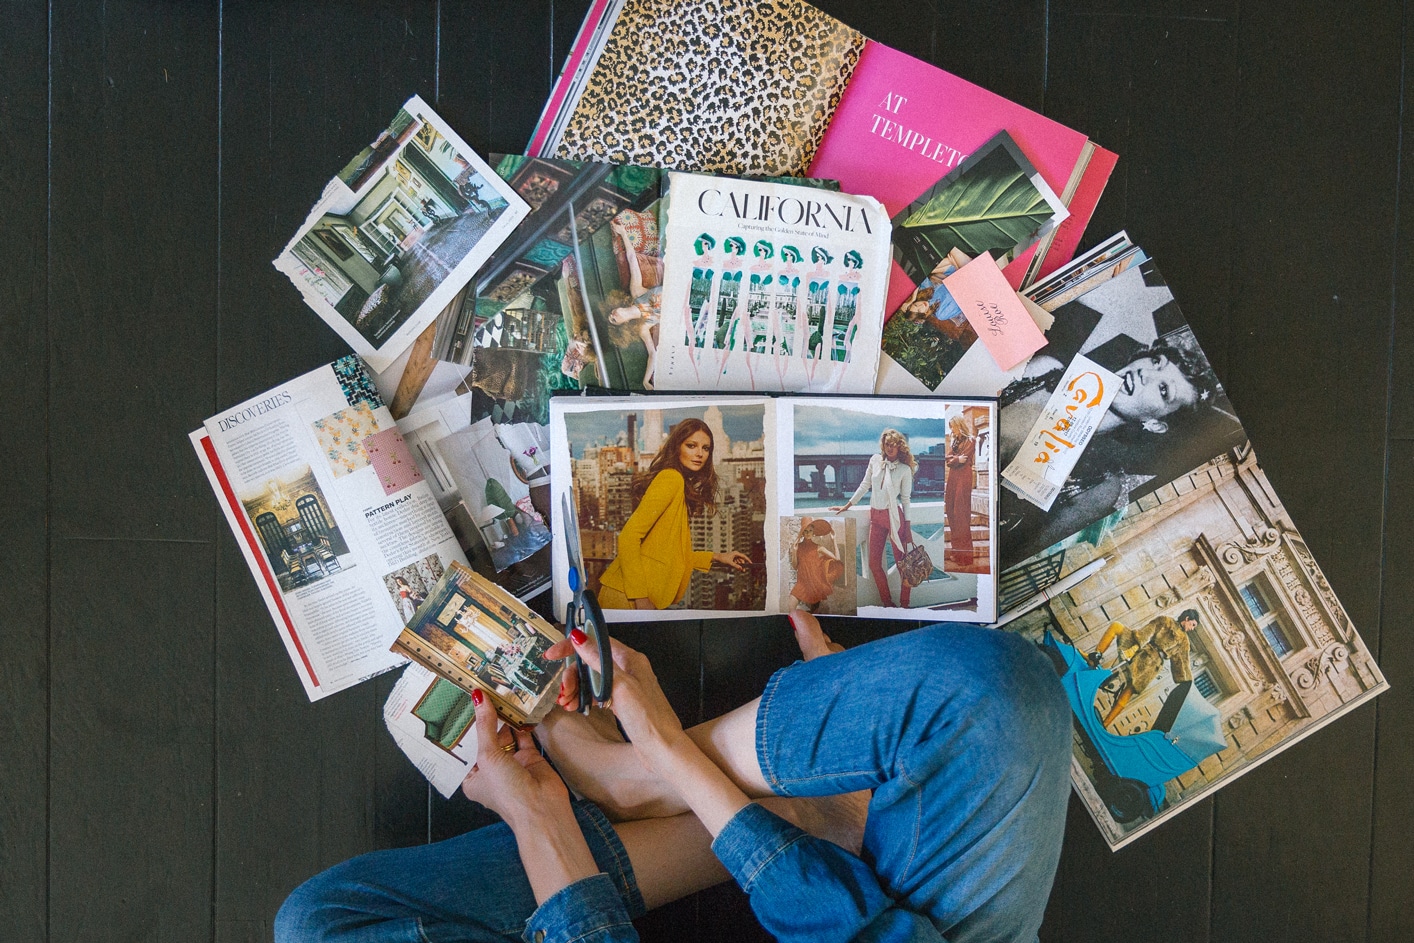
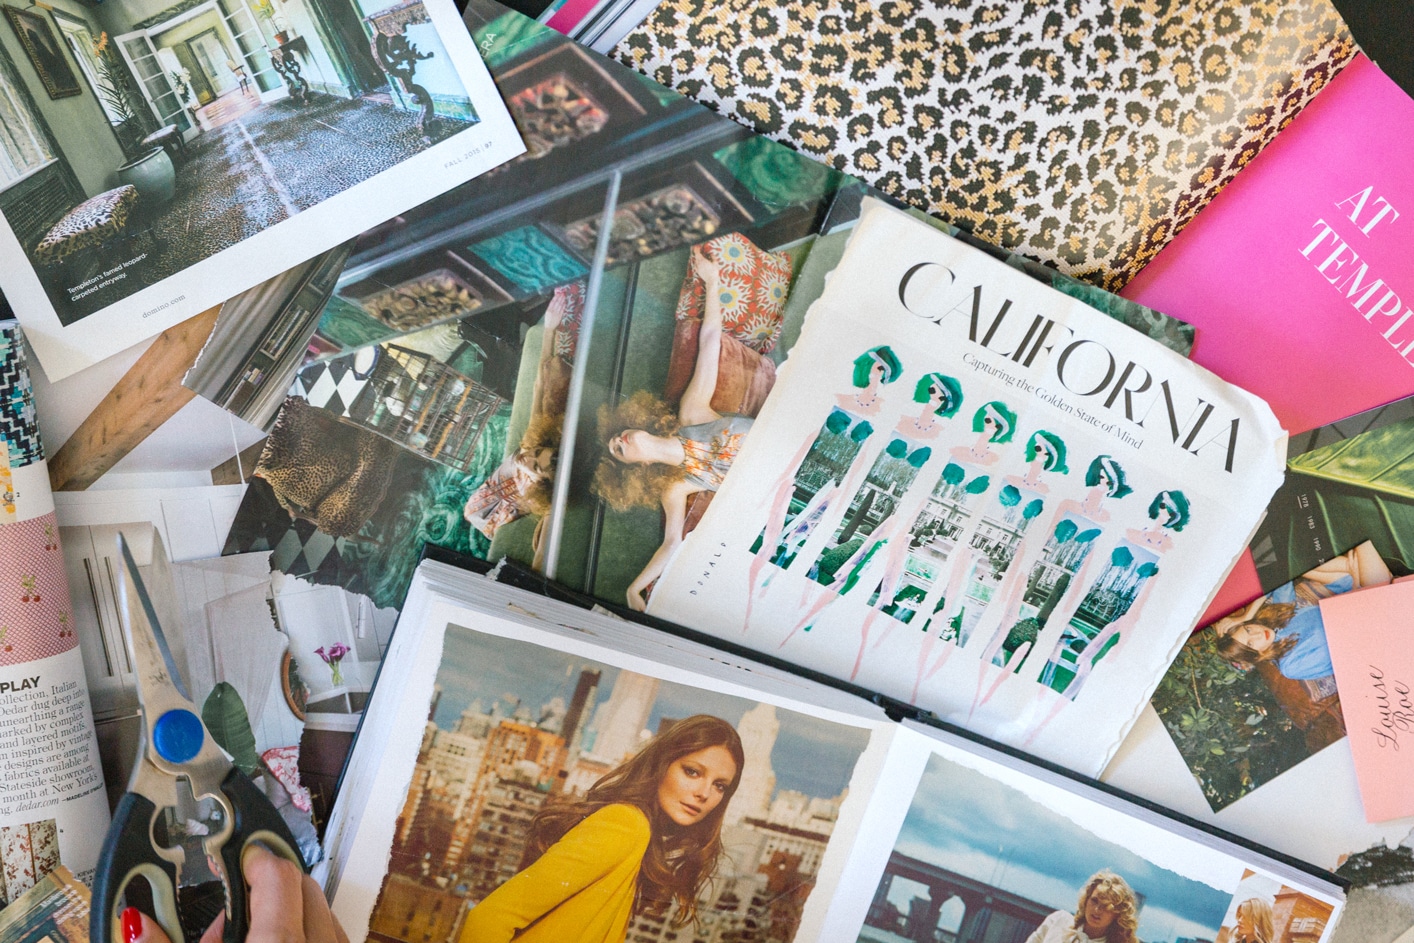
3. Pick Your Images
Here’s the fun part – choosing what’s actually going in the scrapbook. I love going through fashion, design, and architecture magazines to source my images – but you can also use personal photos or mementos that you’ve saved up. I do have some personal family photos in my scrapbook as well. If you’re short on magazines or photos of your own, try printing images off the internet that you love – anything goes! This step in the process is the most time consuming, but really gives you the chance to be creative. What’s more fun than searching for images that make your heart skip a beat?
4. Lay It All Out
This can often feel like the most overwhelming part of scrapbooking, especially if you don’t necessarily consider yourself to be a ‘creative’ person. But there are no rules when it comes to scrapbooking. Remember, this is YOUR scrapbook, so don’t take it too seriously. When it comes to laying out each page, I tend to group together images before committing to any glue – I find this the most helpful, especially if I want to move things around. Start by laying down your larger images first, then move to the smaller items which will layered on top. If you’re really fresh out of ideas, Pinterest is always my go-to for inspiration for DIYs – it’s honestly amazing what people have done with scrapbooks out there.
5. Have Fun!
Finally, this is supposed to be fun, so enjoy yourself. It’s not a chore or a tedious task unless you make it, so an easygoing attitude will help a lot through this process. If you make a mistake, that’s totally ok, because this is a lighthearted activity – no one is grading you! It also helps if other people are helping you or making one themselves – it’s fun to compare garner inspiration from one another, so make it a girl’s night in project (wine always helps my creative streak).
xx,

Reminds me of the ones that my friends and I did in high schools.
Dear Louise, I love your book (it has a special place on my book shelf) and I am grateful for your posts. I guess we are all, even if we not always leave a note. You are just amazing!